Steps To Create Custom Module
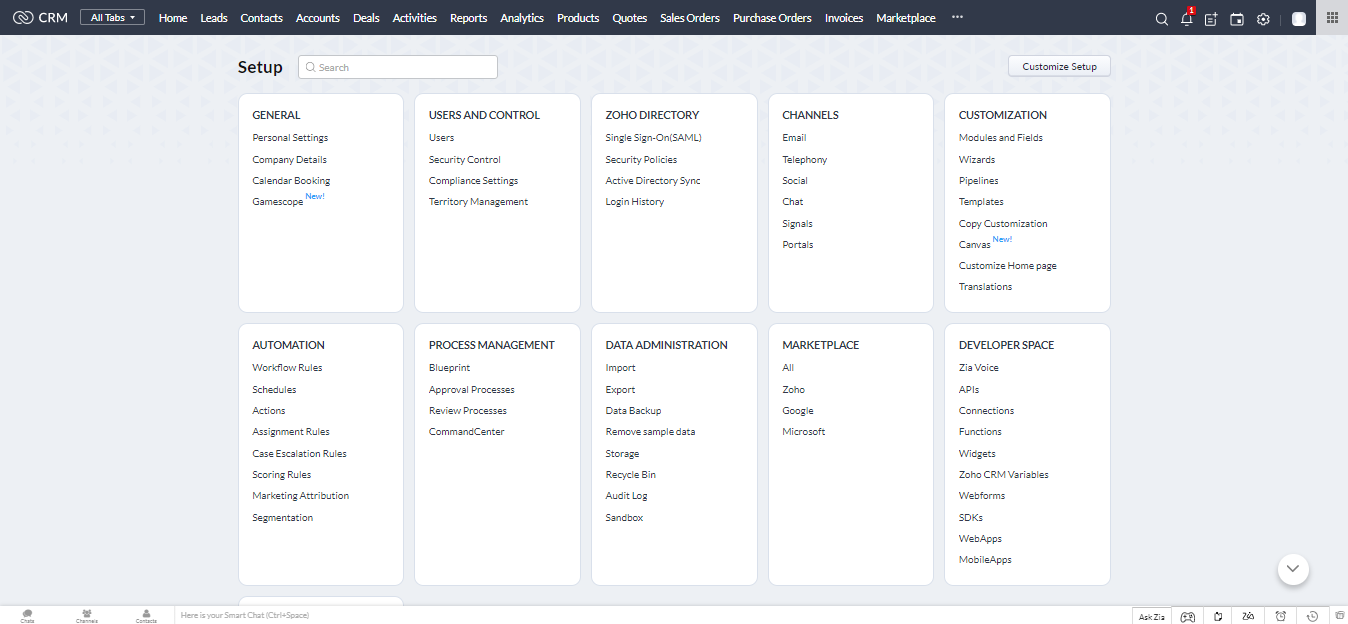
1. Go to Setup > Customization > Modules and Fields.
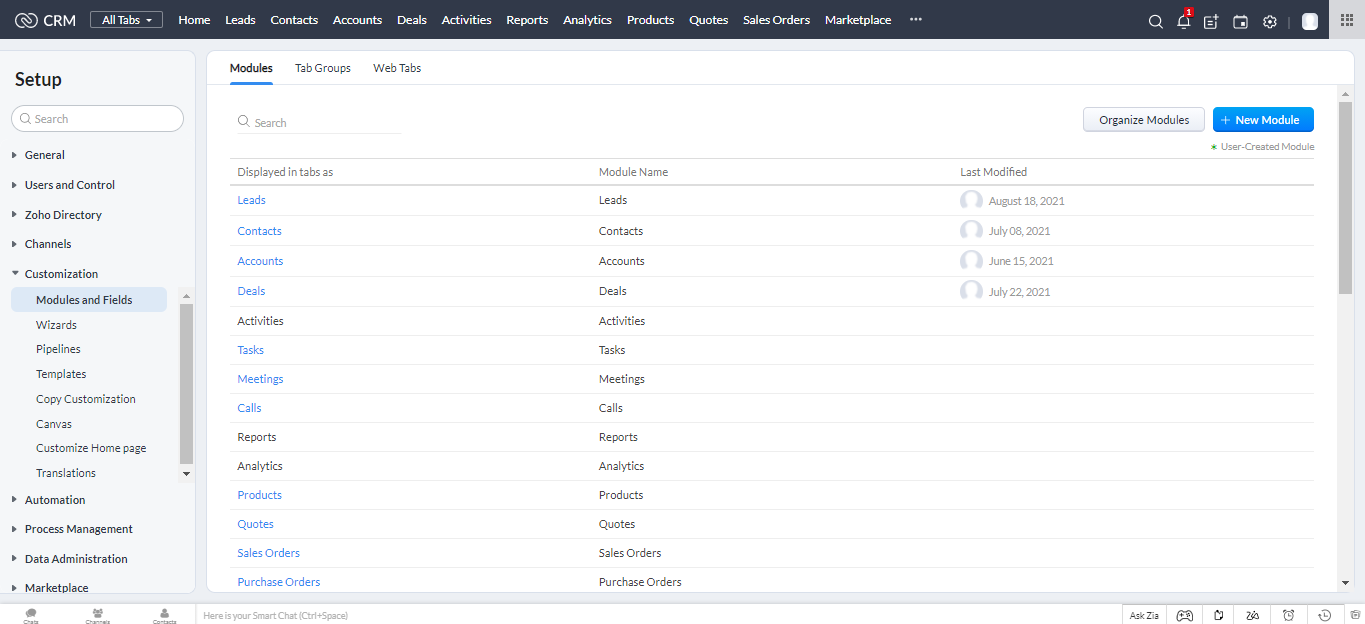
All the System Modules will be listed under the modules tab.
2.Click Add New Modules on the top right corner.
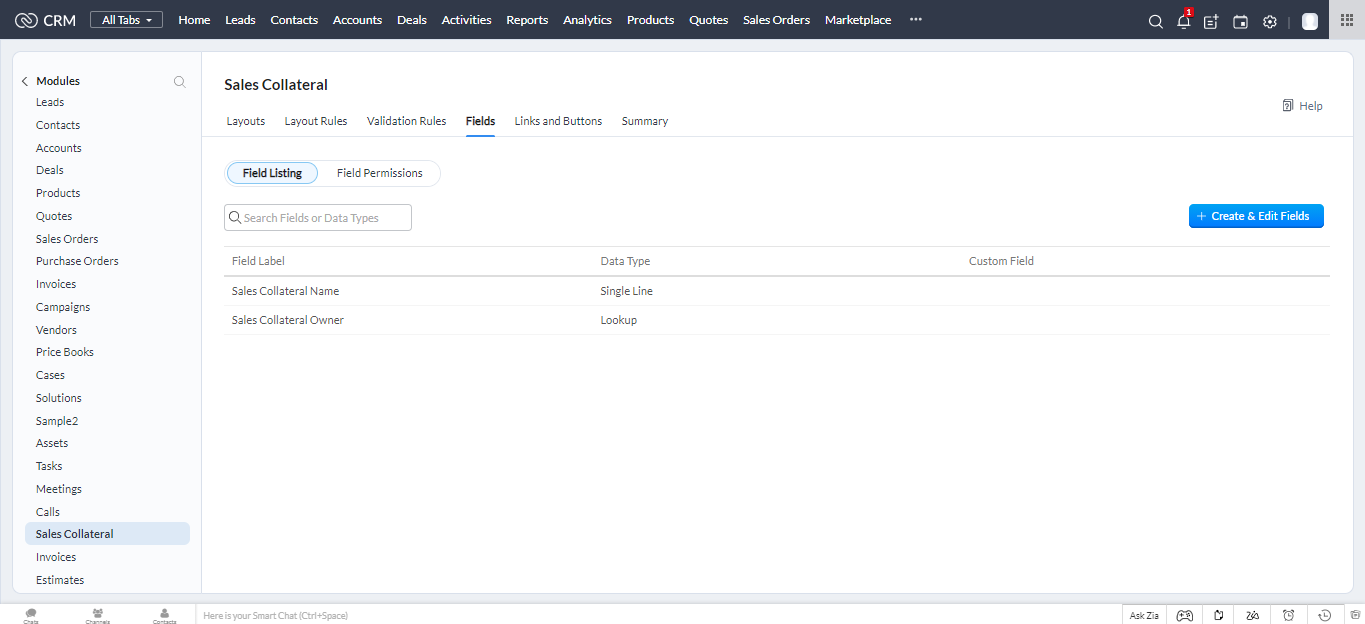
Give appropriate name for your Custom Module.After entering the name for your custom module, click Save and Close.
Steps To Create Record for Your Custom Module
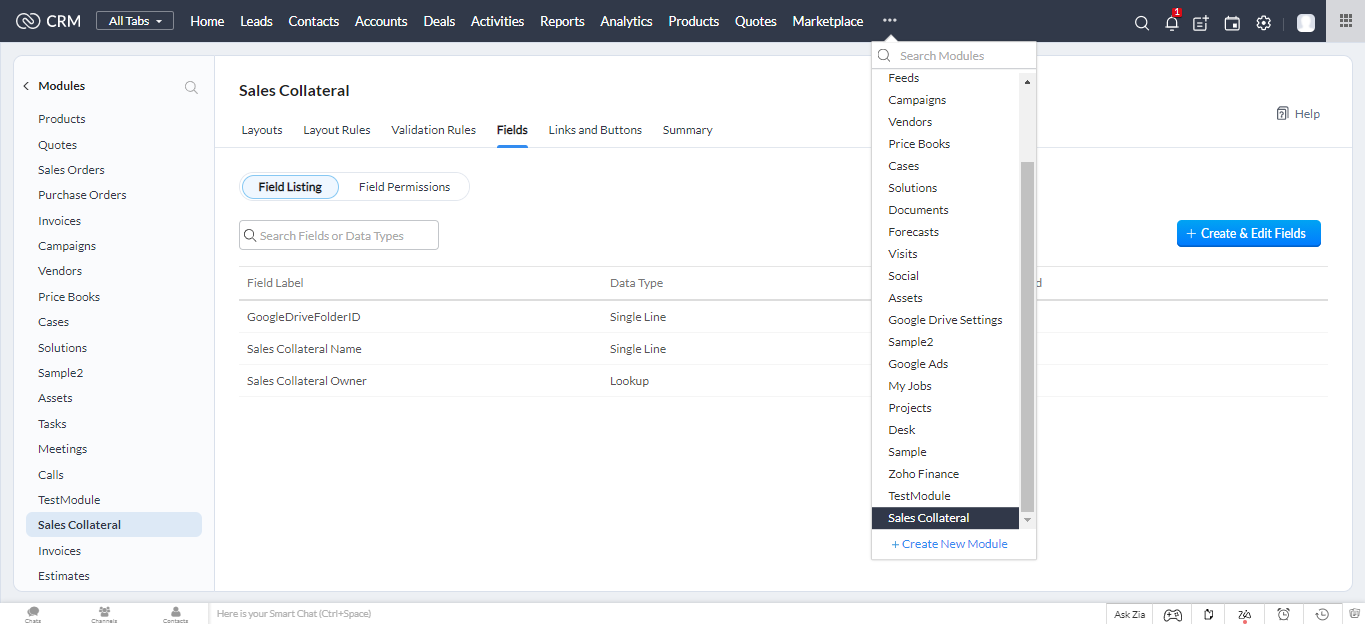
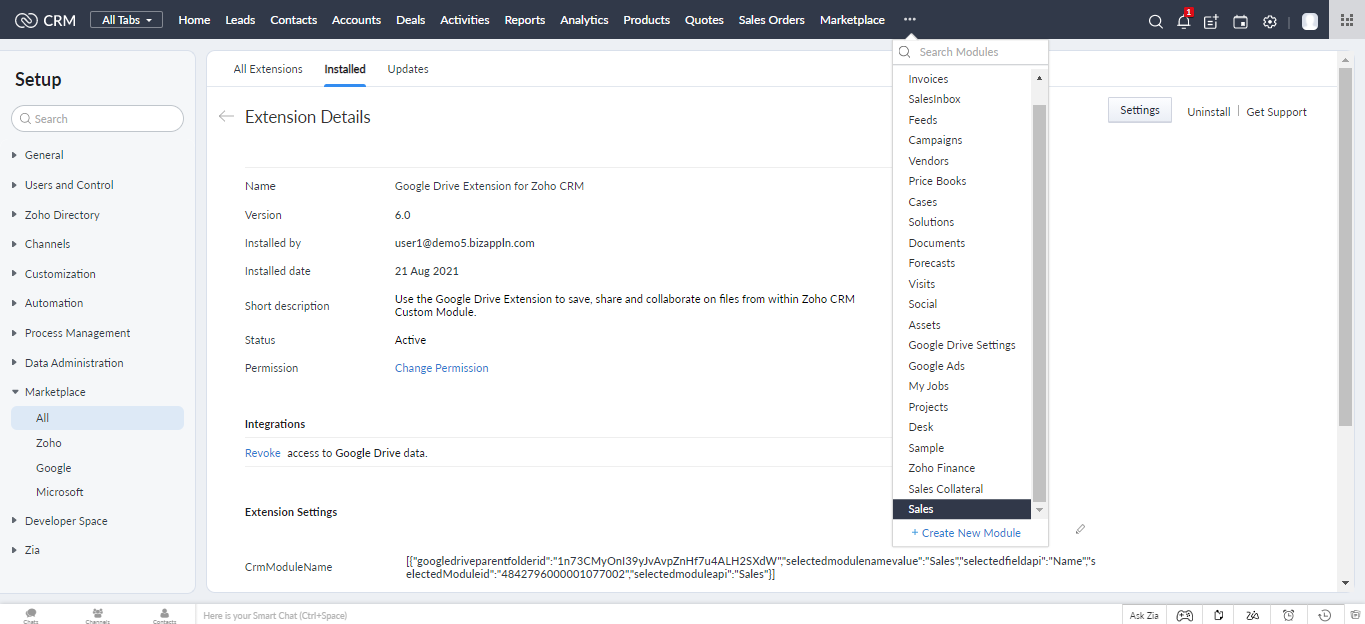
1.Click the three dots on Zoho CRM navigation bar. All the modules are listed in the drop down.
2.Select the Custom Module to add a record.
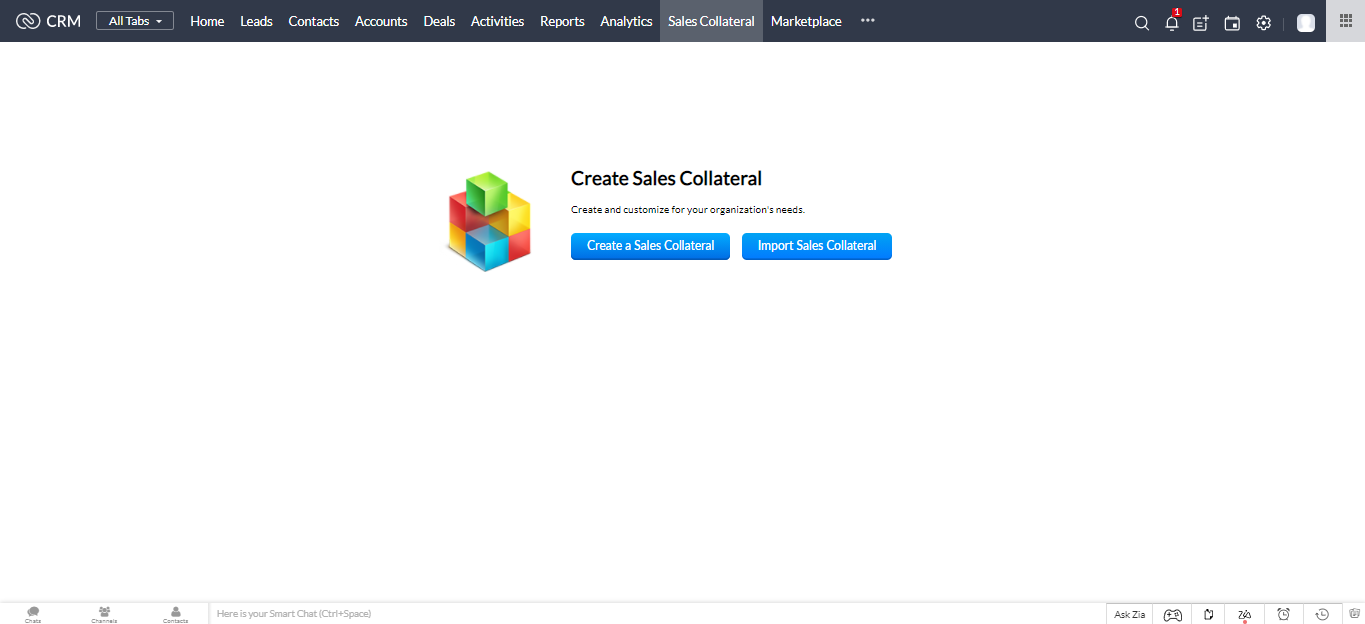
3.Click on Create a <> button.
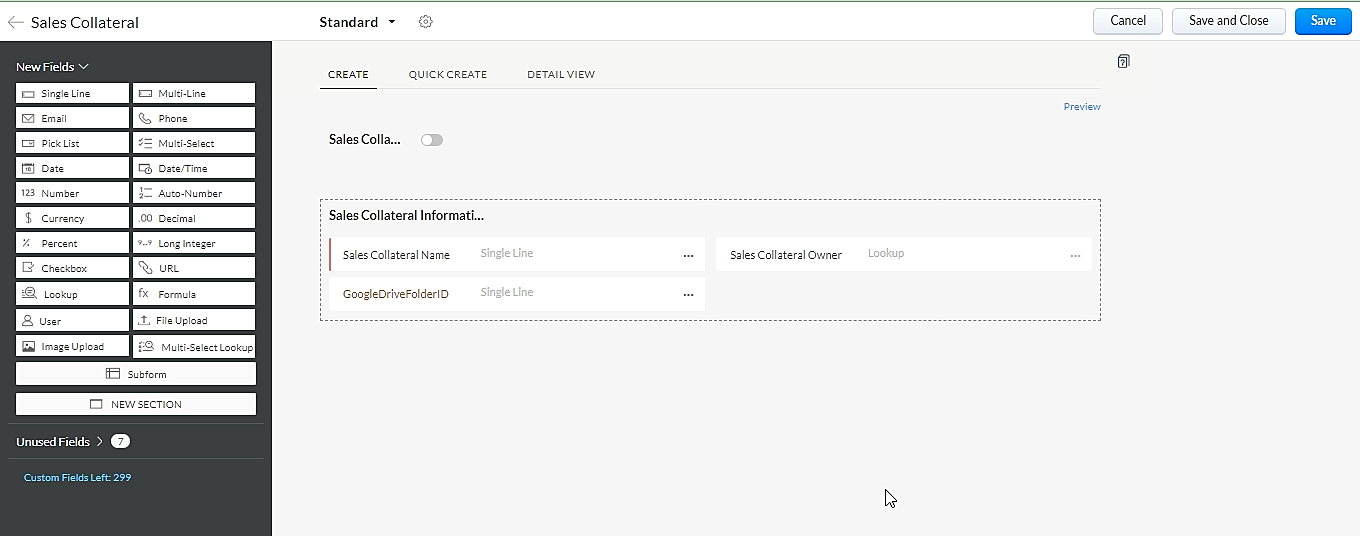
4.Now fill up the required fields.The name you have entered here will be your folder name in Google Drive.
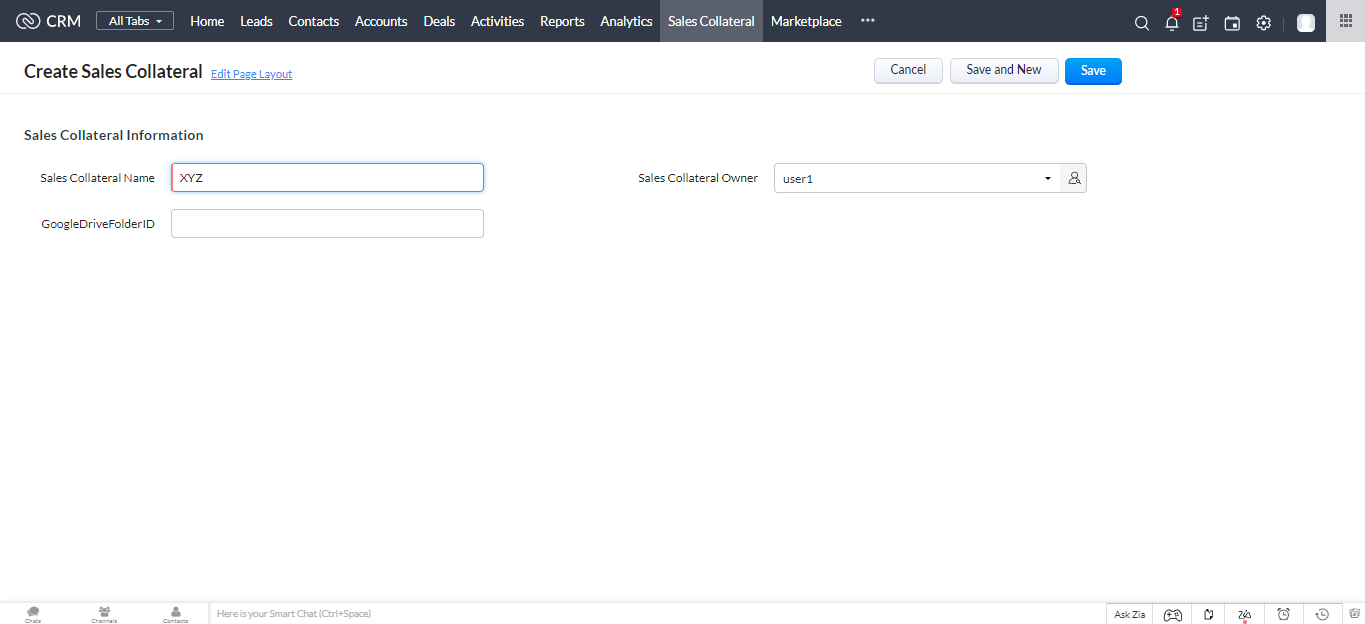
5.After entering the details, click Save.
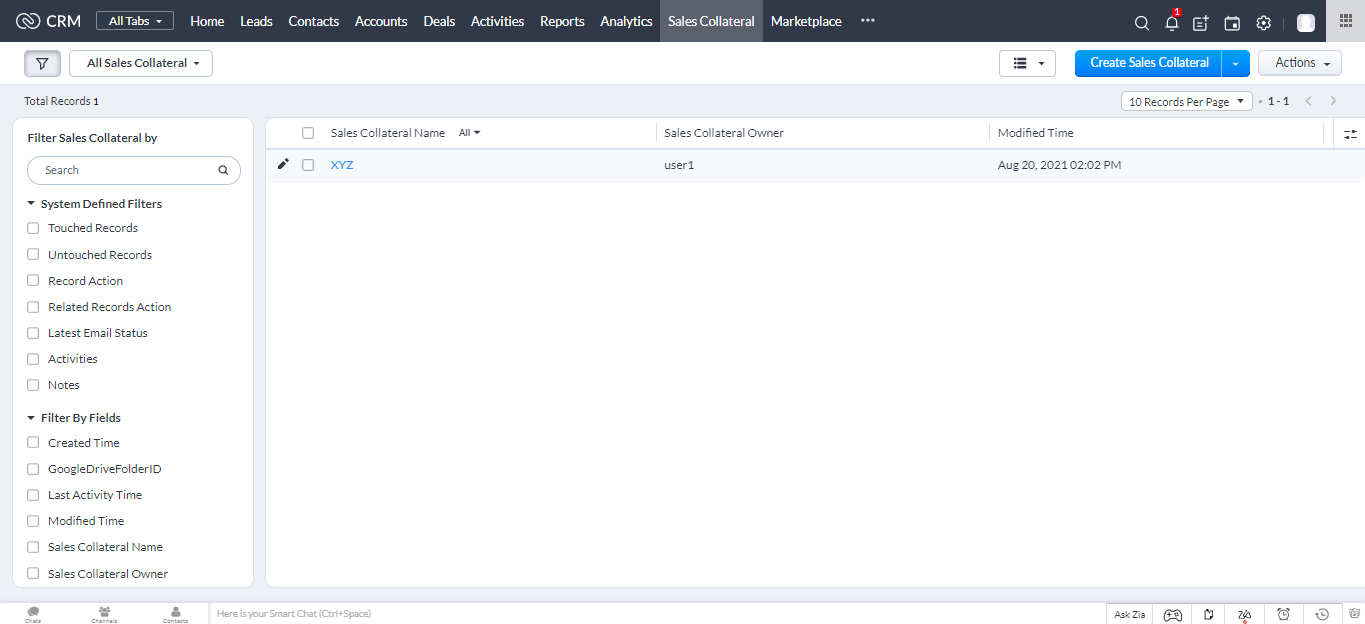
The record is now added to your Custom Module (N number of records can be added to your Custom Module).
Steps To Add Widget To Your Custom Module
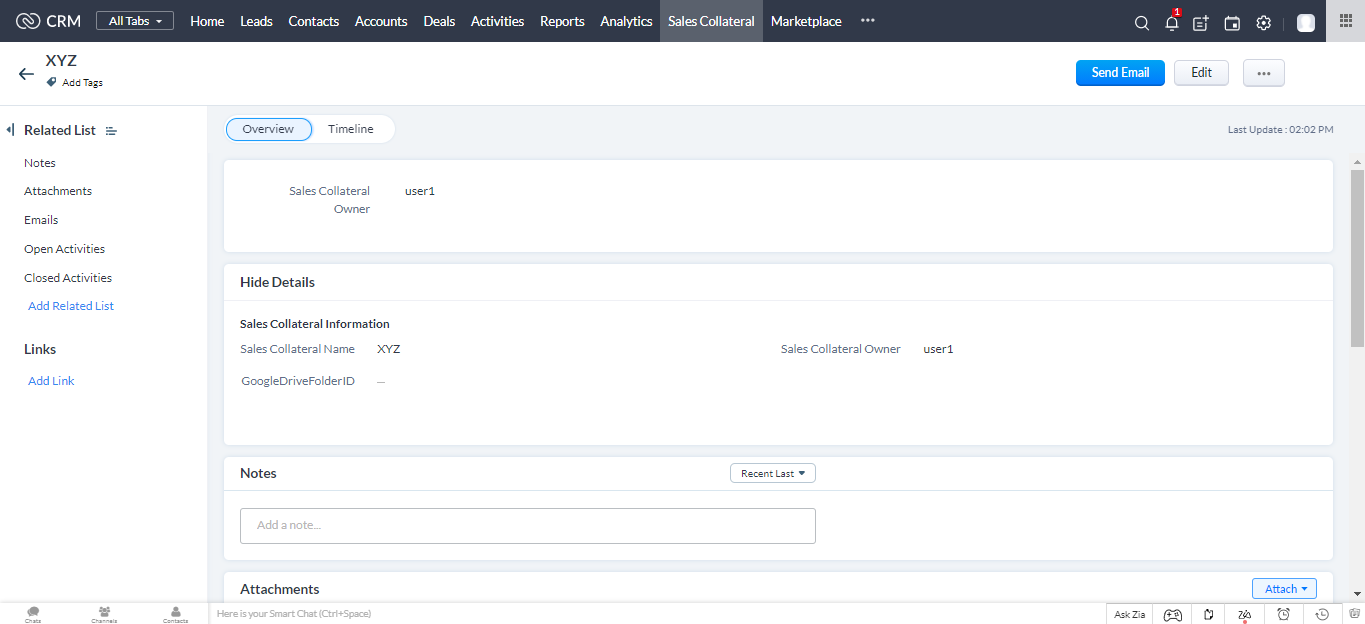
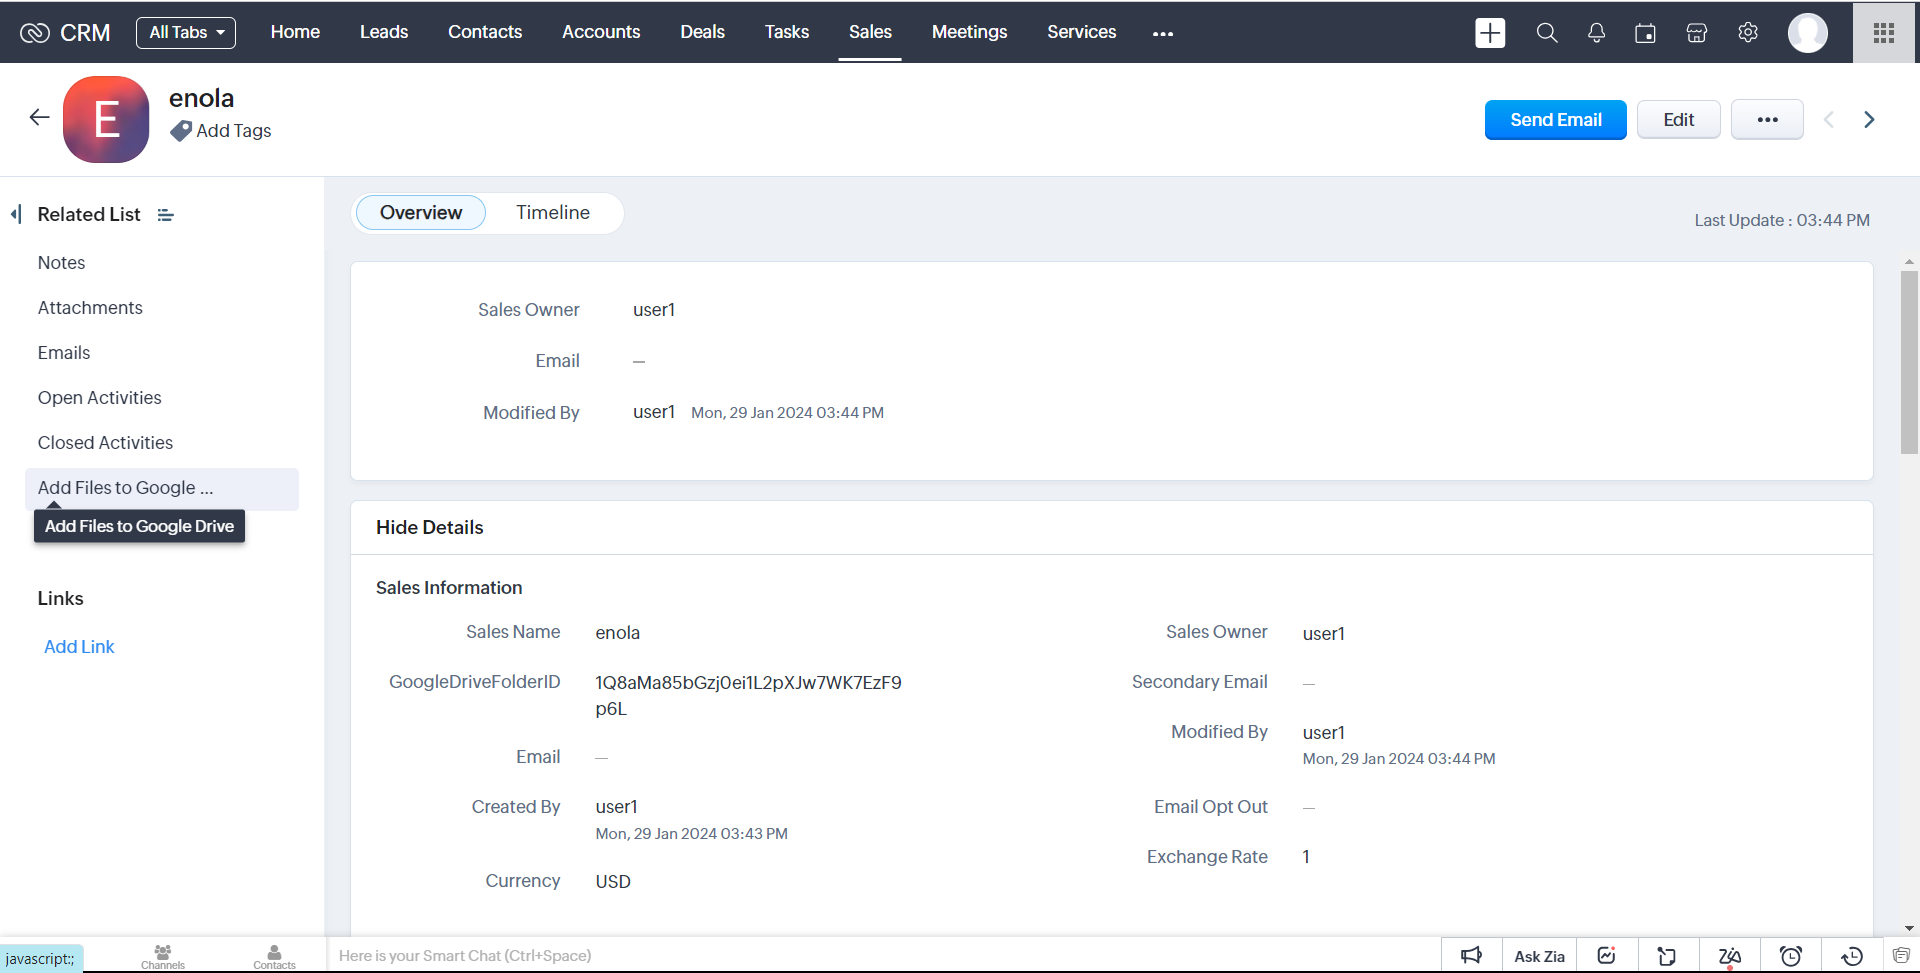
1.Click on the record you wish to add the Widget from the Custom Module.
2.You see Add Related List name from the left pane of the related lists.
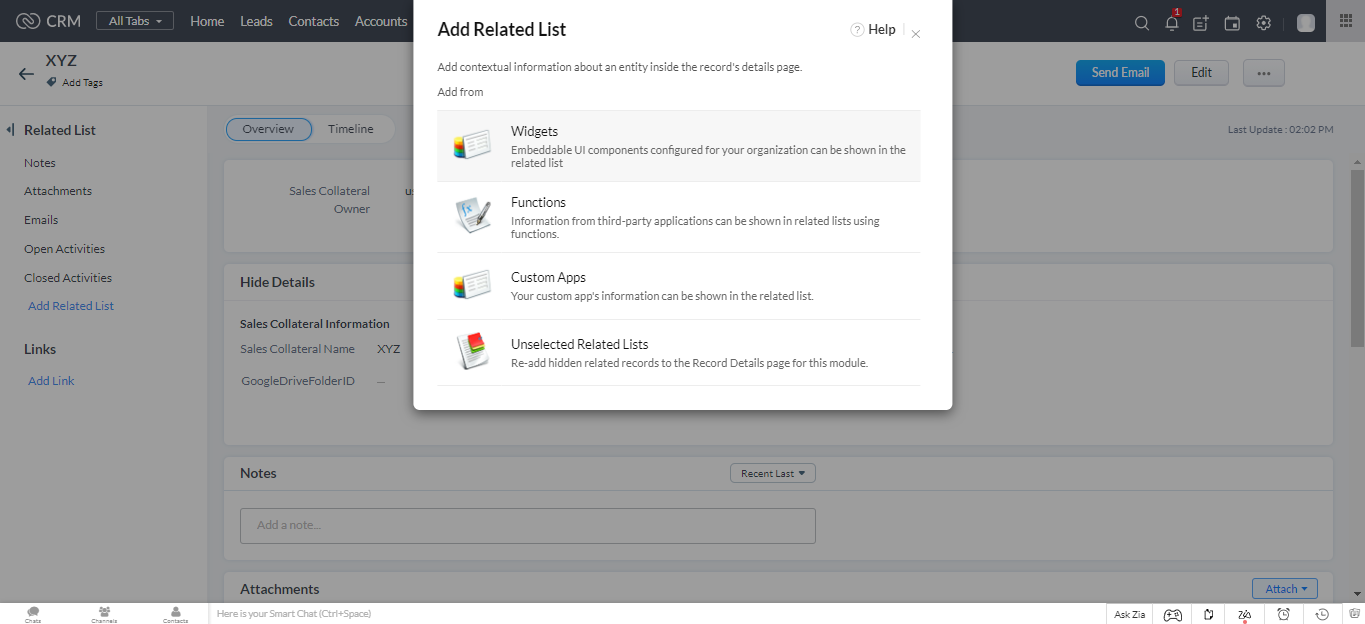
3.Click the Add Related List. A pop-up appears with multiple options (Widgets,Functions etc..)From that, Select Widgets from the list.
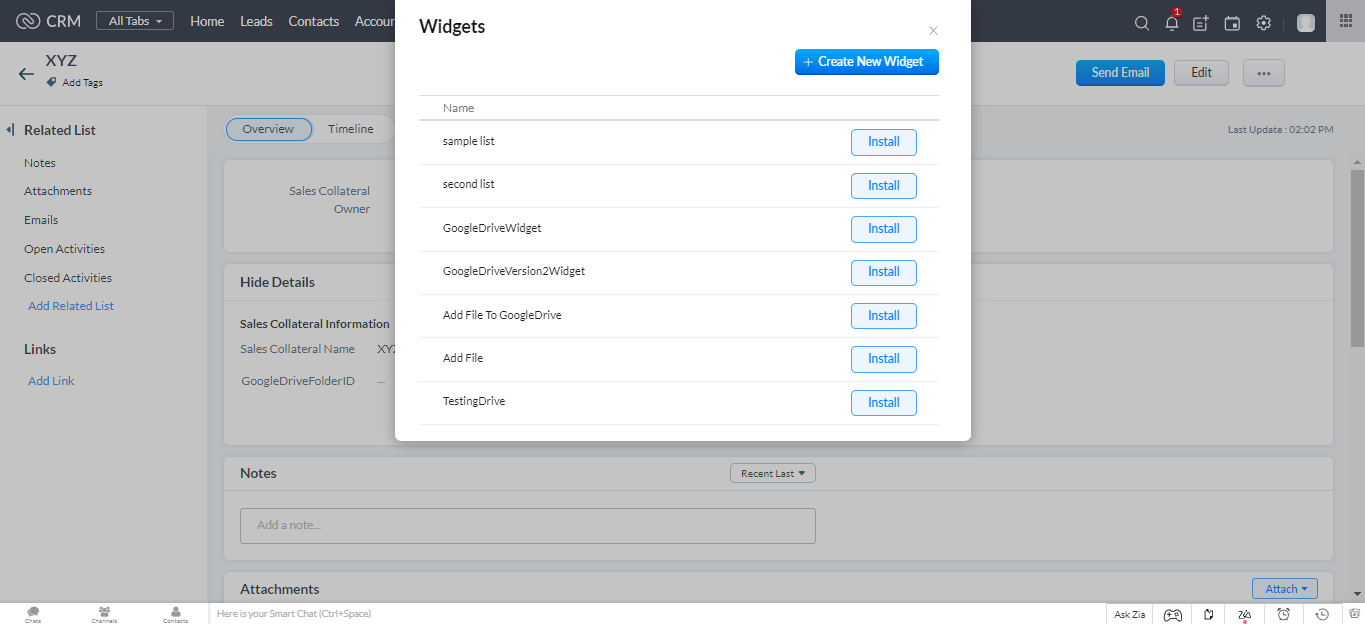
4.Click Create New Widget in the pop-up.
Fill up the required fields, Change Hosting from Zoho to External it prompts you to give the Base Url.
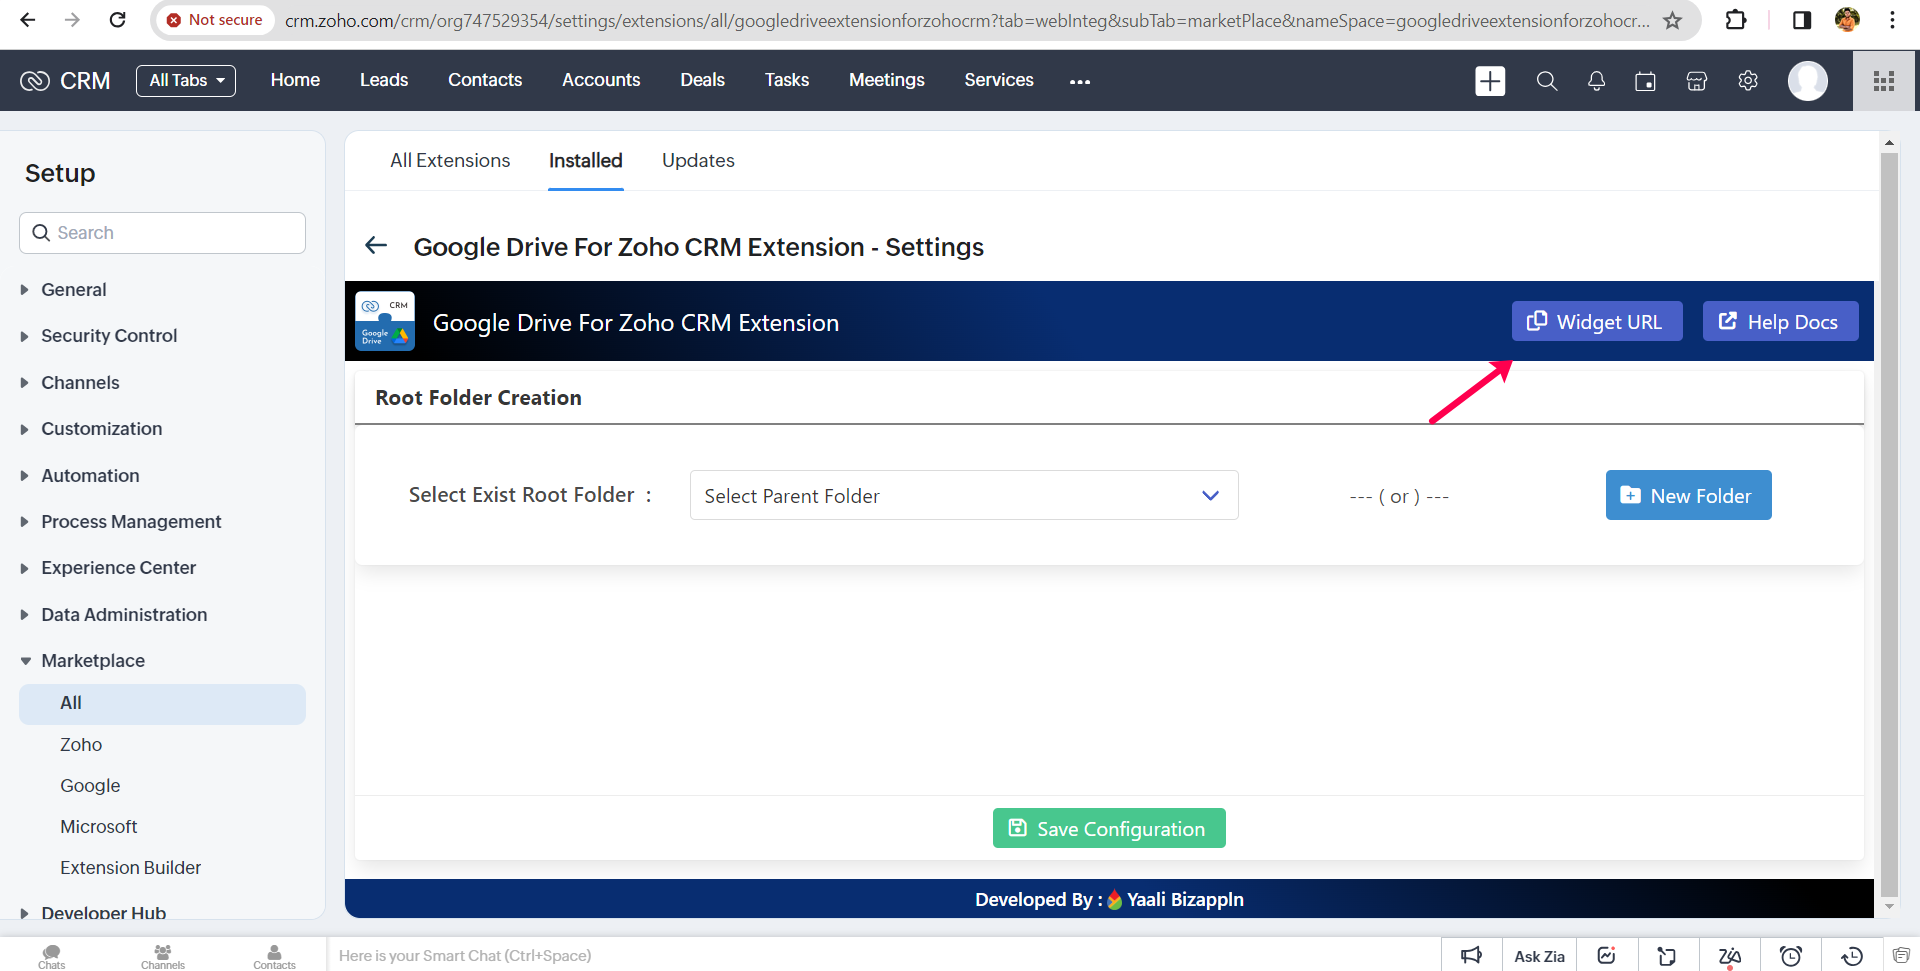
5.Now Go to Extention Settings Page and click the Widget URL Button, It will Copy the Base Url which is provided by us
6.Make sure to check the Base URl whether you have correctly copied and paste it on Base URL Input Box.
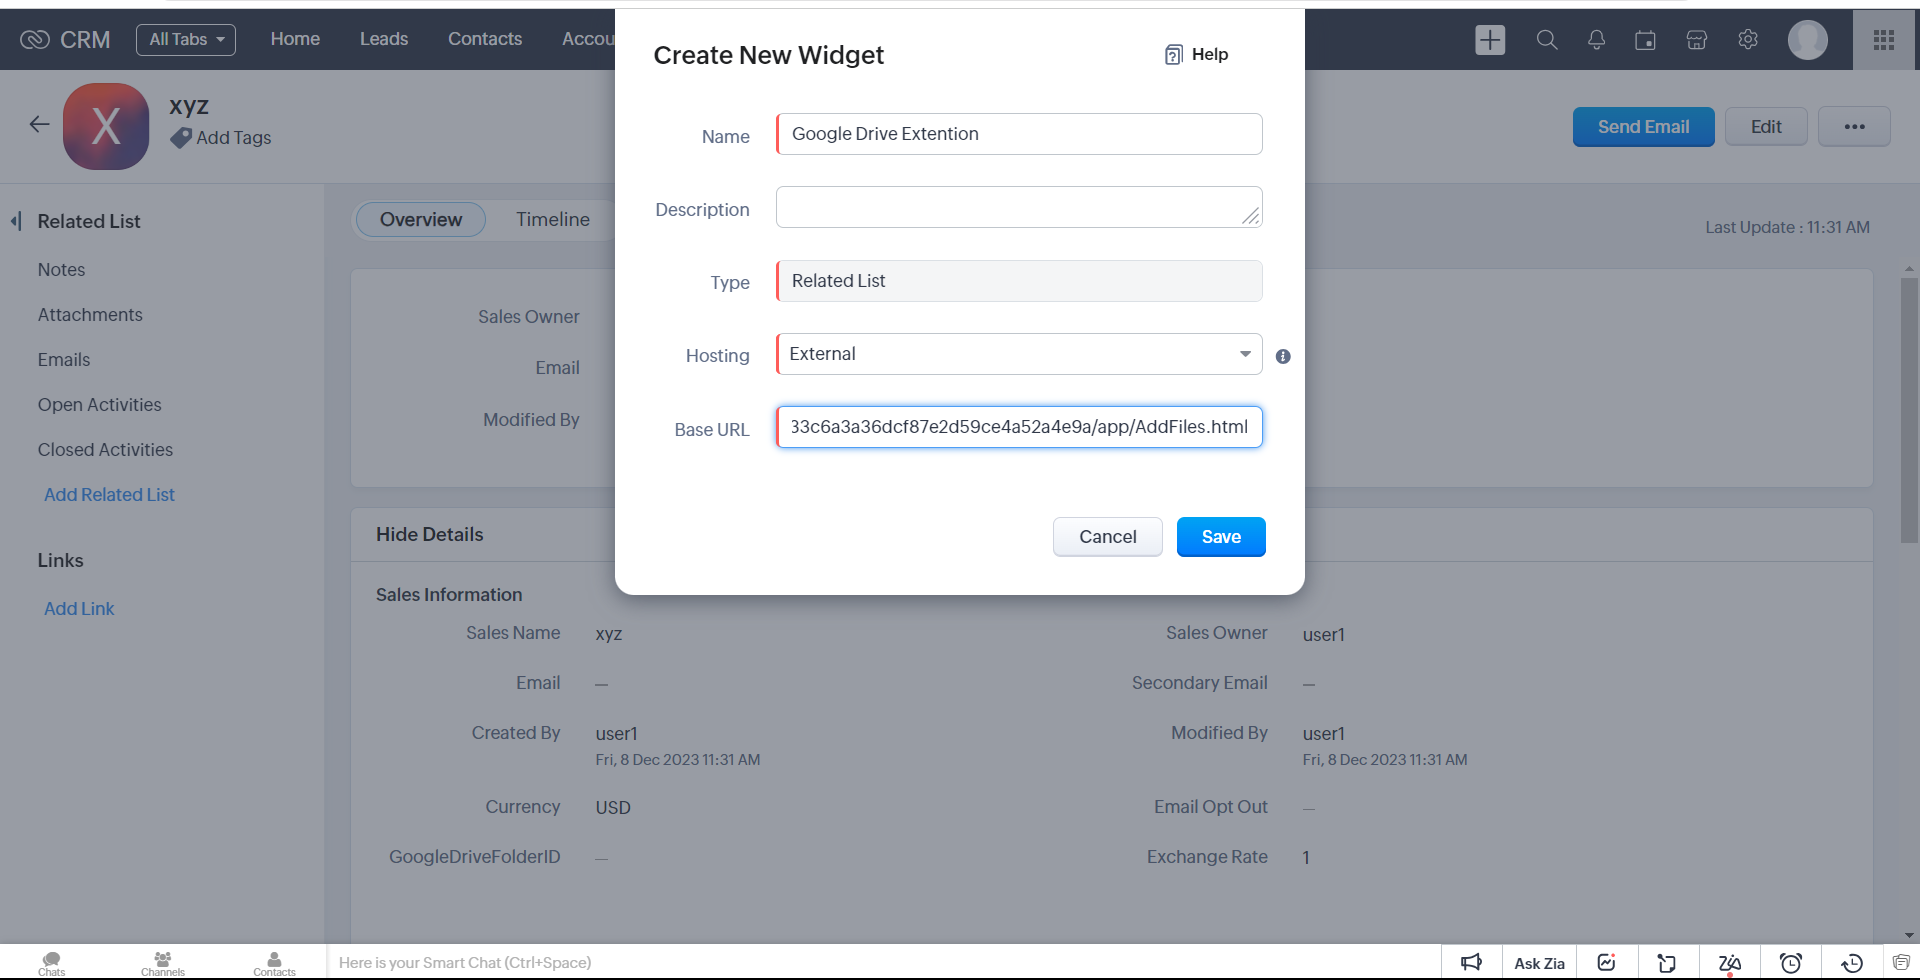
7.Finally, Click Save.
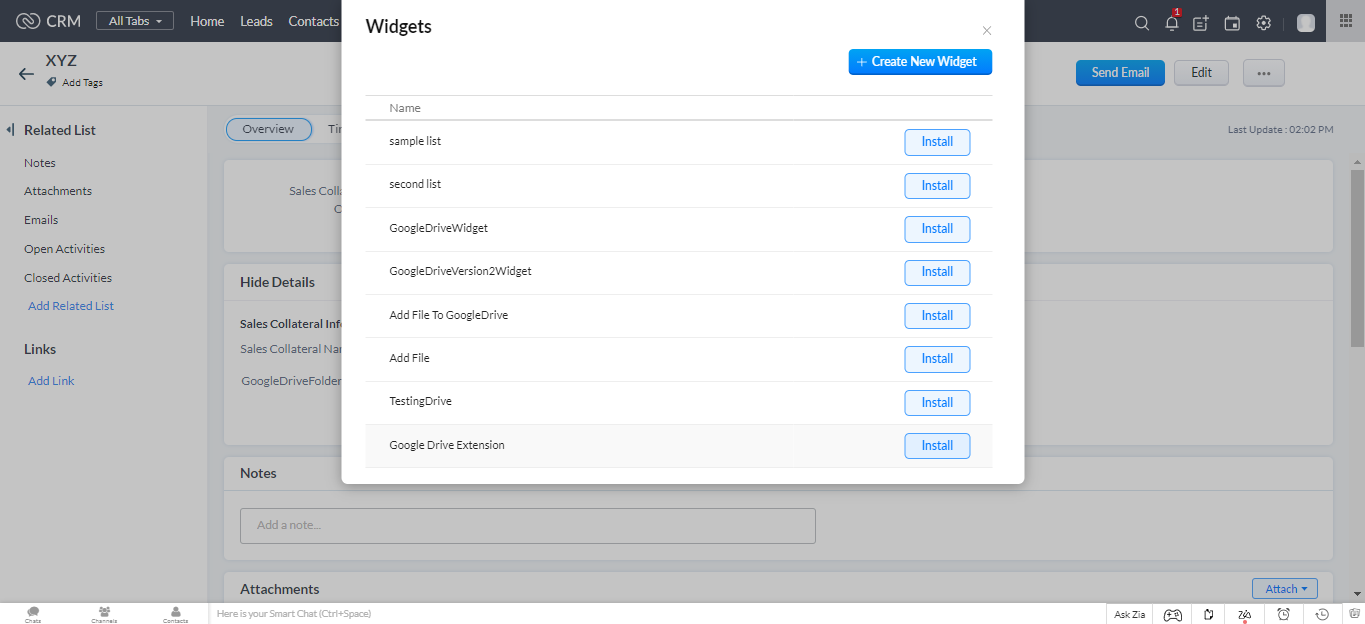
8.The Widget is saved, Now you need to install the widget with the name you specified.
"GoogleDrive Extension" is the name we give it in this step of the installation. To install, click on that name.
9.Now it prompts you to enter the Custom Related List Name.
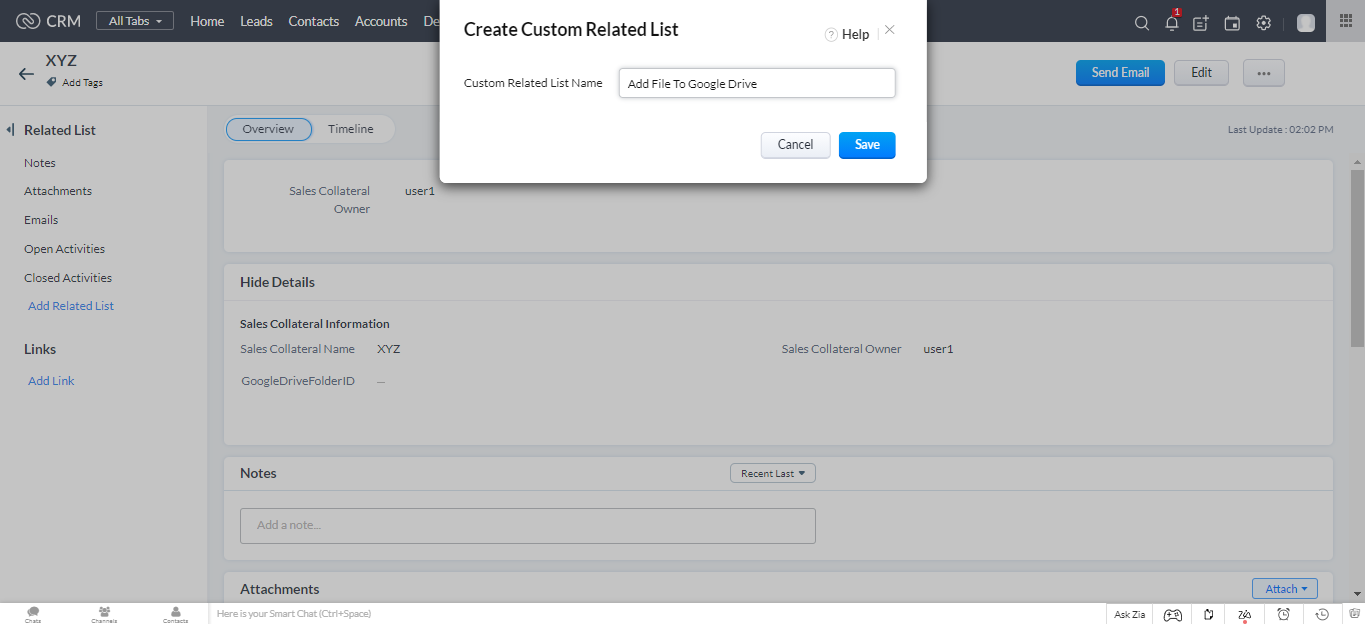
10.Give the Appropriate name for the Custom Related List Name and then Click Save.
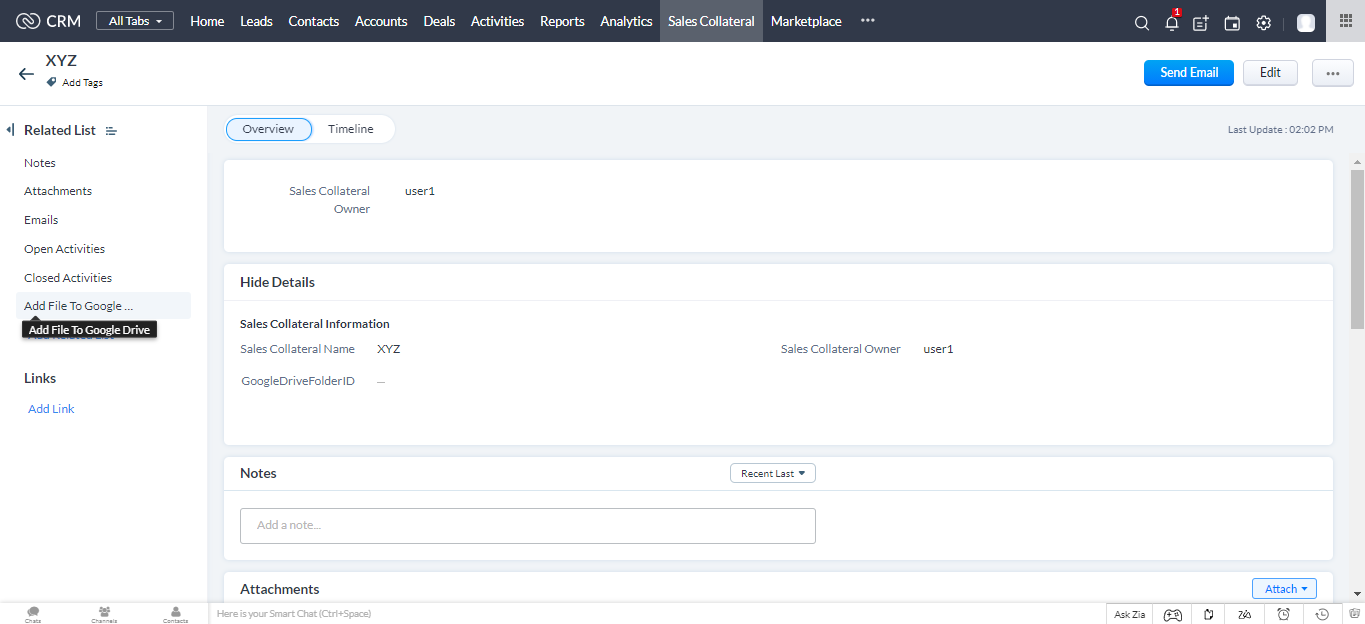
11.Now then widget is added on the left pane of the Related List.
1.Go to Setup > Marketplace > All.
2. Select Installed Tab.
All the extensions installed in your CRM account are listed below.
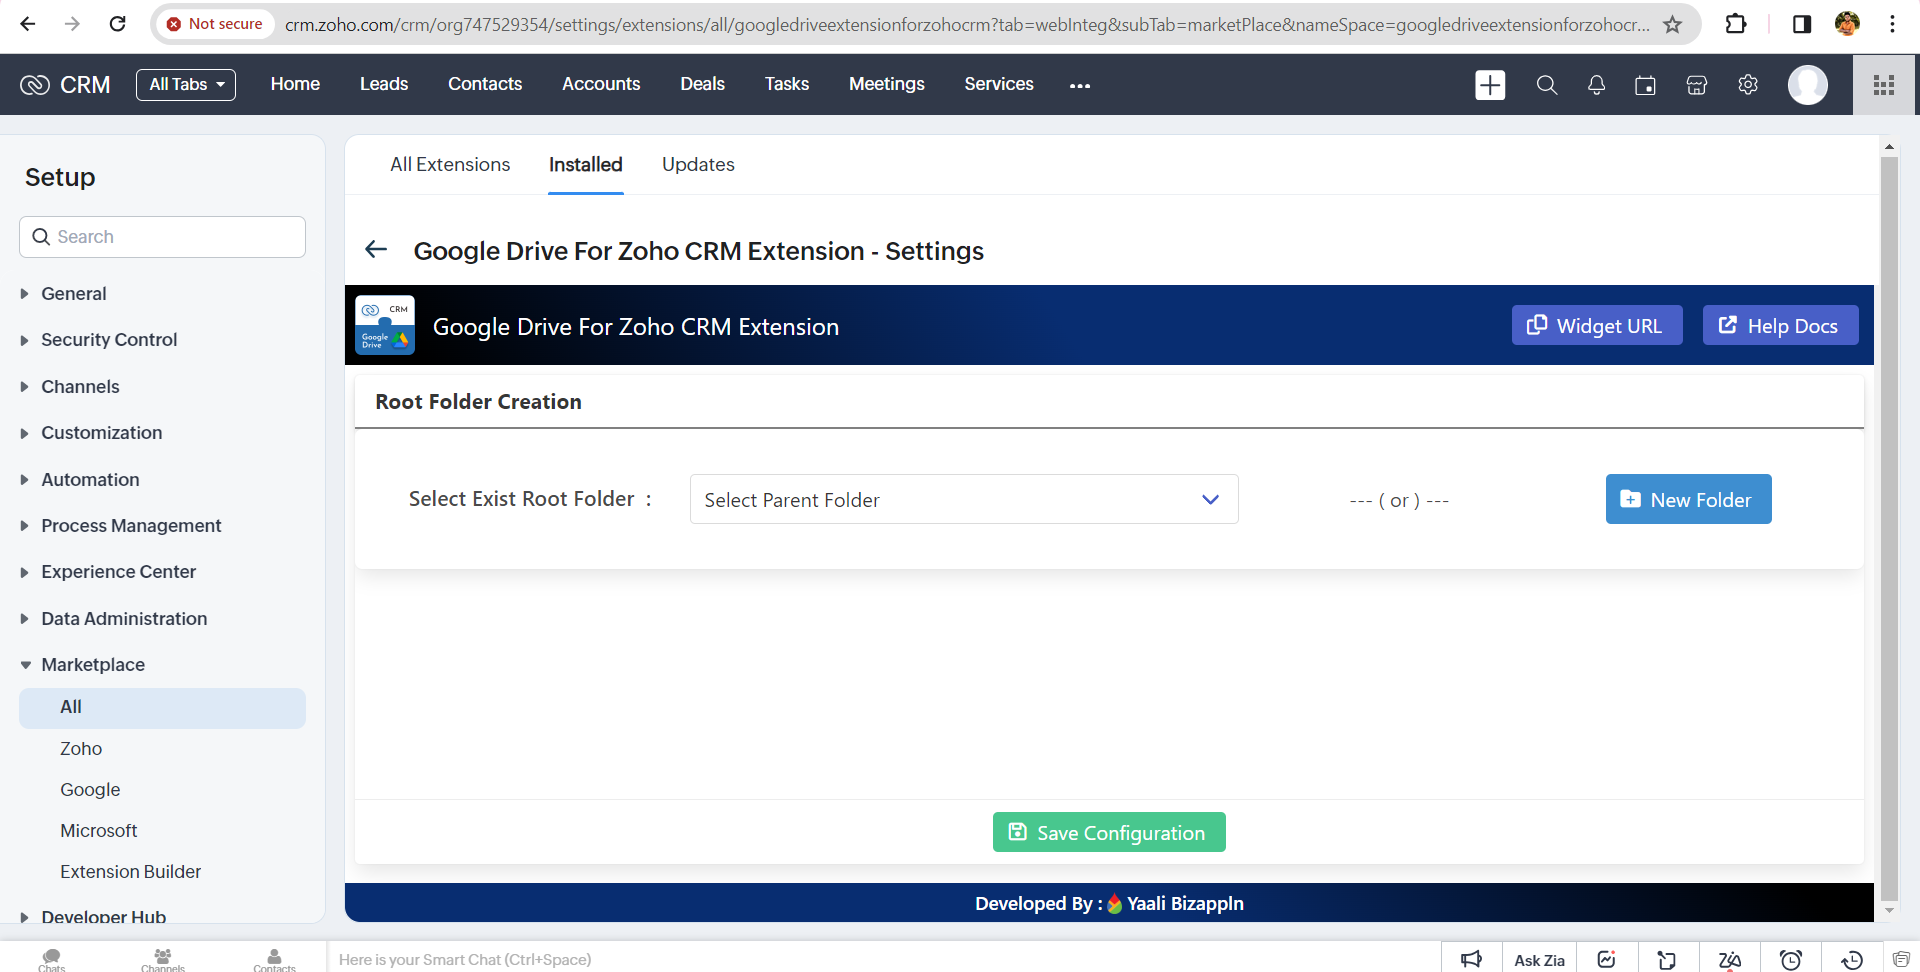
3.Click Settings on Google Drive For Zoho CRM Custom Module extension.
Now the setting page for the extension is opened.
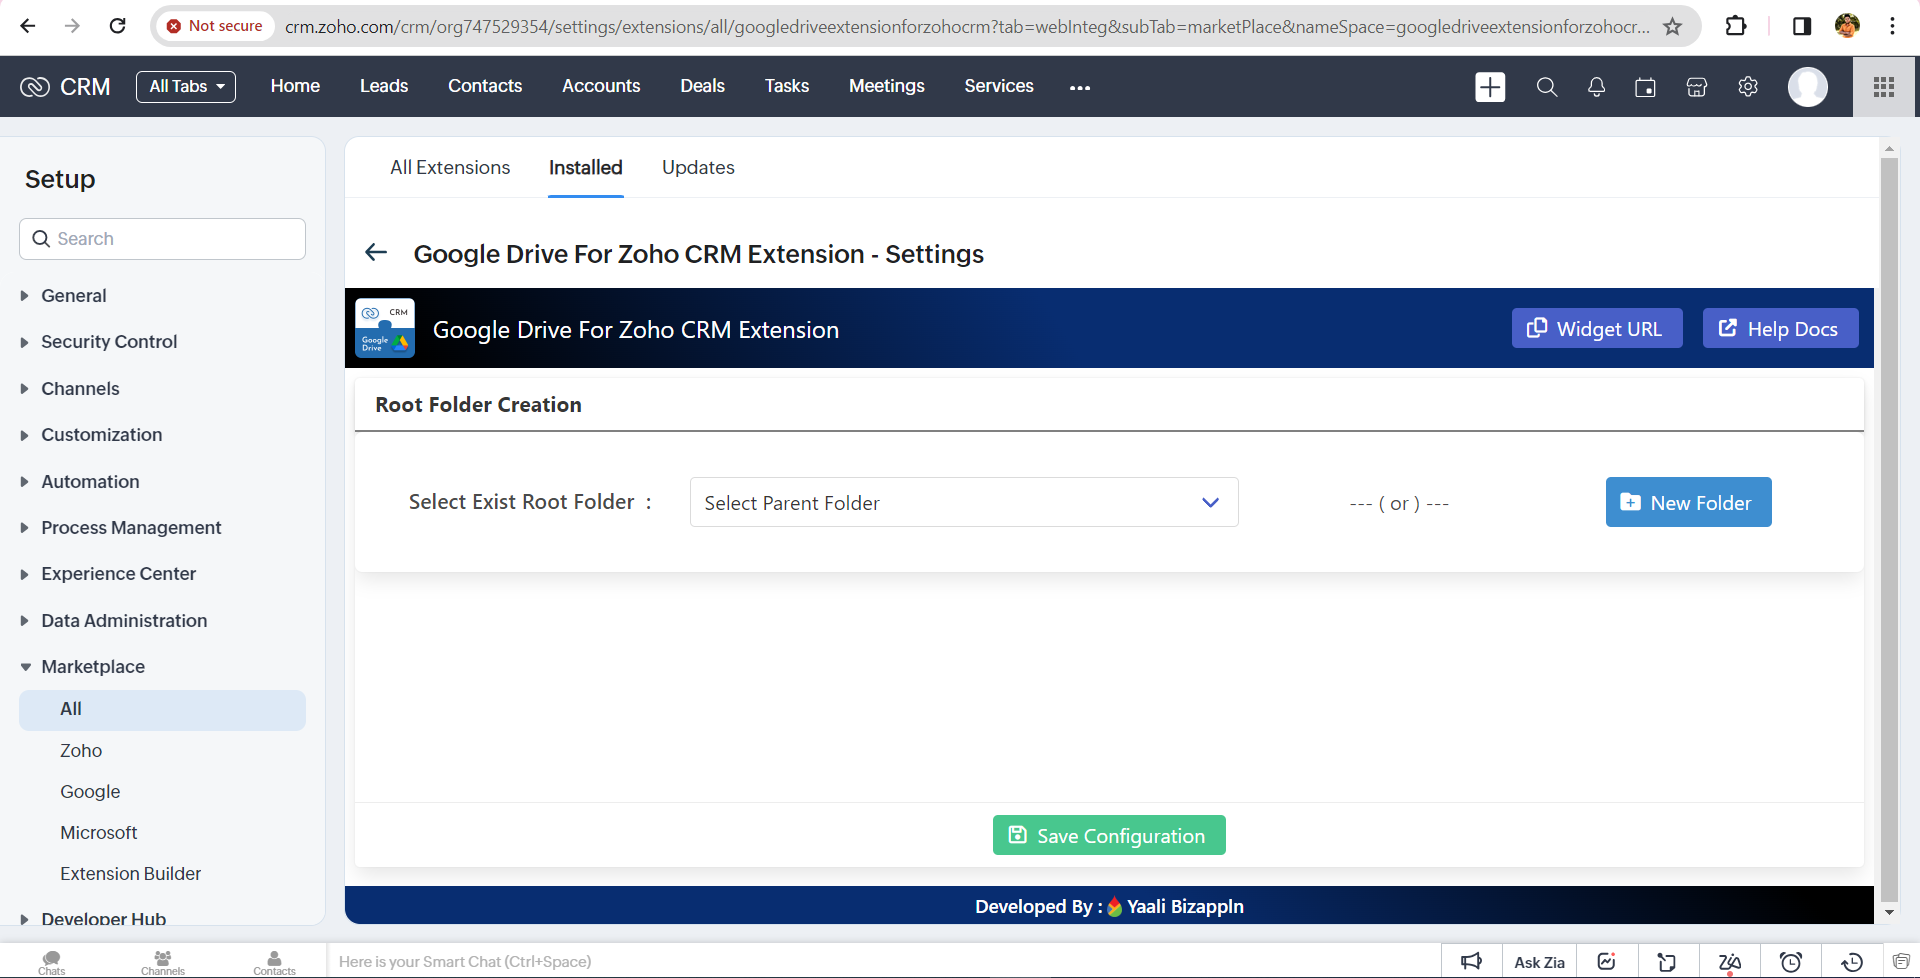
4.You can Configure the Root folders in two ways : "New folder" Creation and Select the "Existing Root Folder".
New Folder
1.You can click the New Folder button in setting Widget page
2.It shows the popup and enter the root folder name and click Create Folder Button
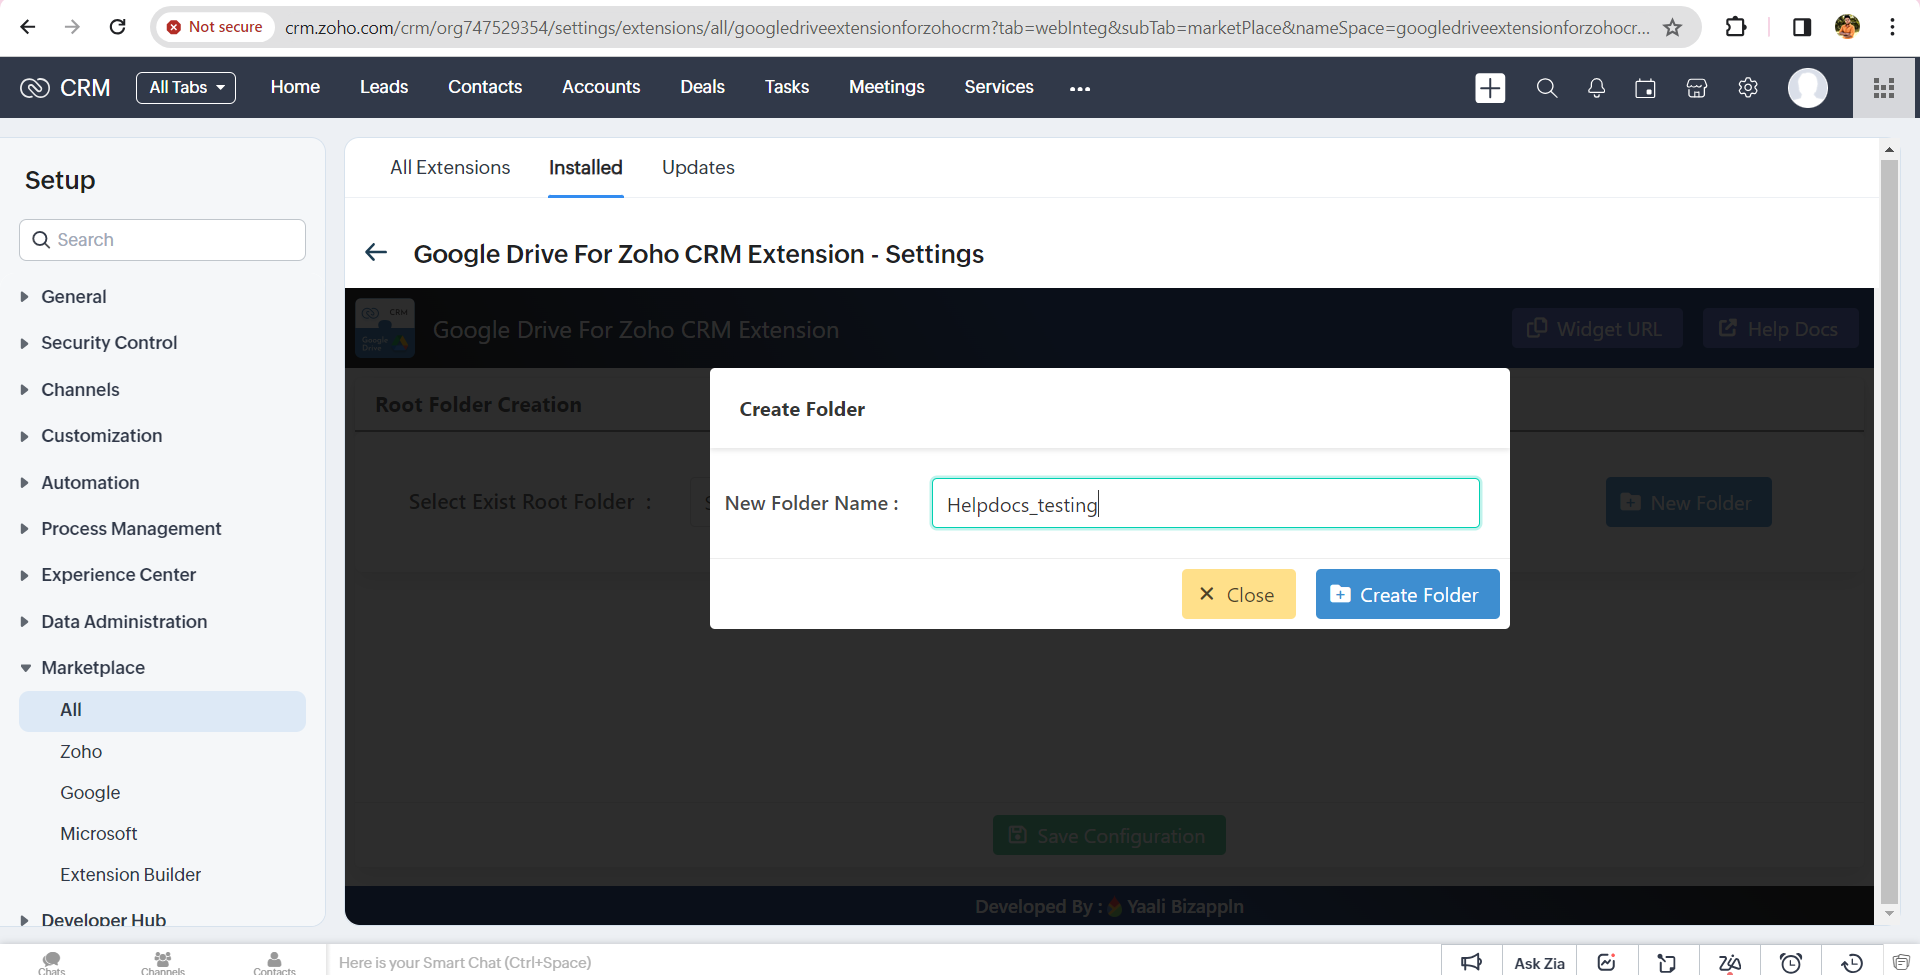
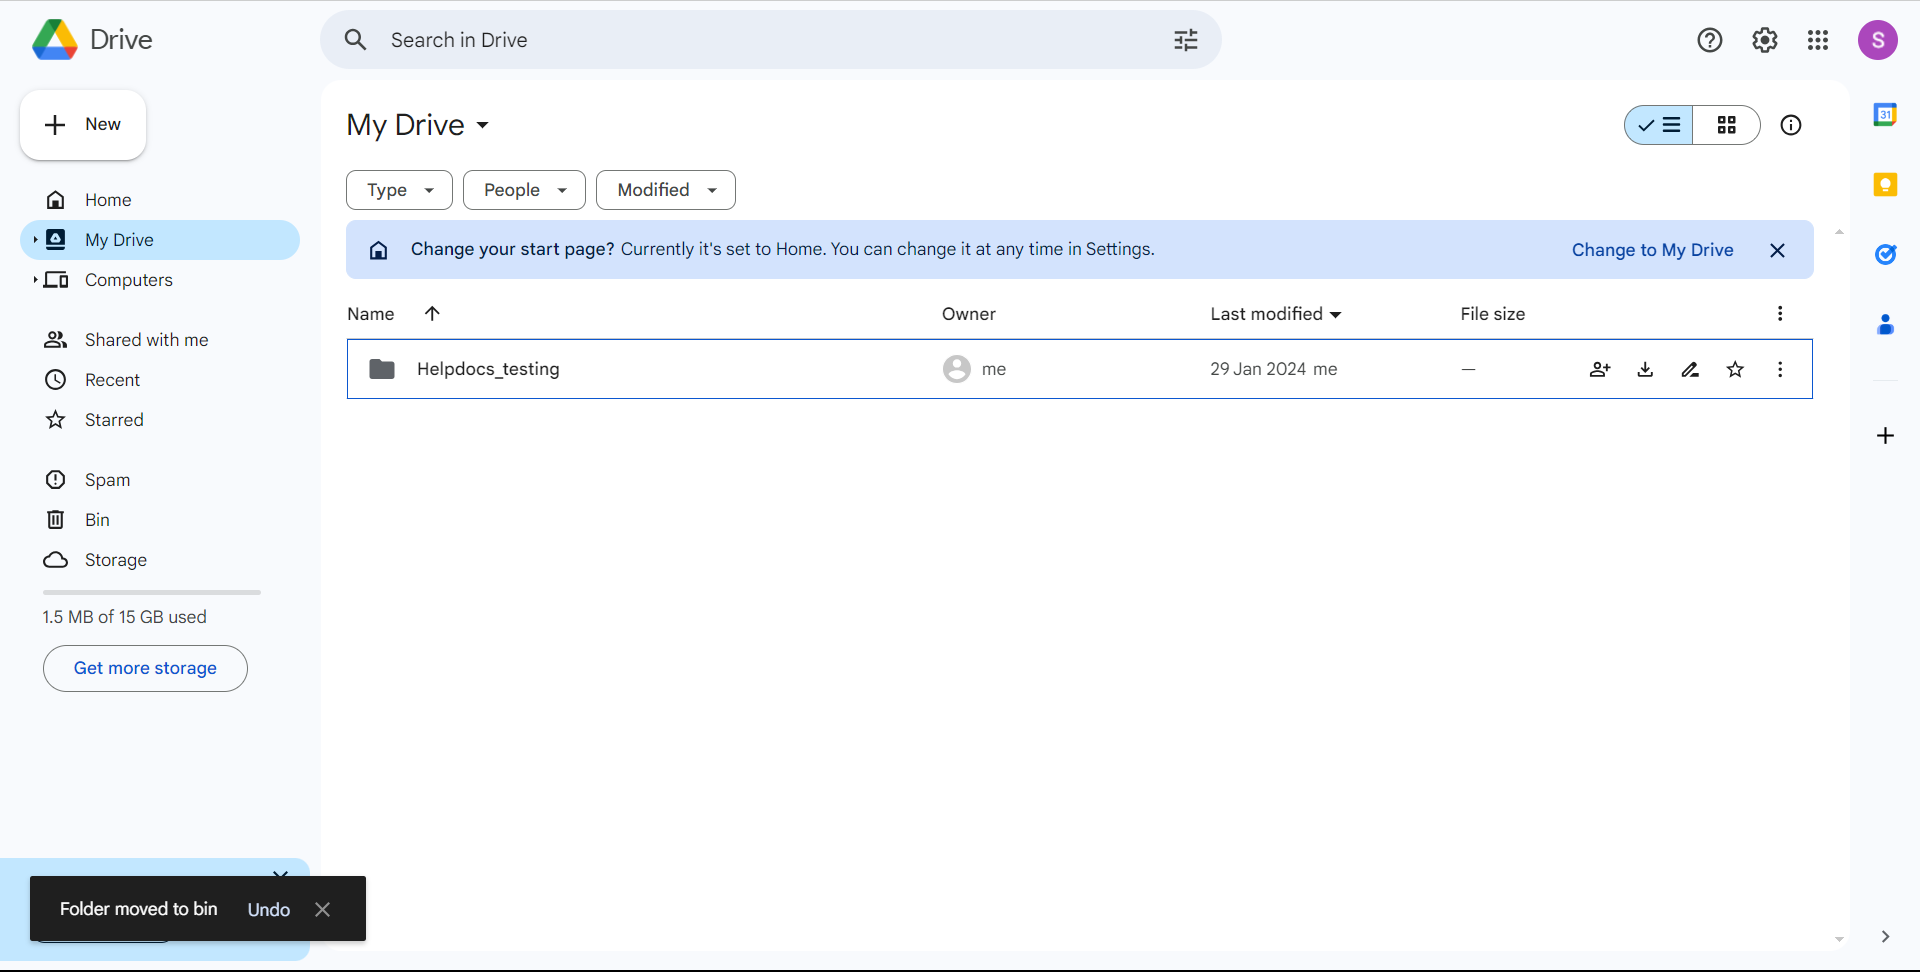
3.it will automatically create a folder in your Google Drive and then this folder Configured in our extention
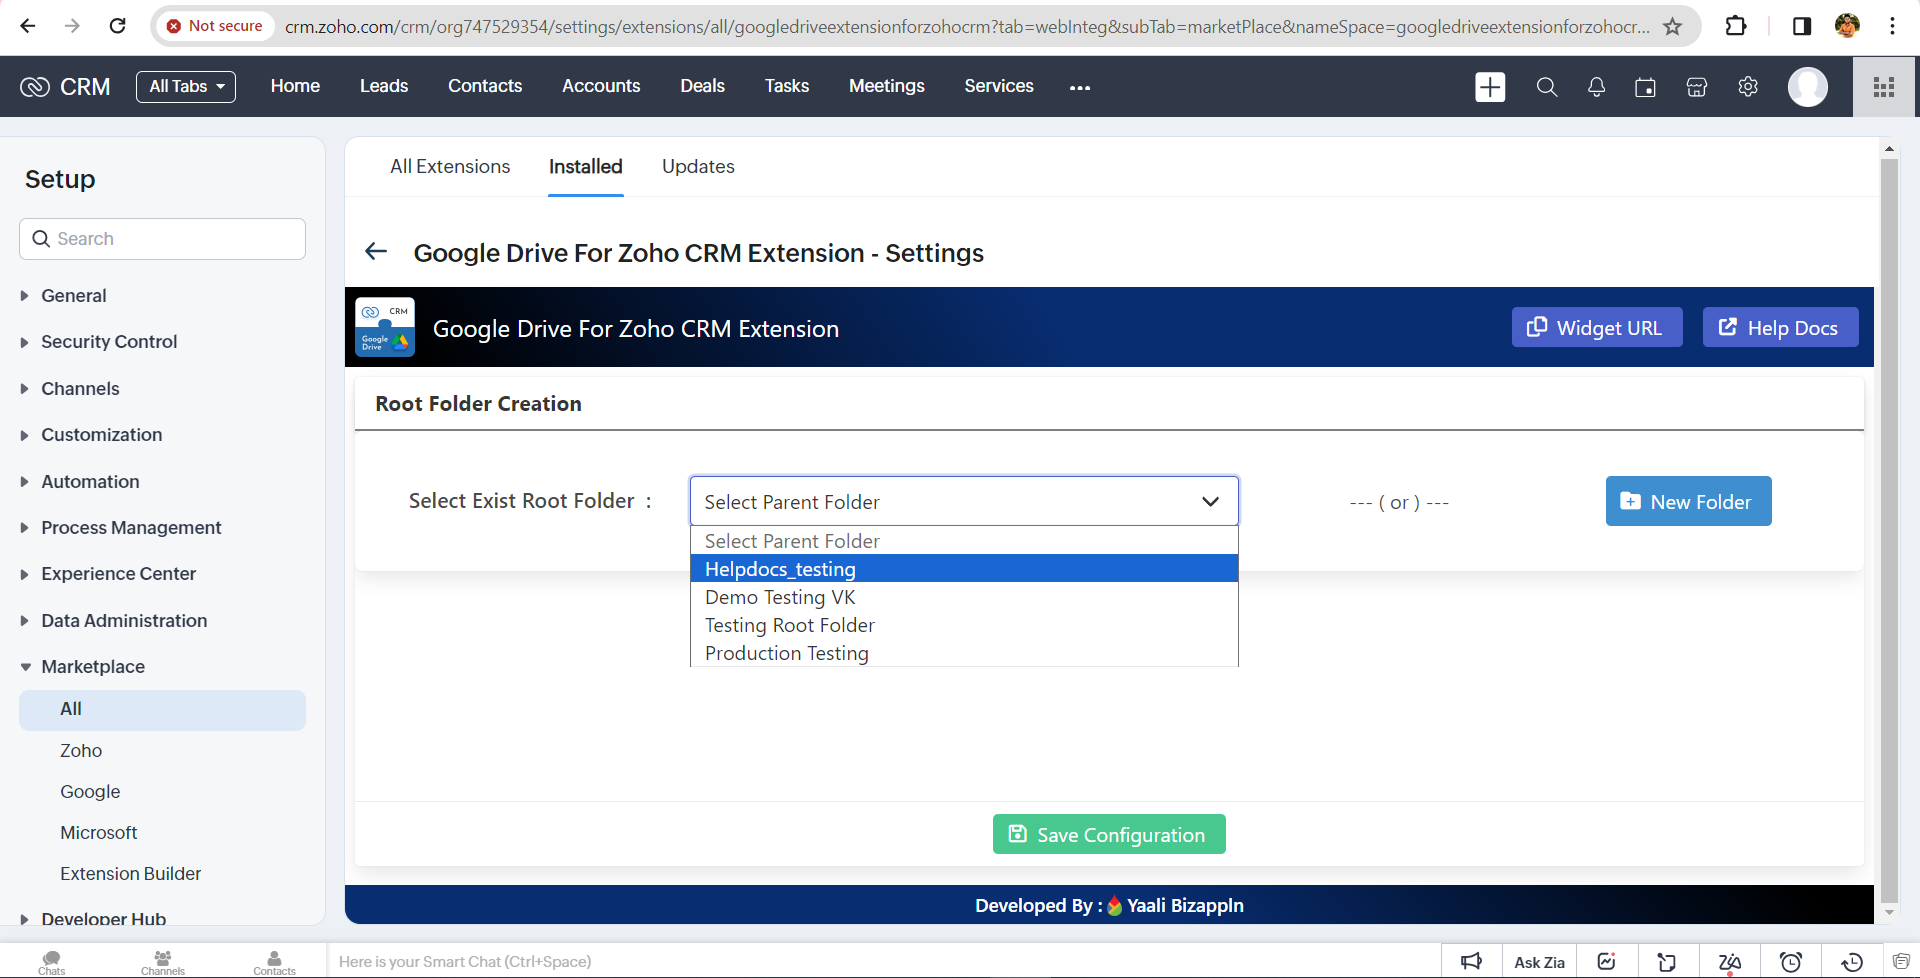
Select Existing Root Folder
1.Only folders created through our extension will be displayed. The folders not yet created through this extension will not be shown.
2.You can select the folder and click the Save Configuration button to save the Root Folder.
3.then it will be automatically redirected to Configuration page.
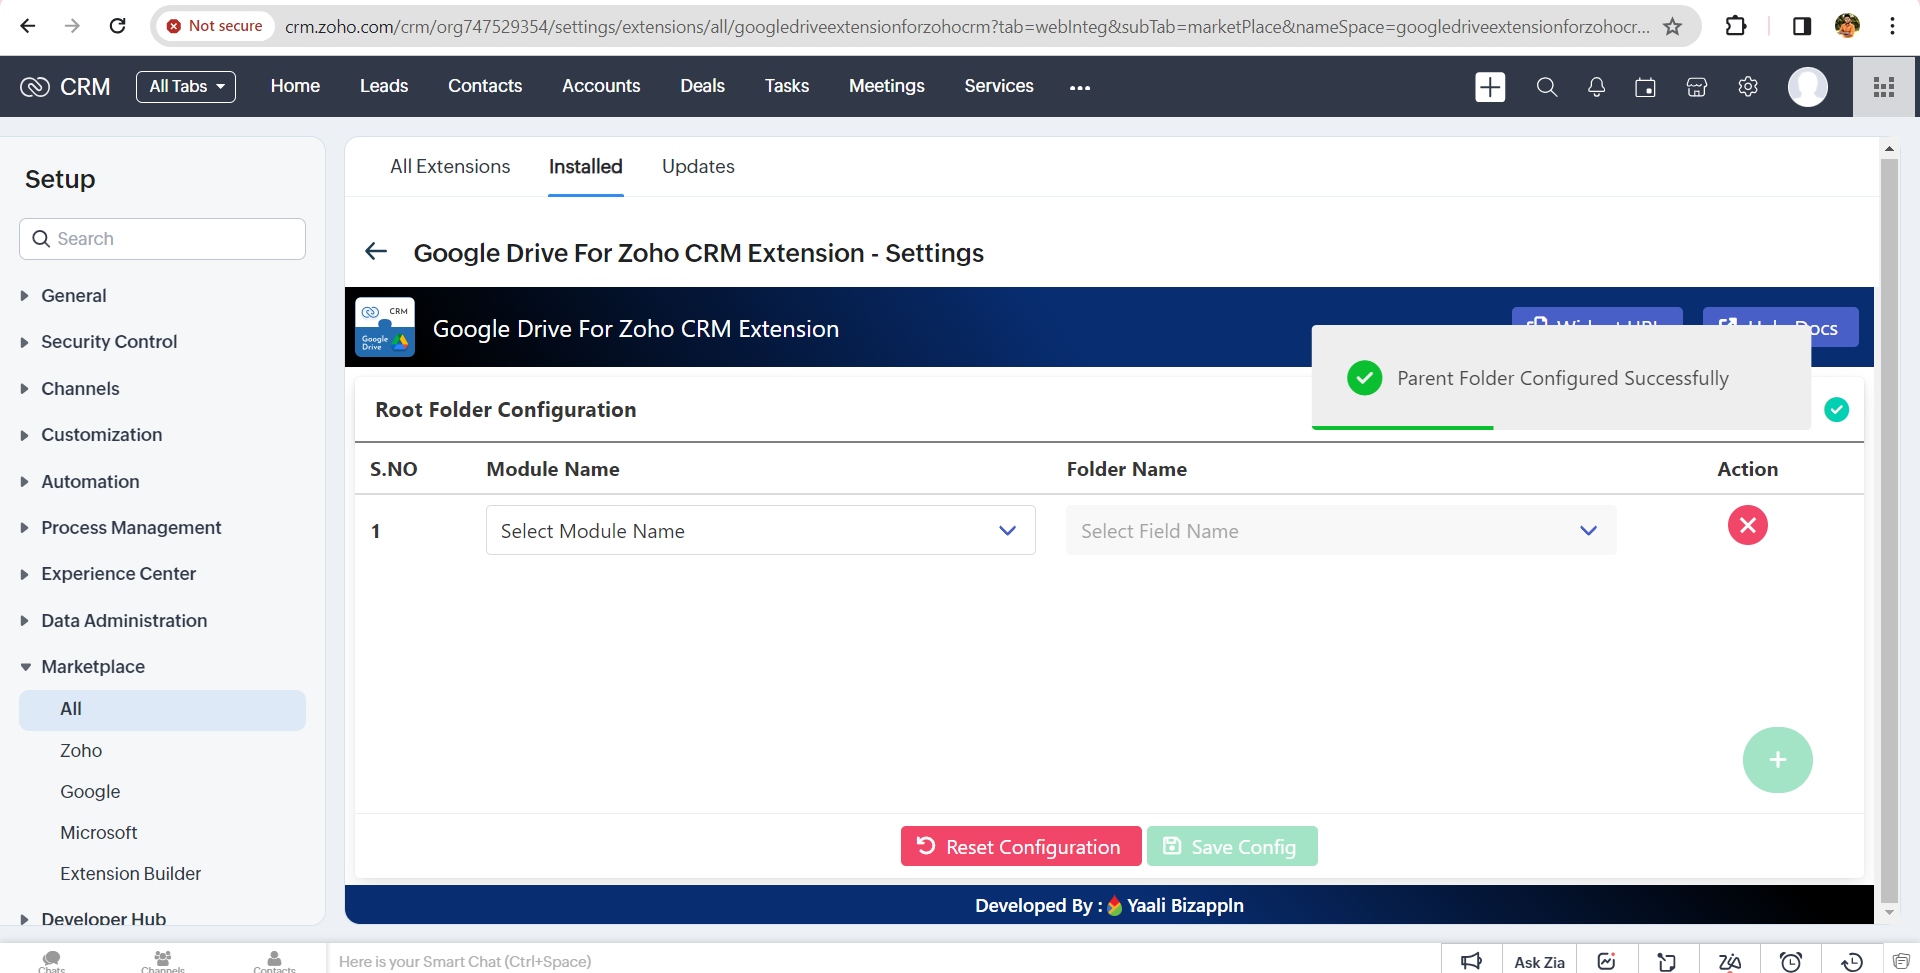
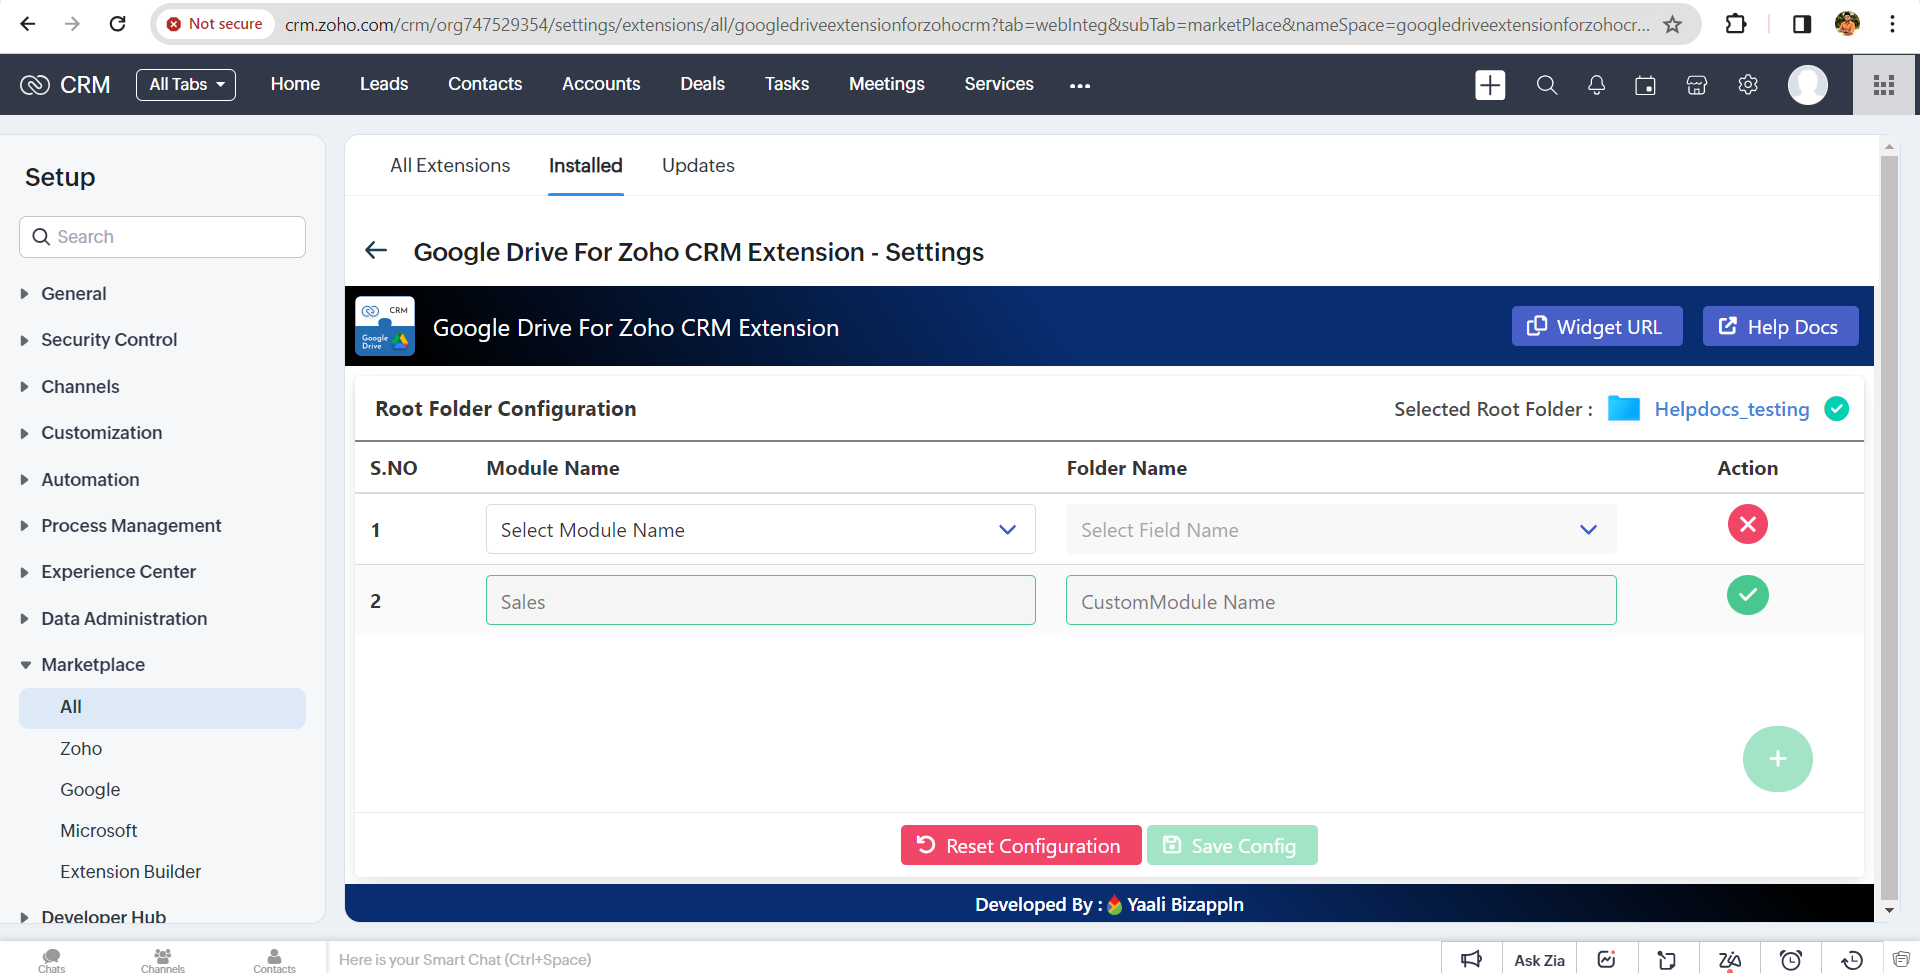
4.Then select Module Name and Field Name.
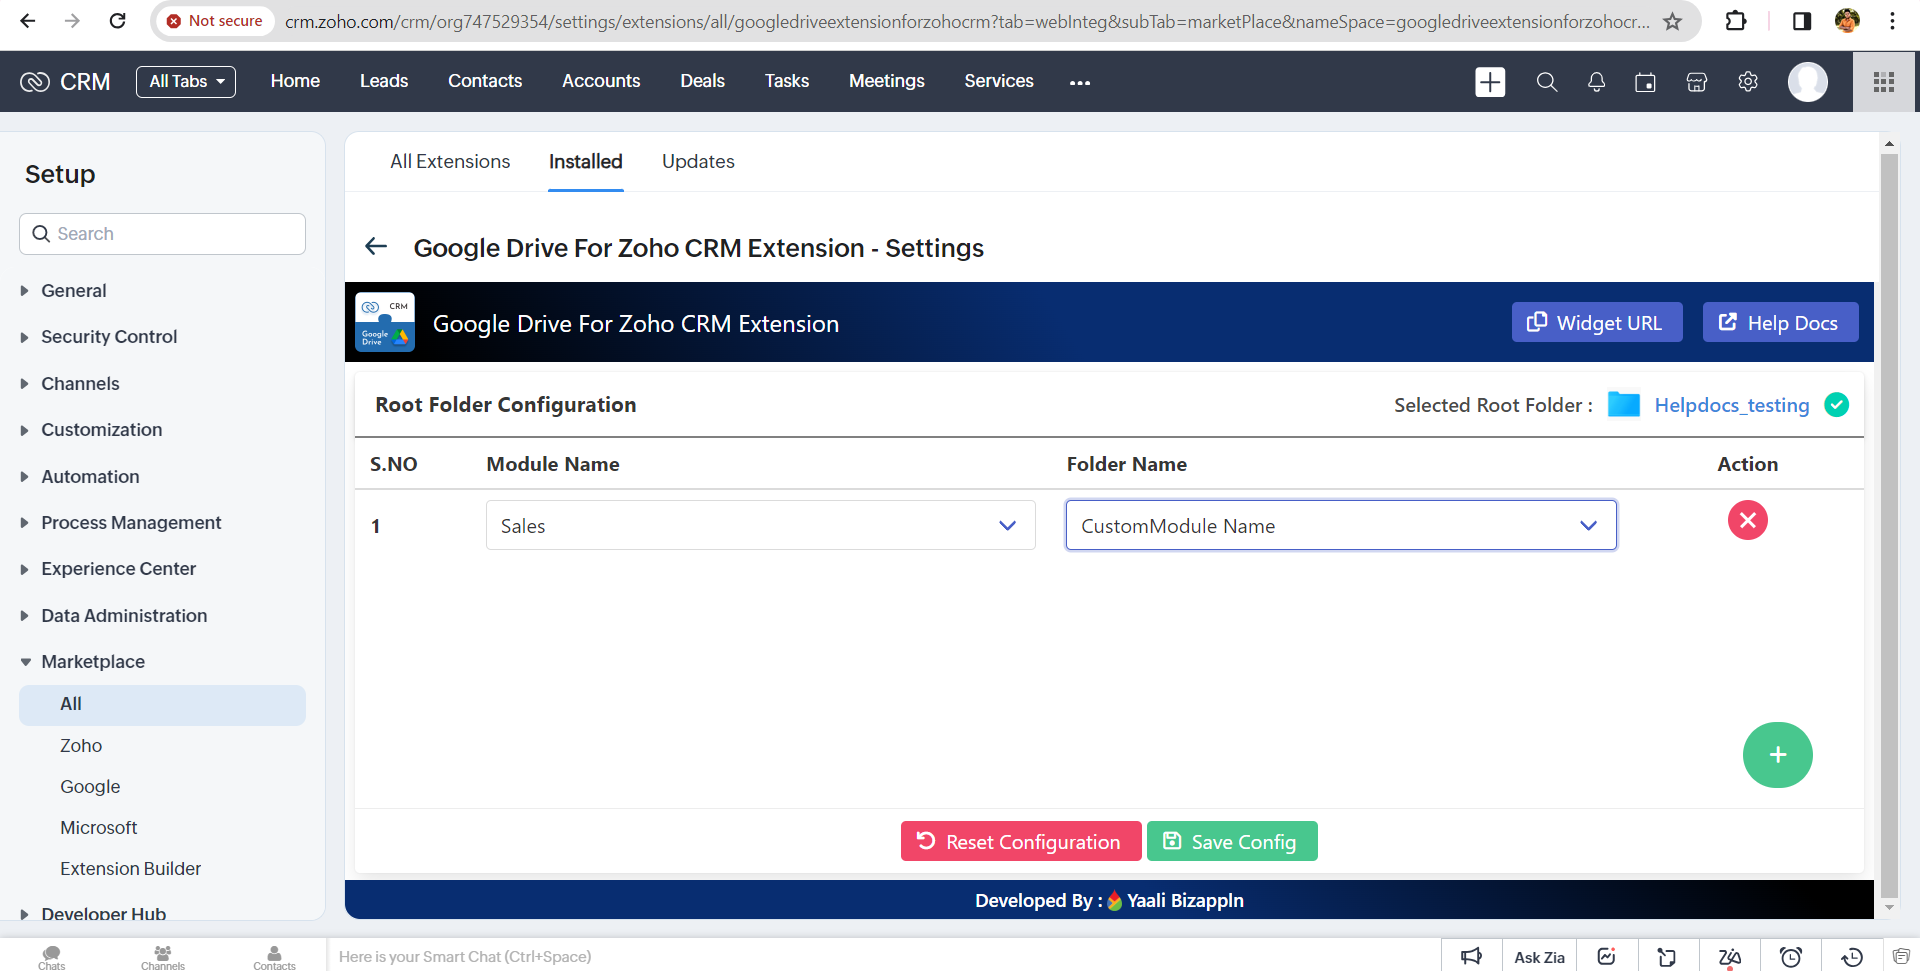
5.Click Save Config button then It will save the module.
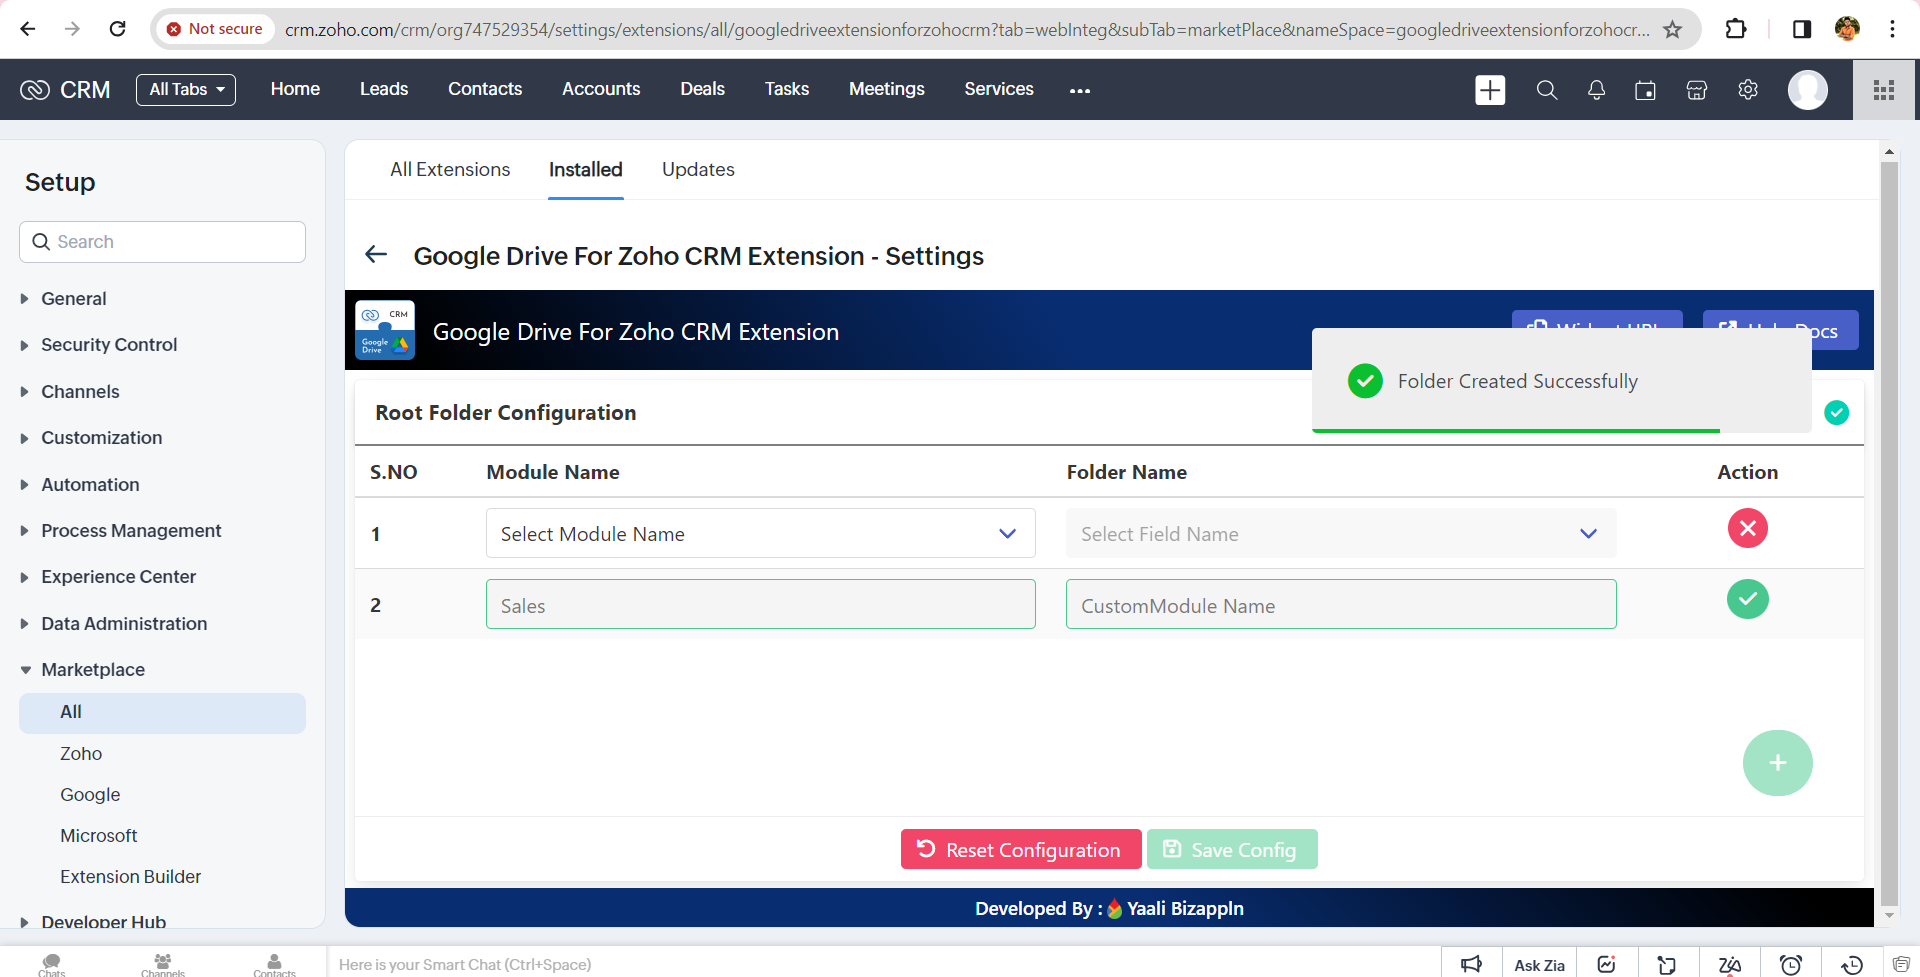
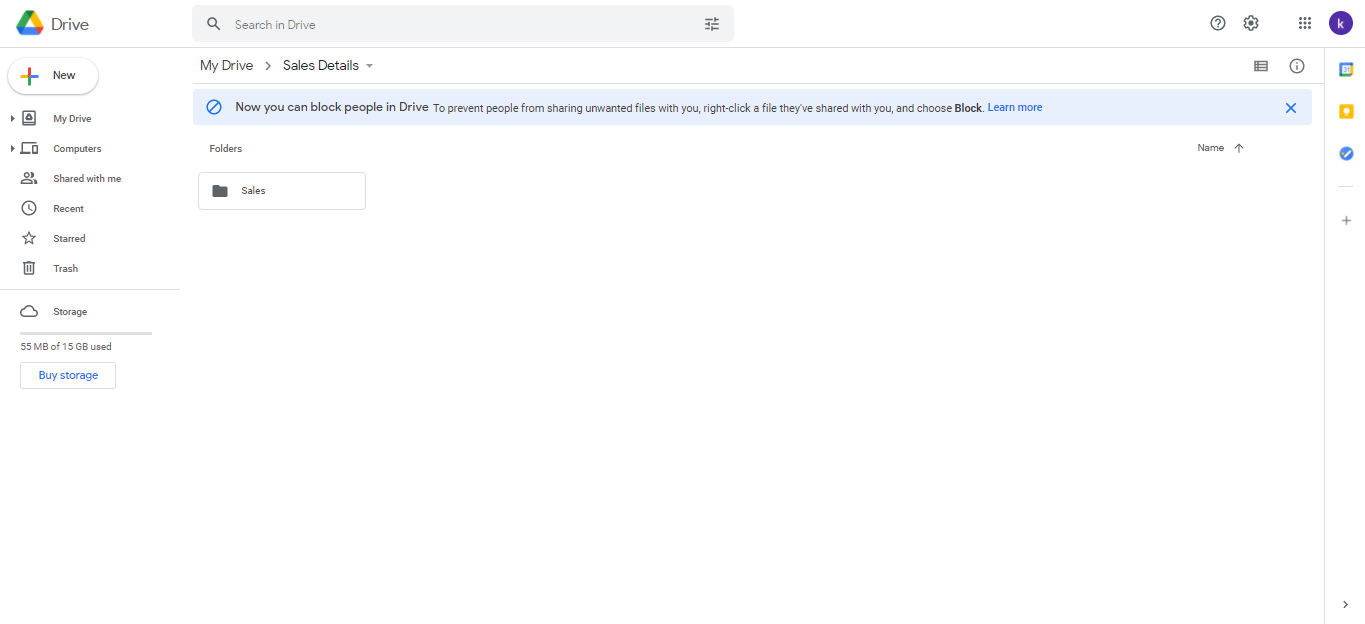
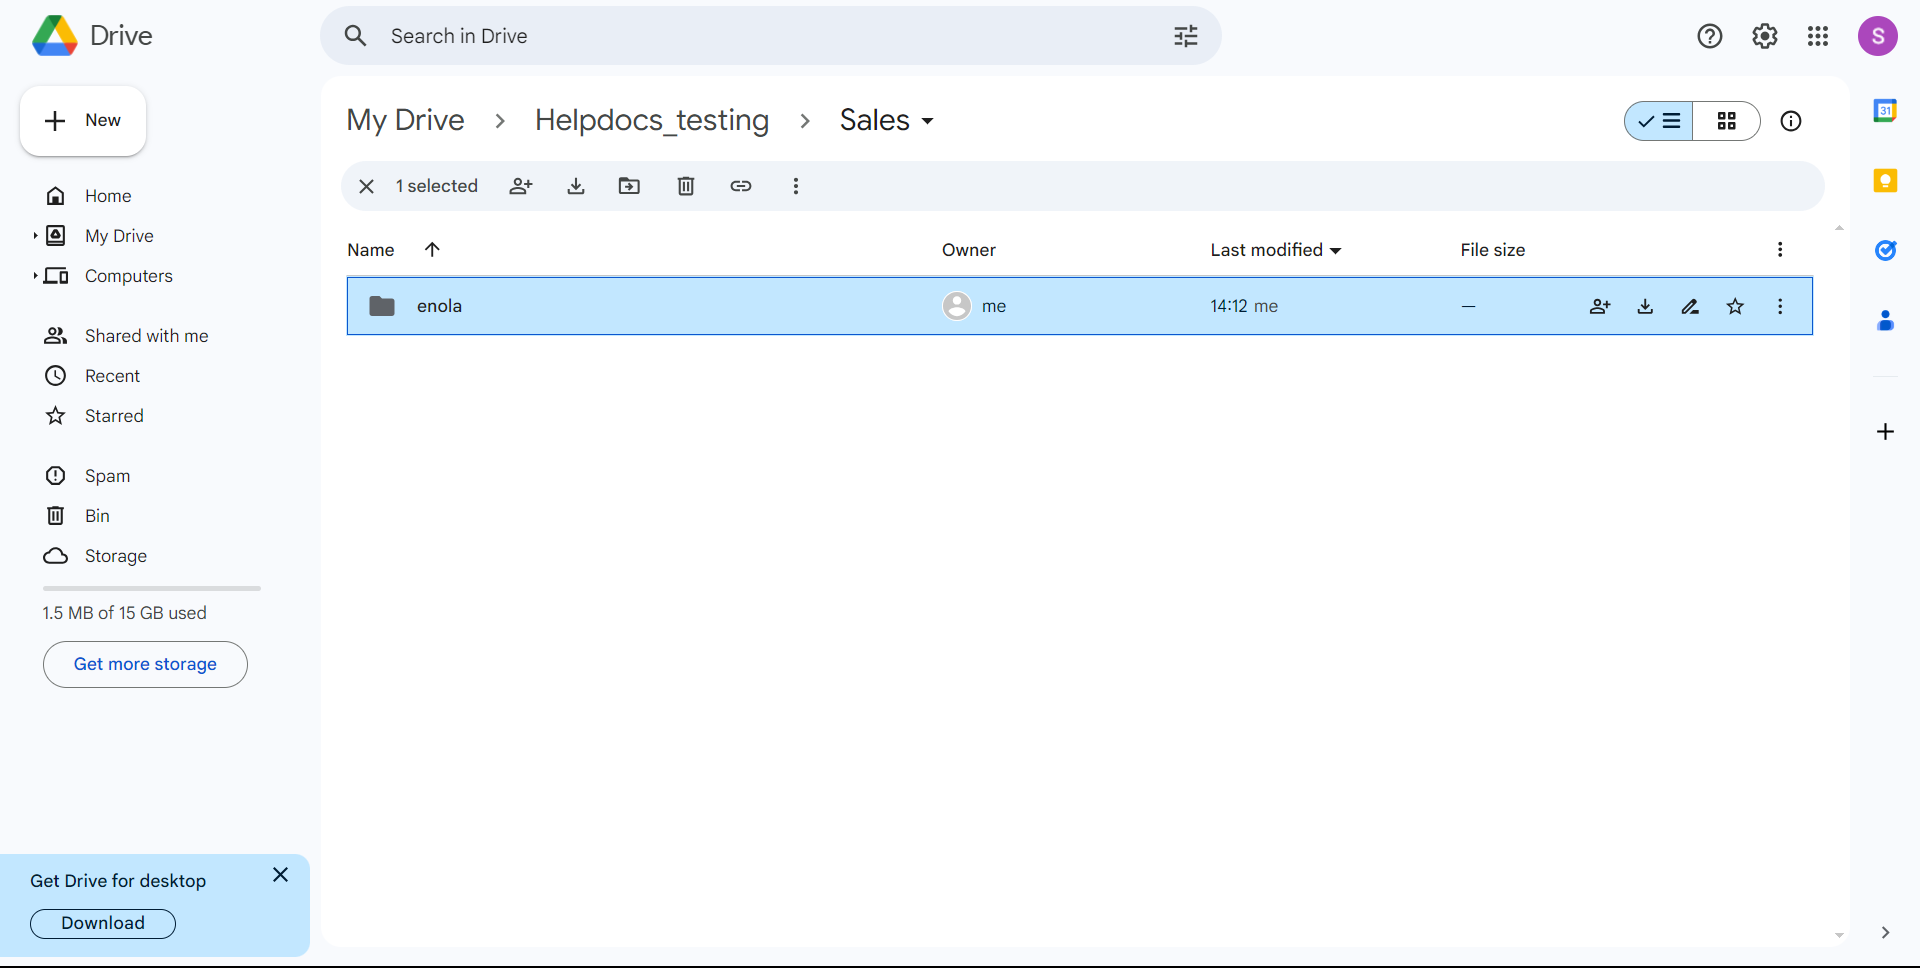
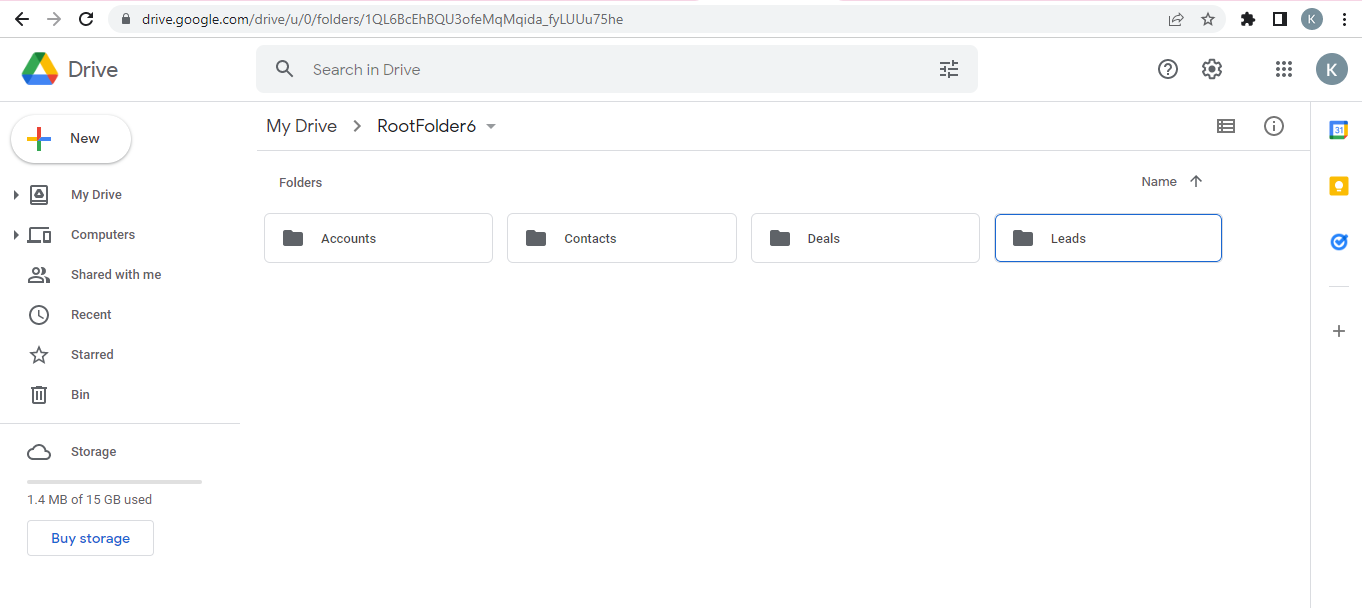
6. The Module name based folder created in Your Google Drive Successfully.
Share Files from the Zoho CRM Custom Module to Google Drive
1.Open the Custom Module which you have added to the Google Drive Root Folder.
2.Select the record from the Zoho CRM Custom module in which you want to upload your files.
3.Now select the widget in which you have added the Base Url.
4.after click Add files to Google Drive button it will open our Extention.
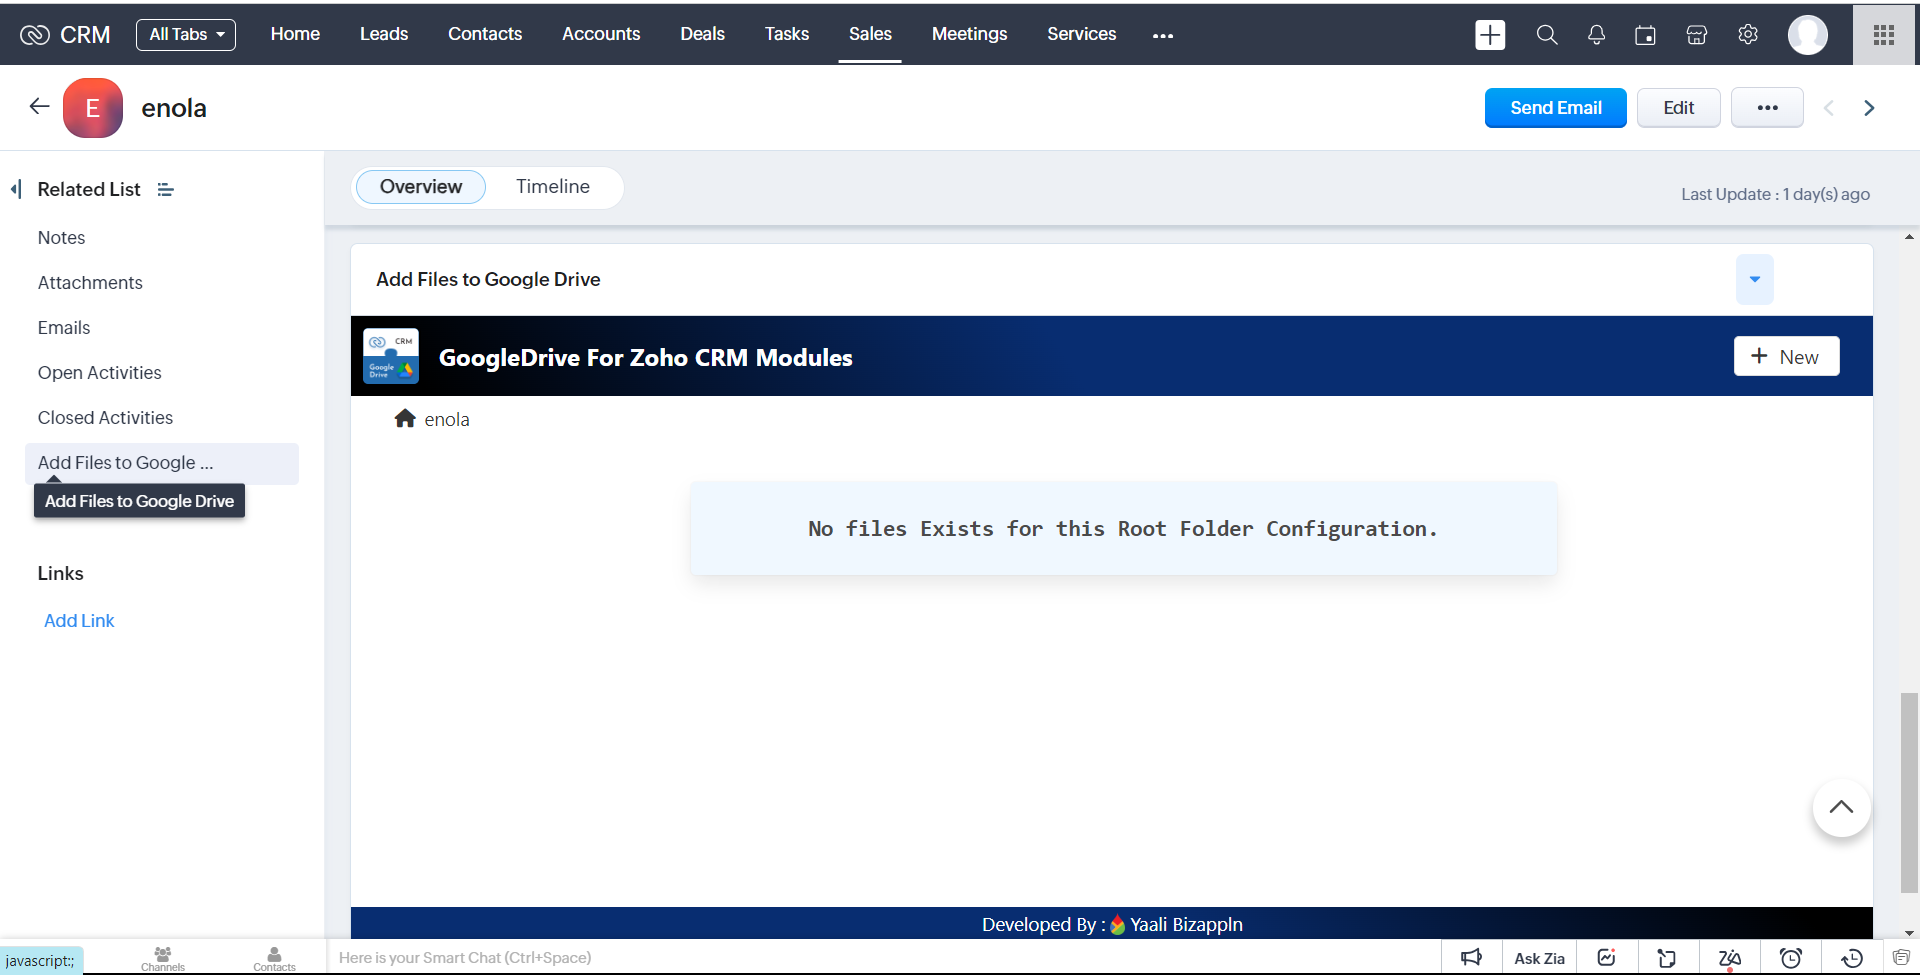
5.After configuring the Field Name-based folder creation in your Google Drive, all the files and folders you upload will be placed inside these created folder.
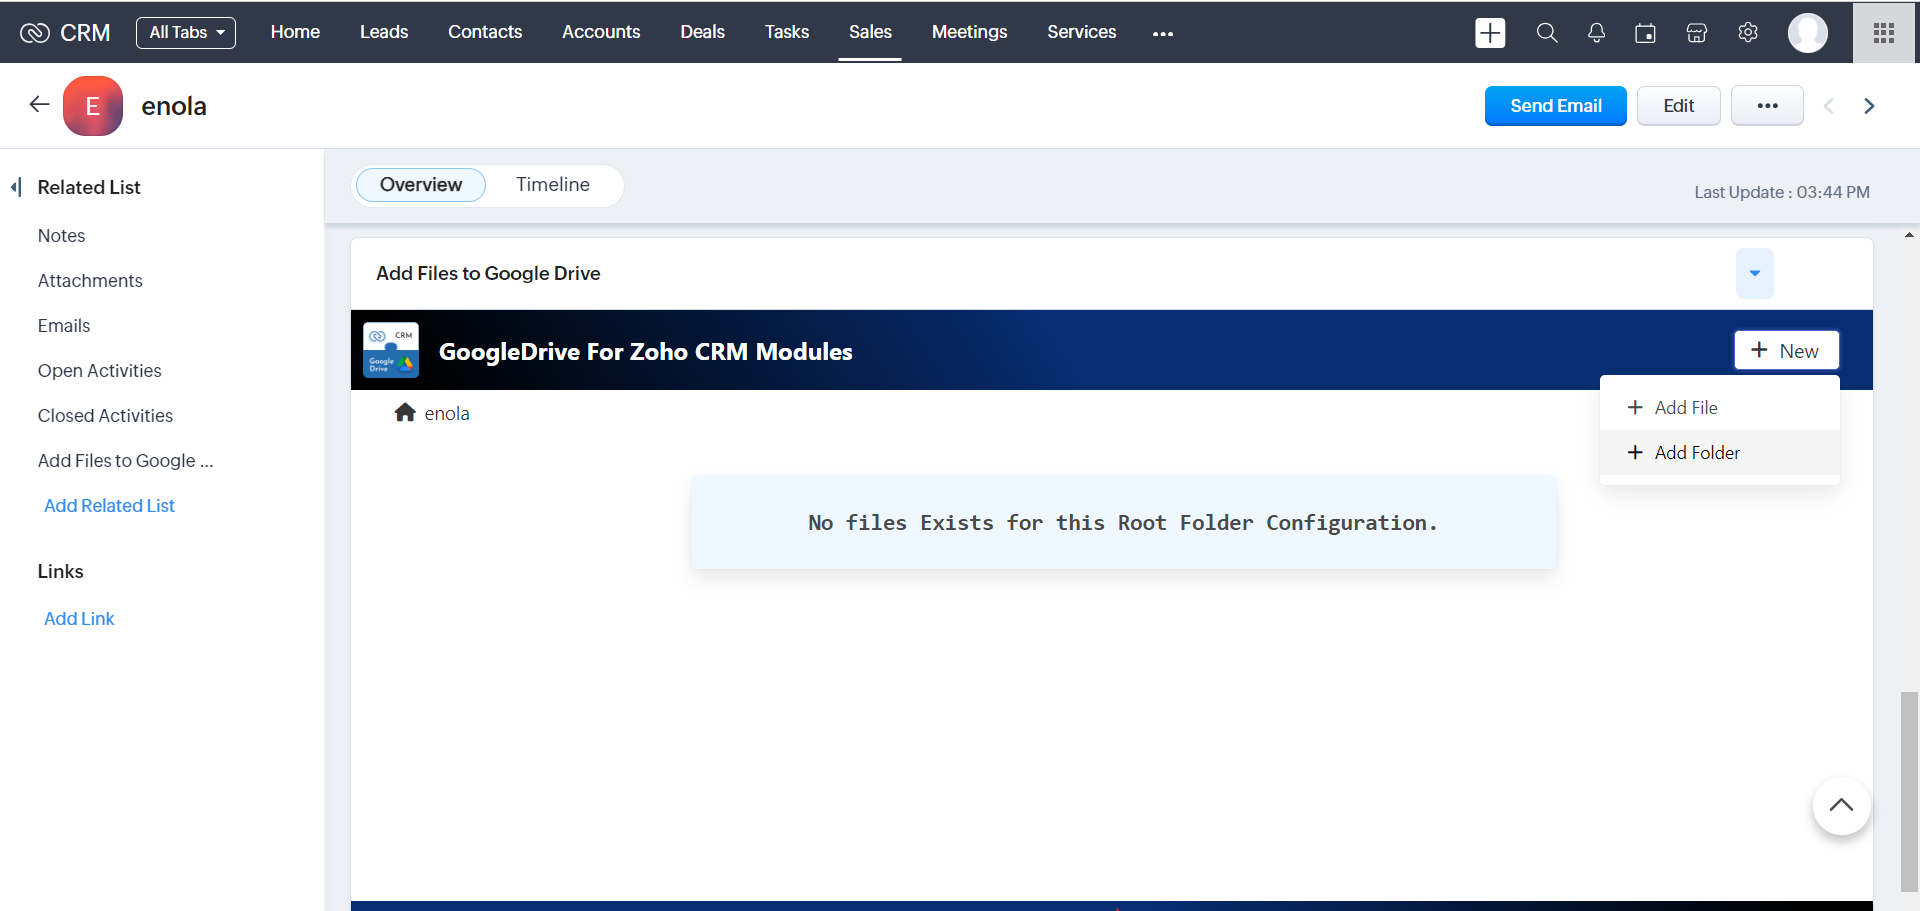
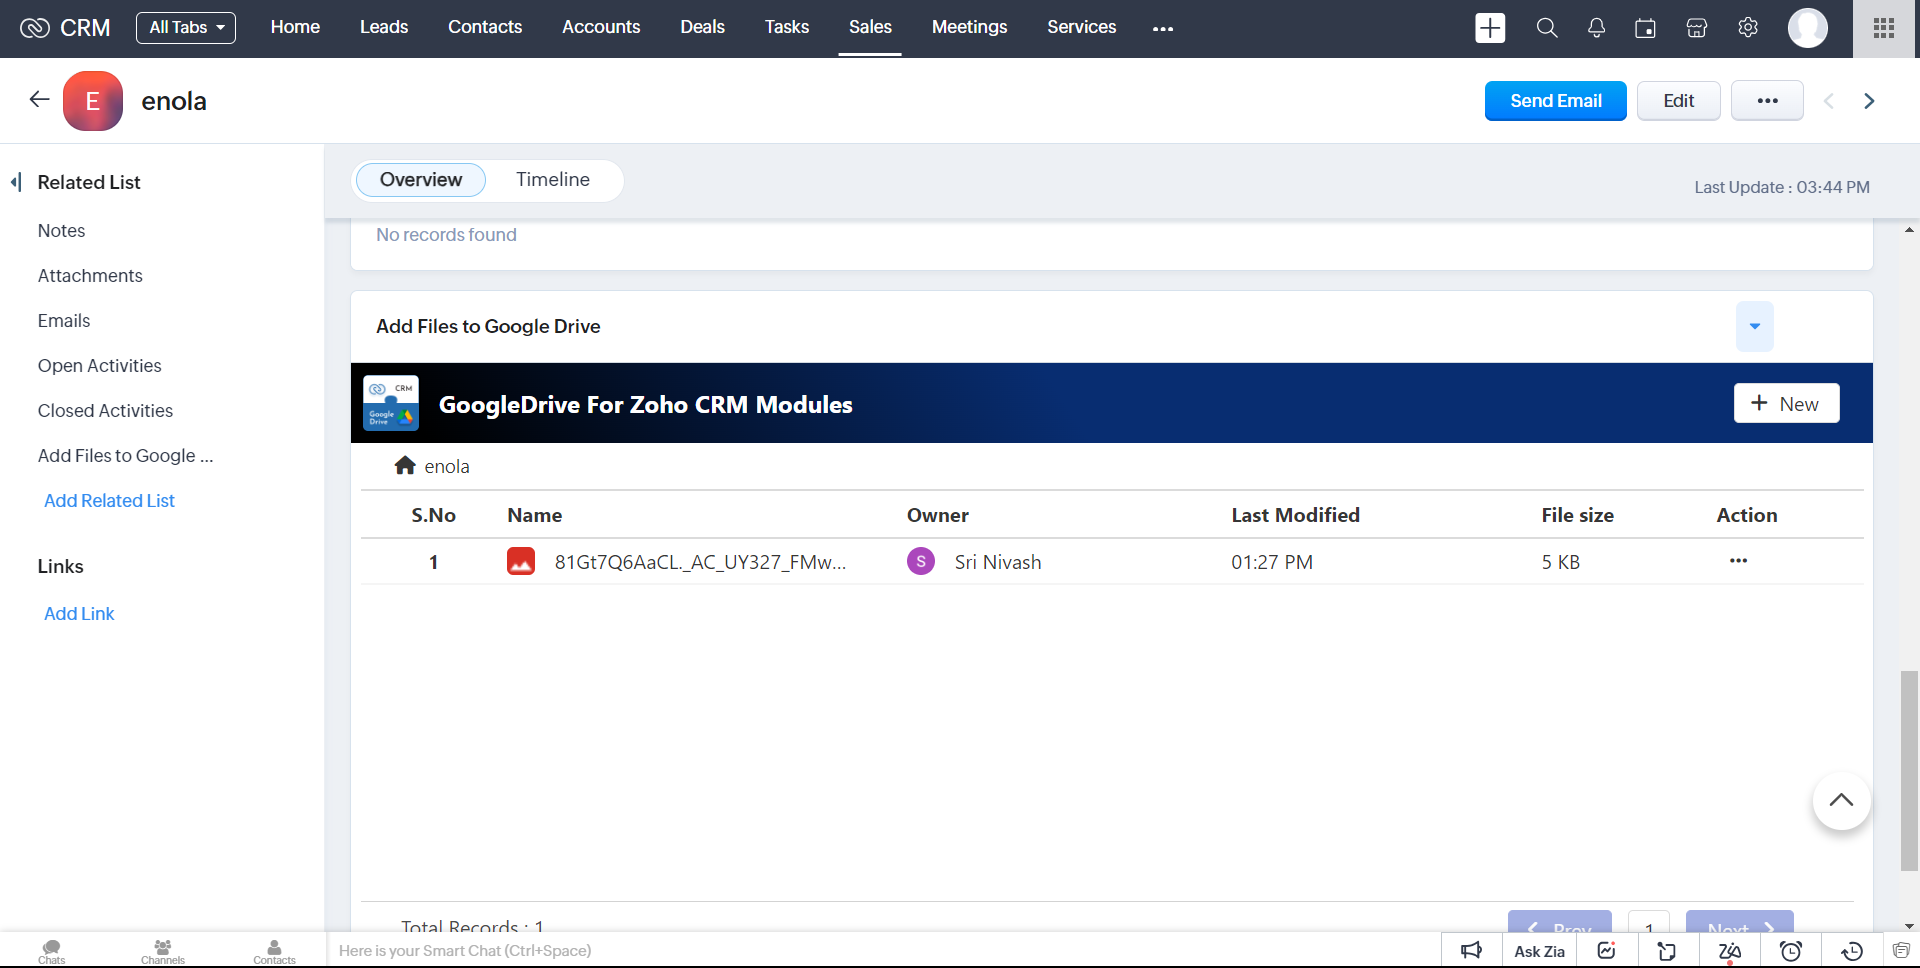
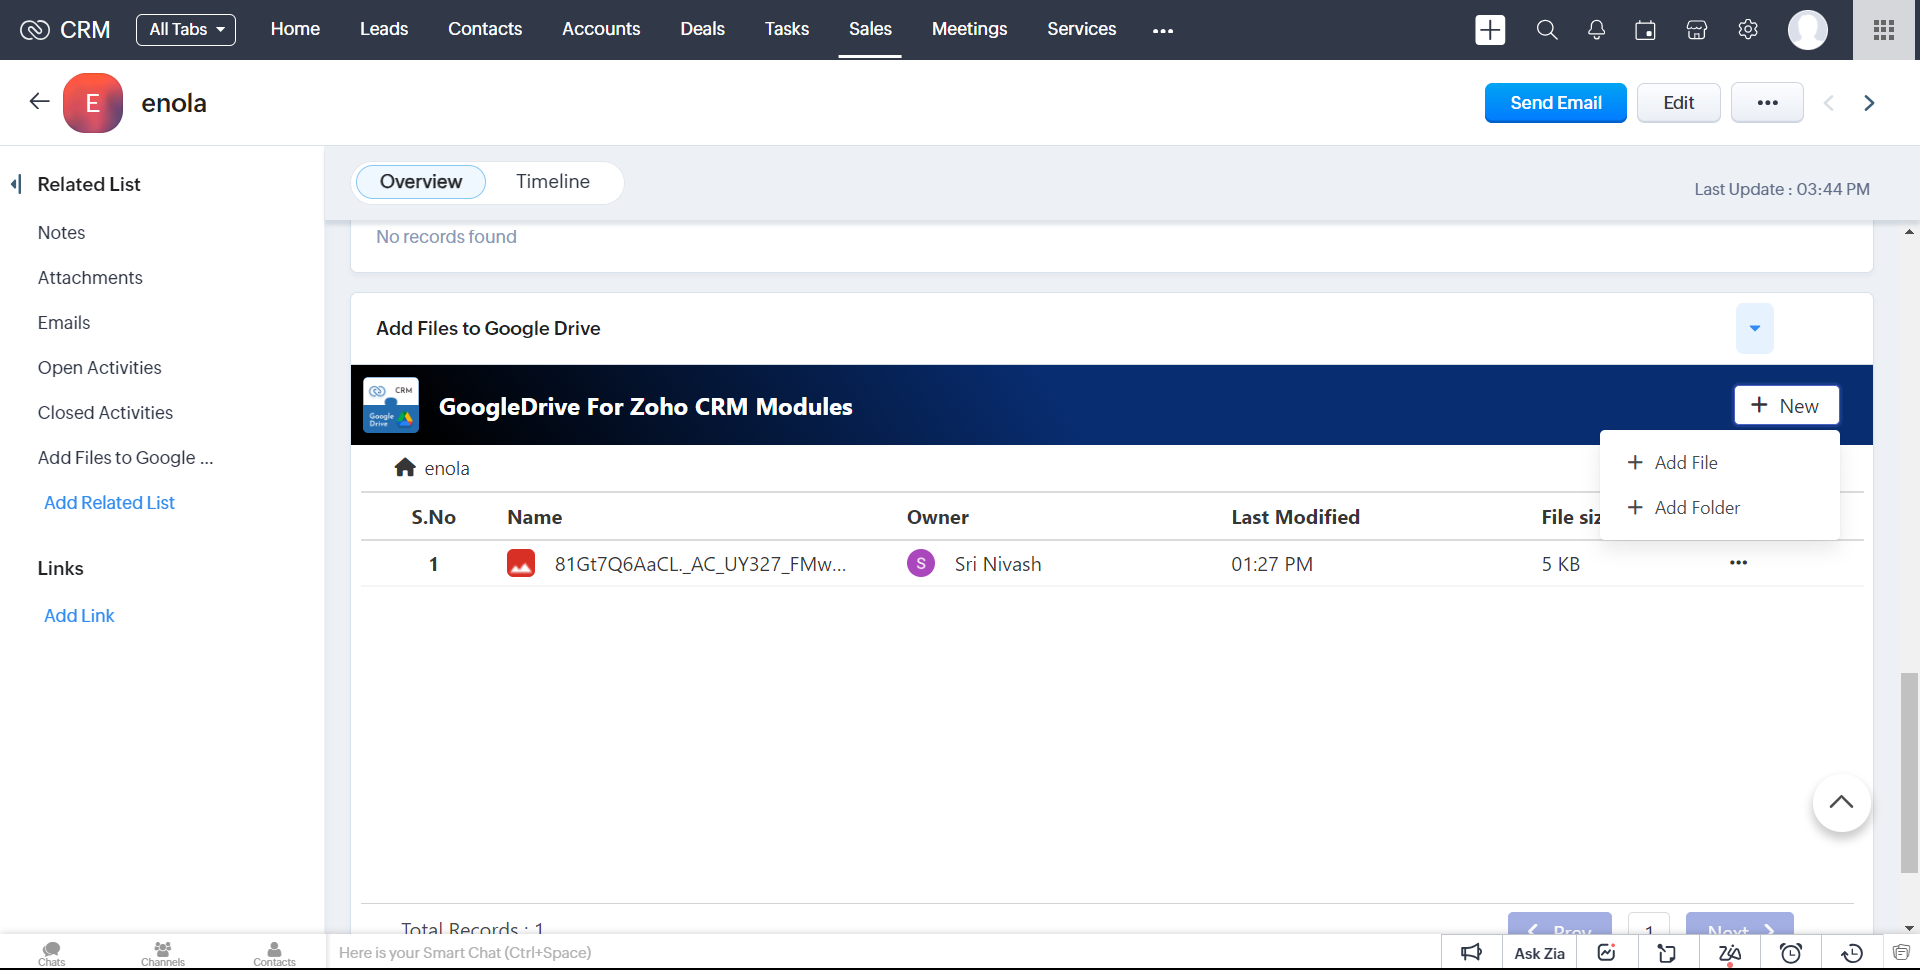
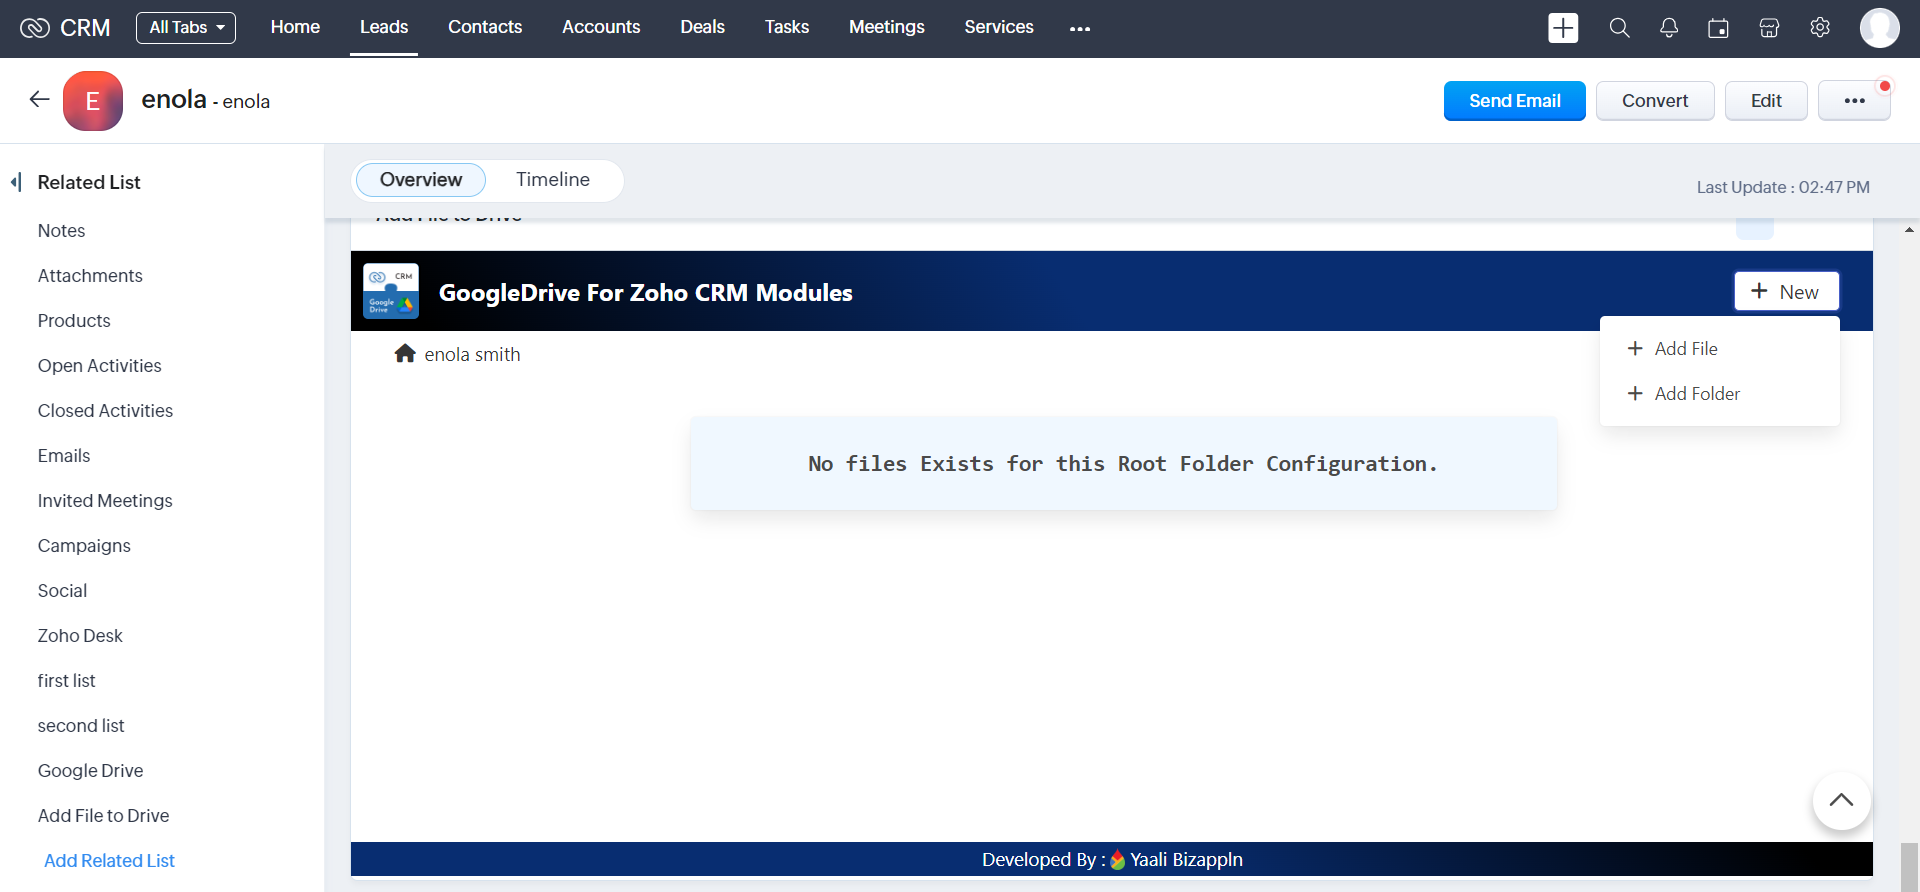
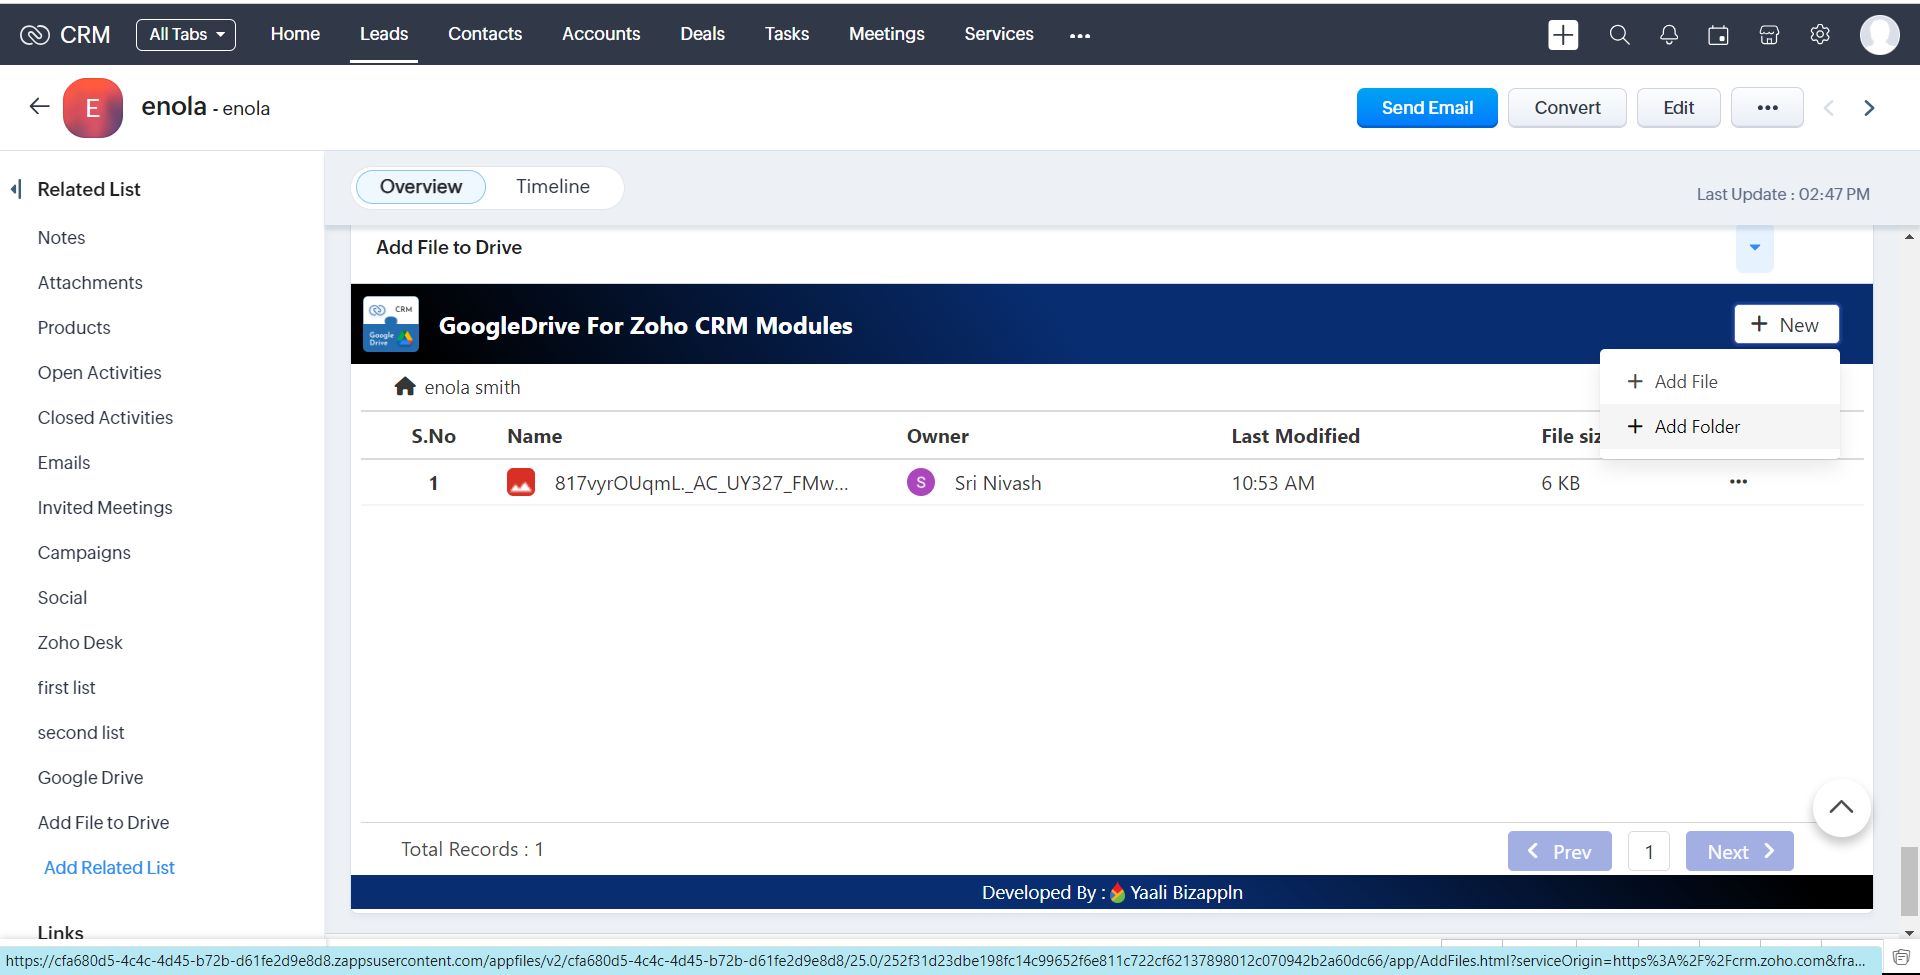
6.Now you can start uploading the file/folder by clicking + New Button it will shows the nav bar in our Extension.
Add File
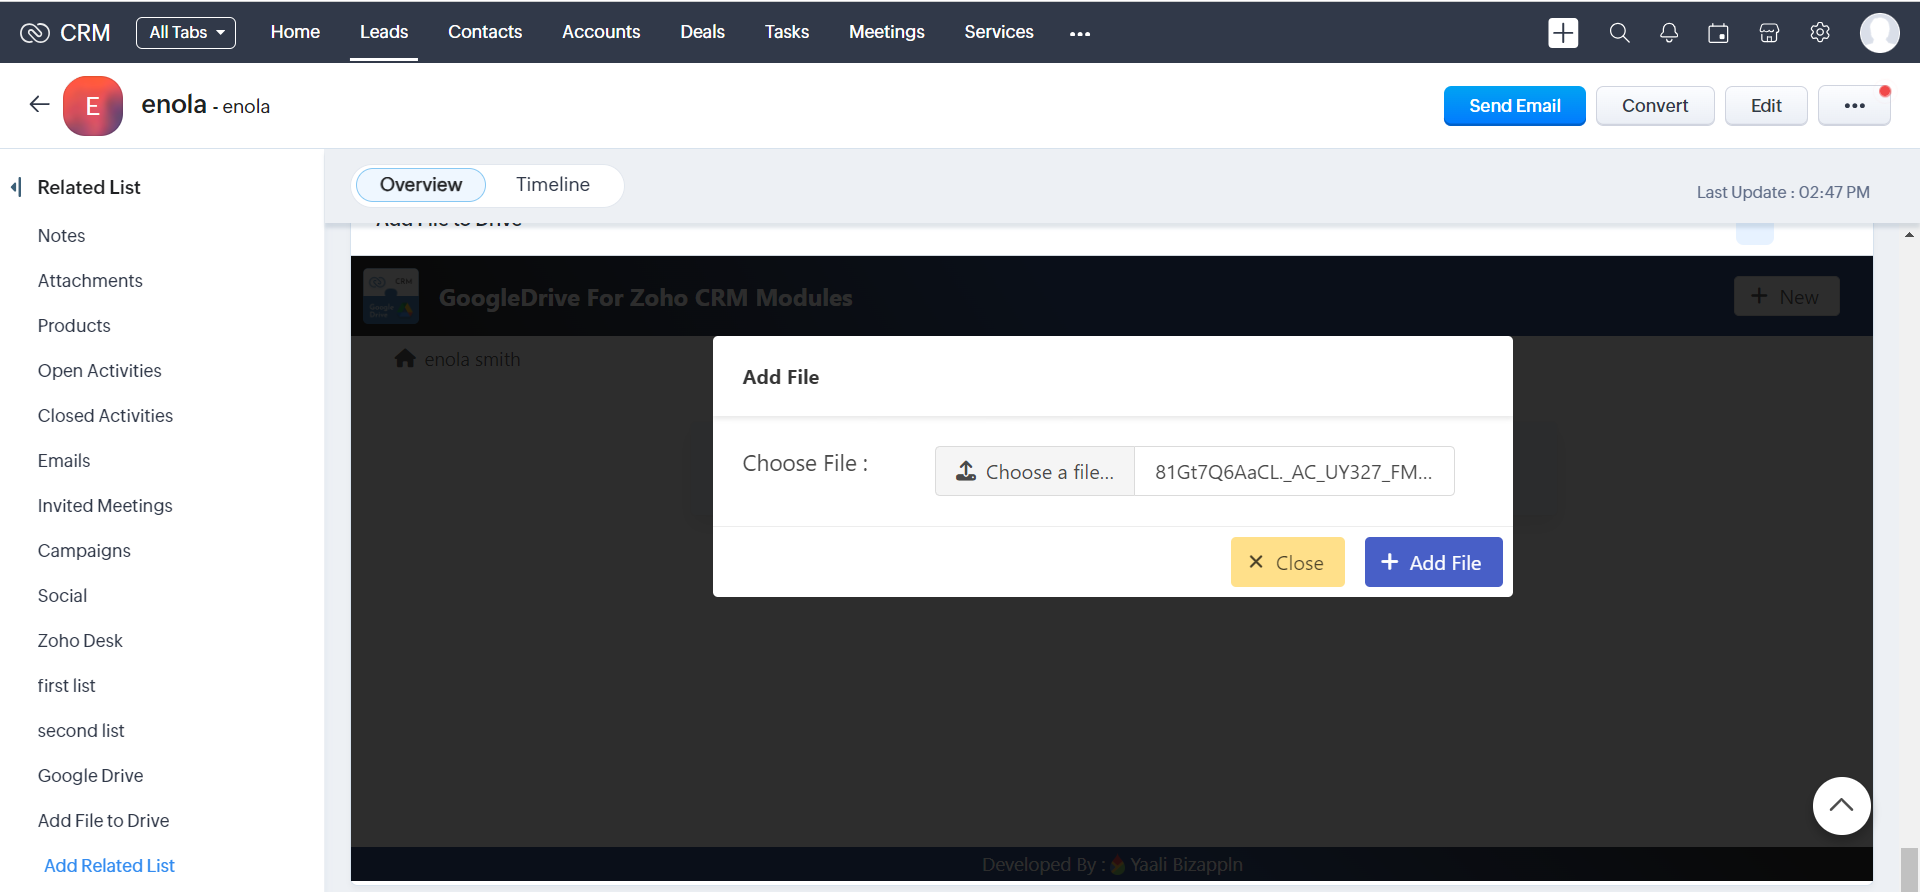
1.Click Add File button to Upload a file
2.A popup window appears where you can upload the files to the respective Google Drive folder
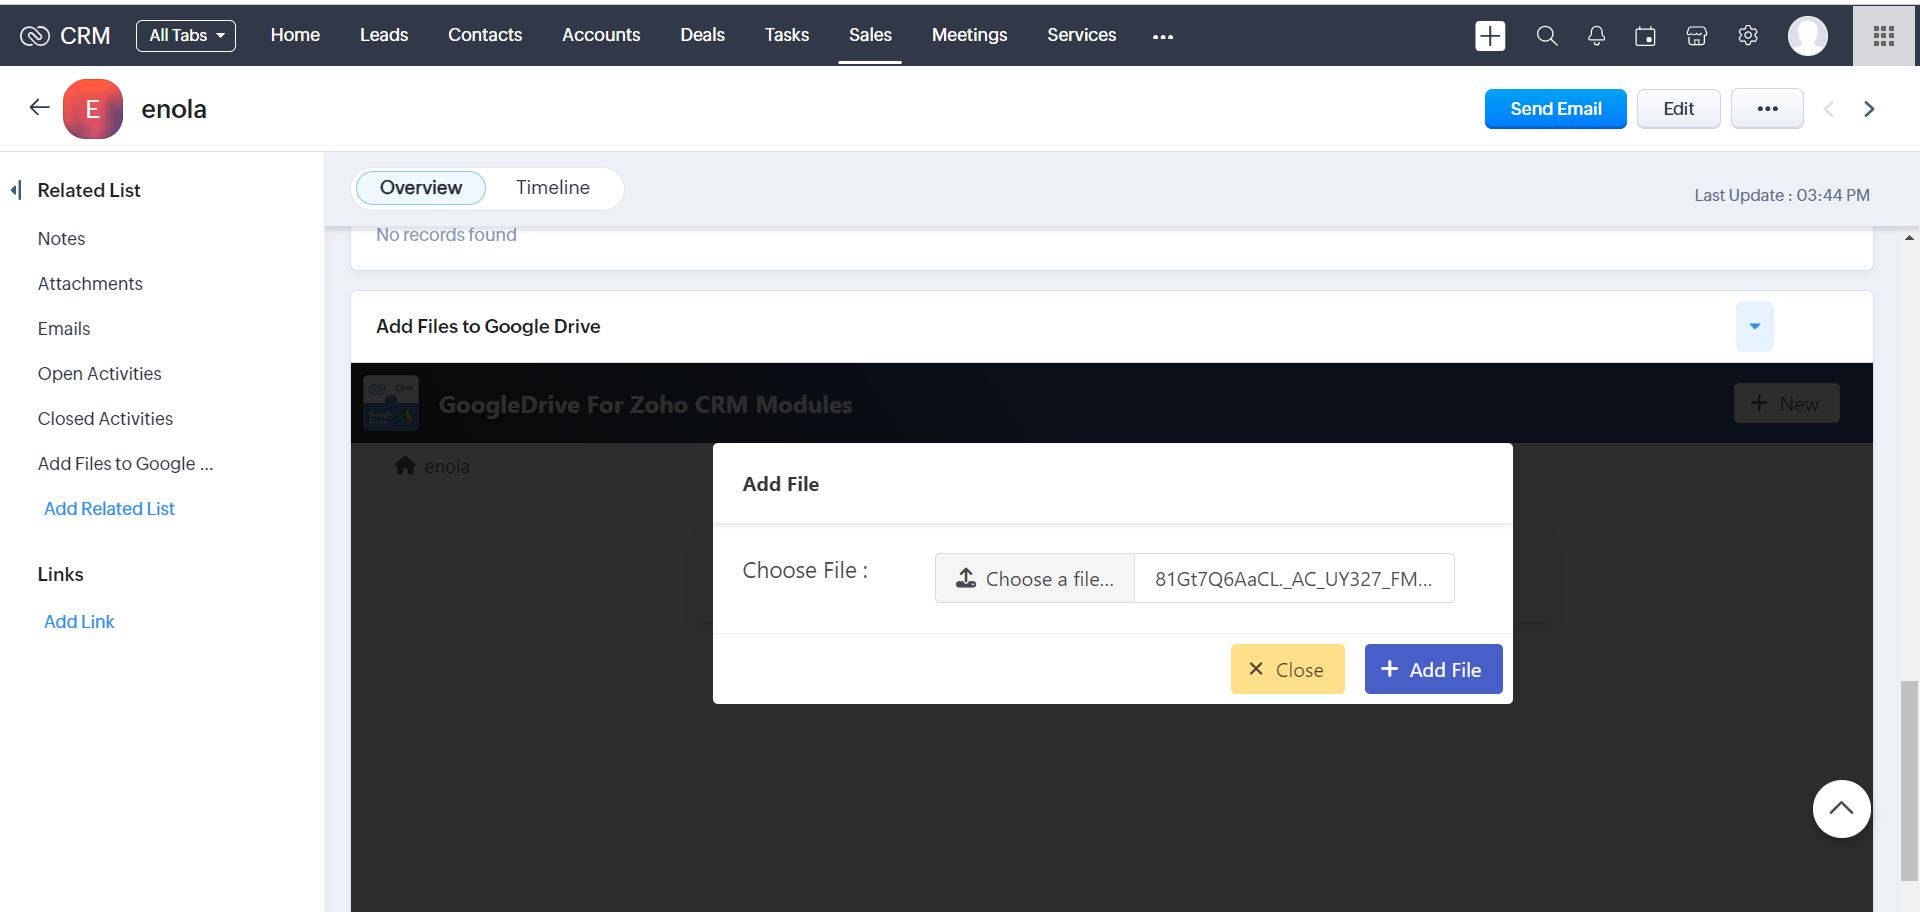
3.Click the"Add File" button in Zoho CRM after uploading the files you need, and the files will be automatically uploaded to the Integrated Google Drive folder.
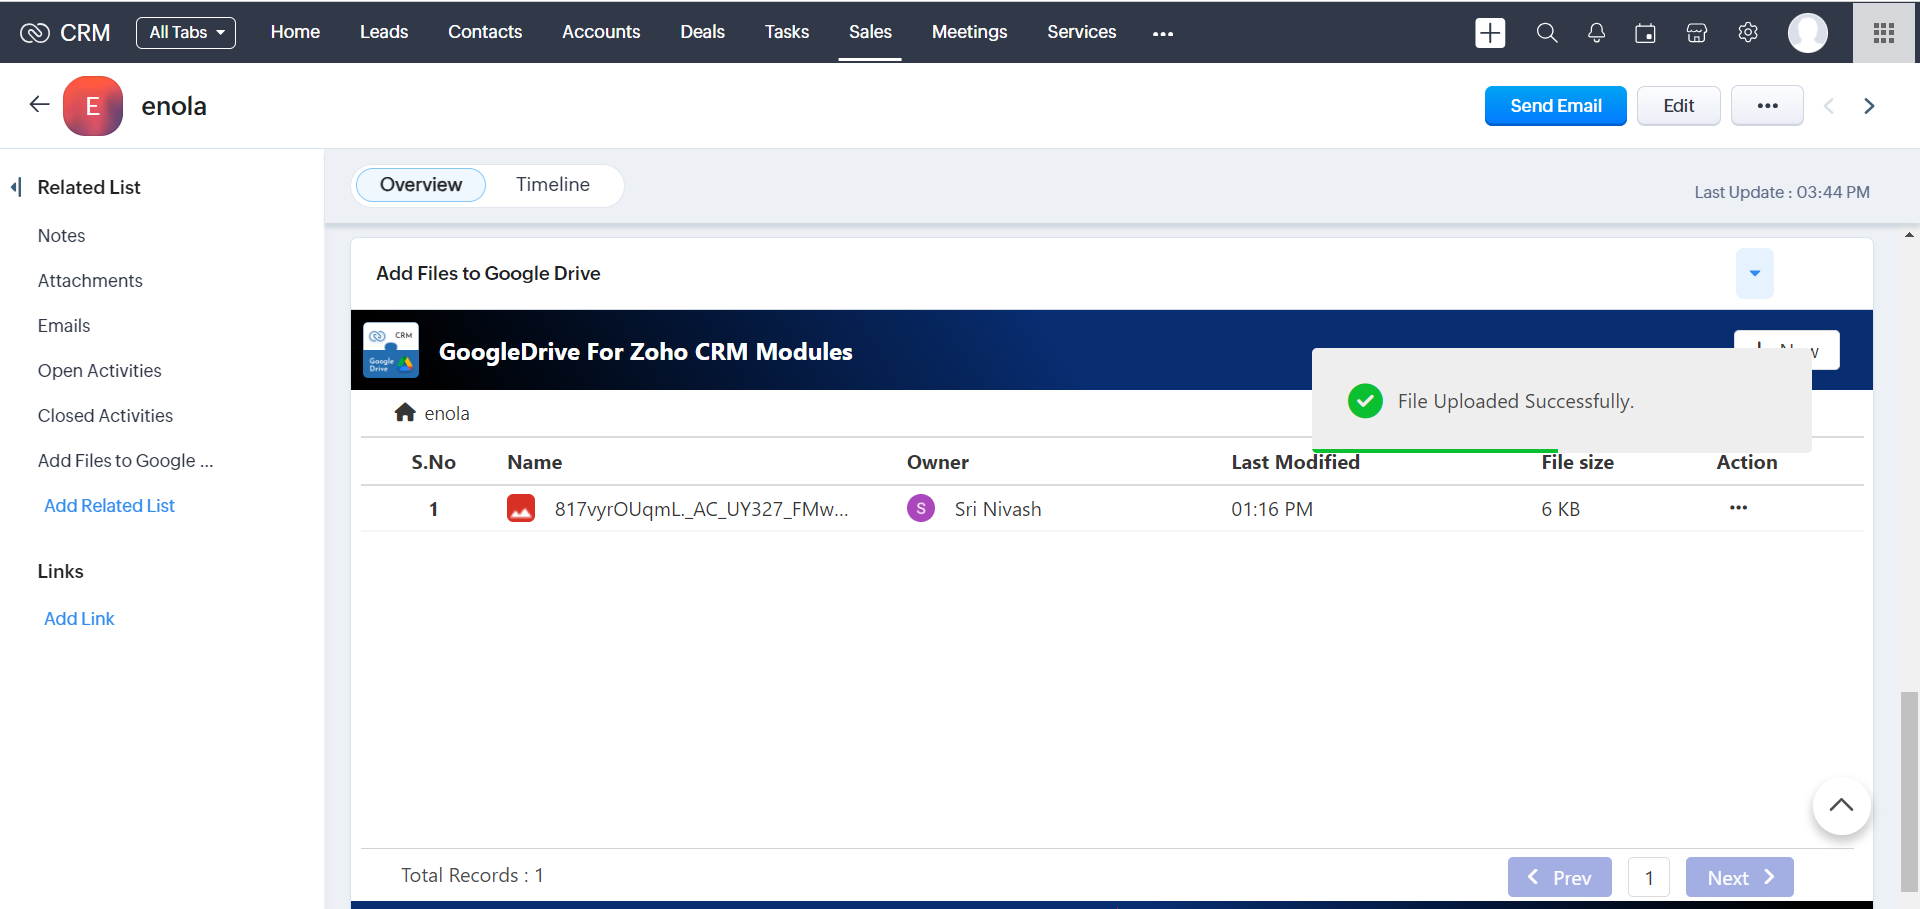
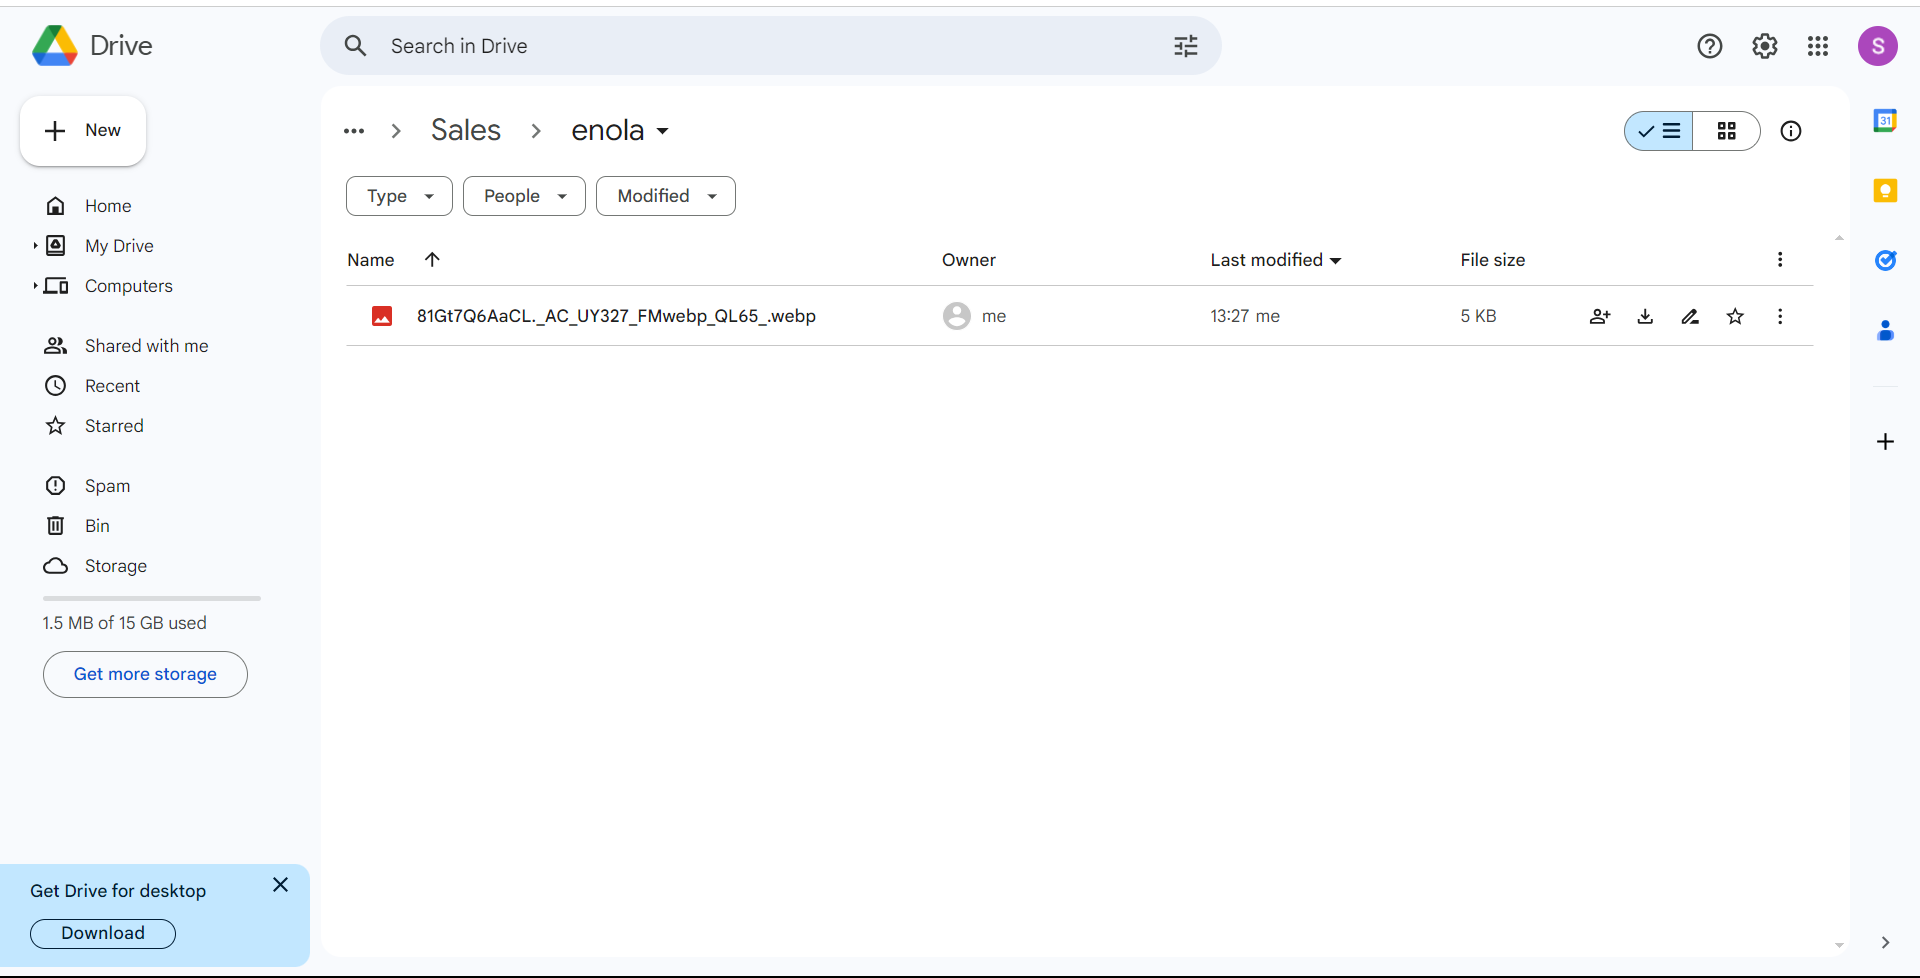
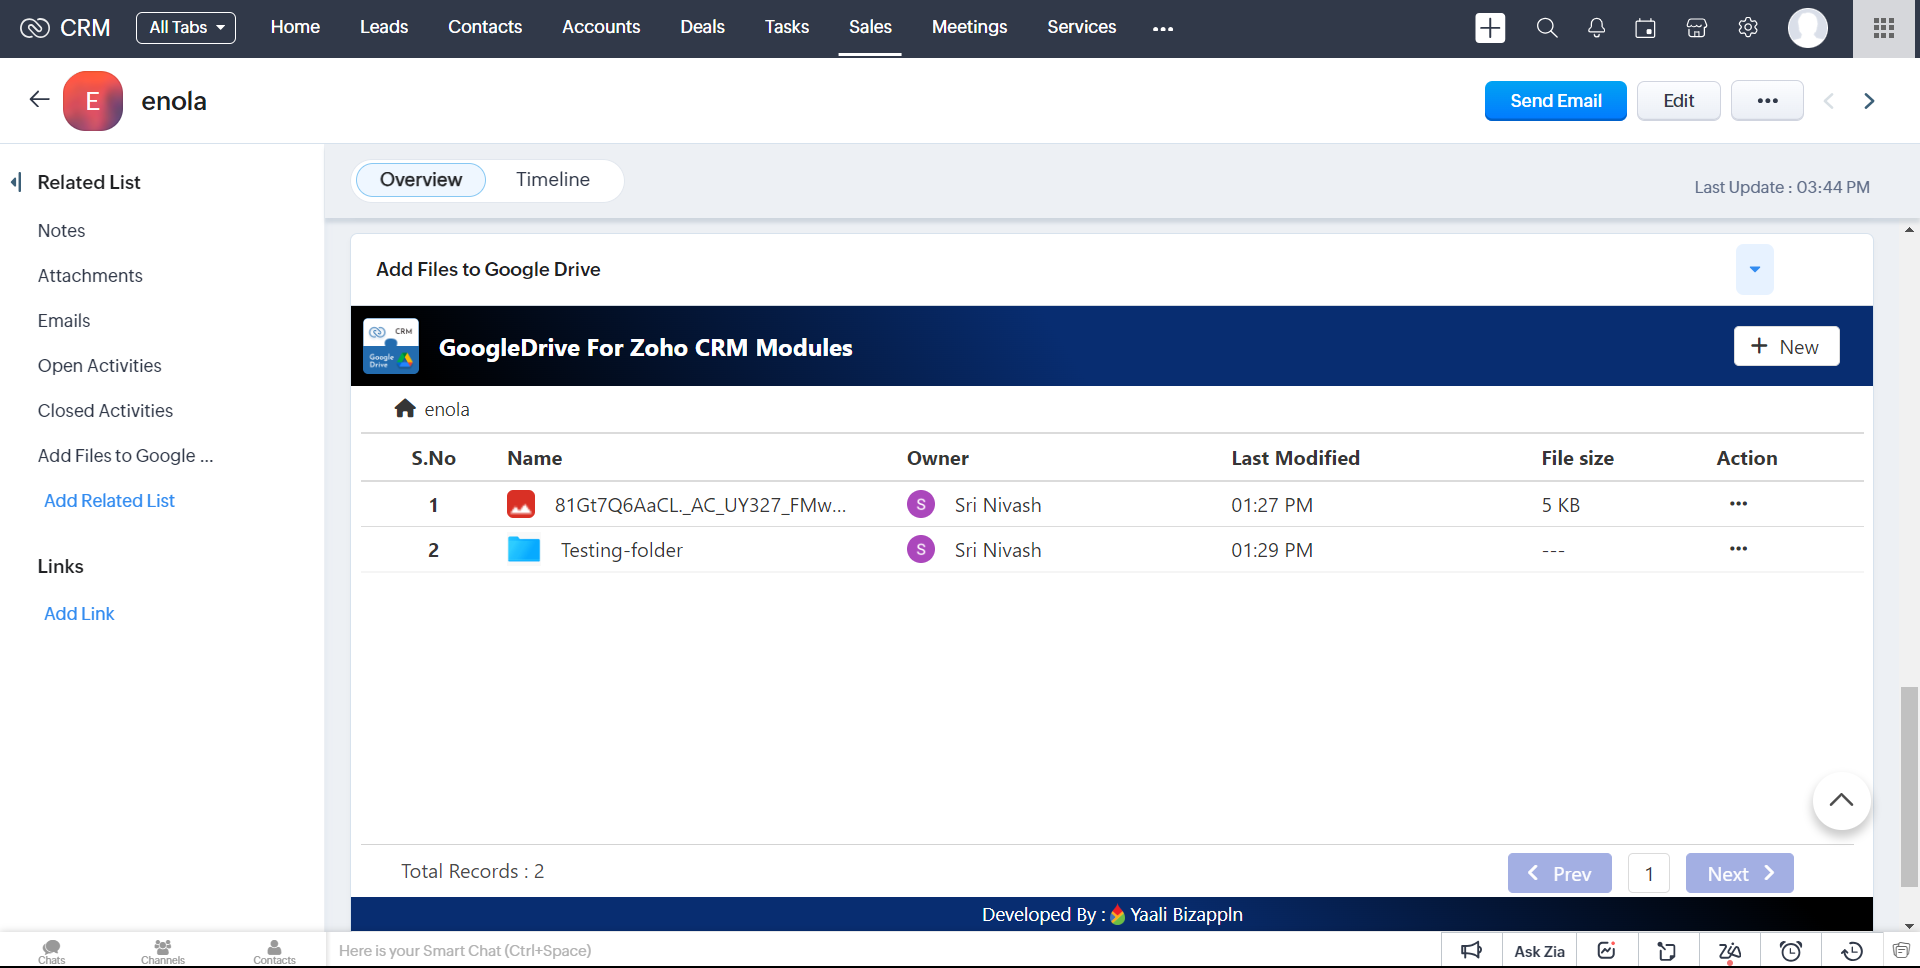
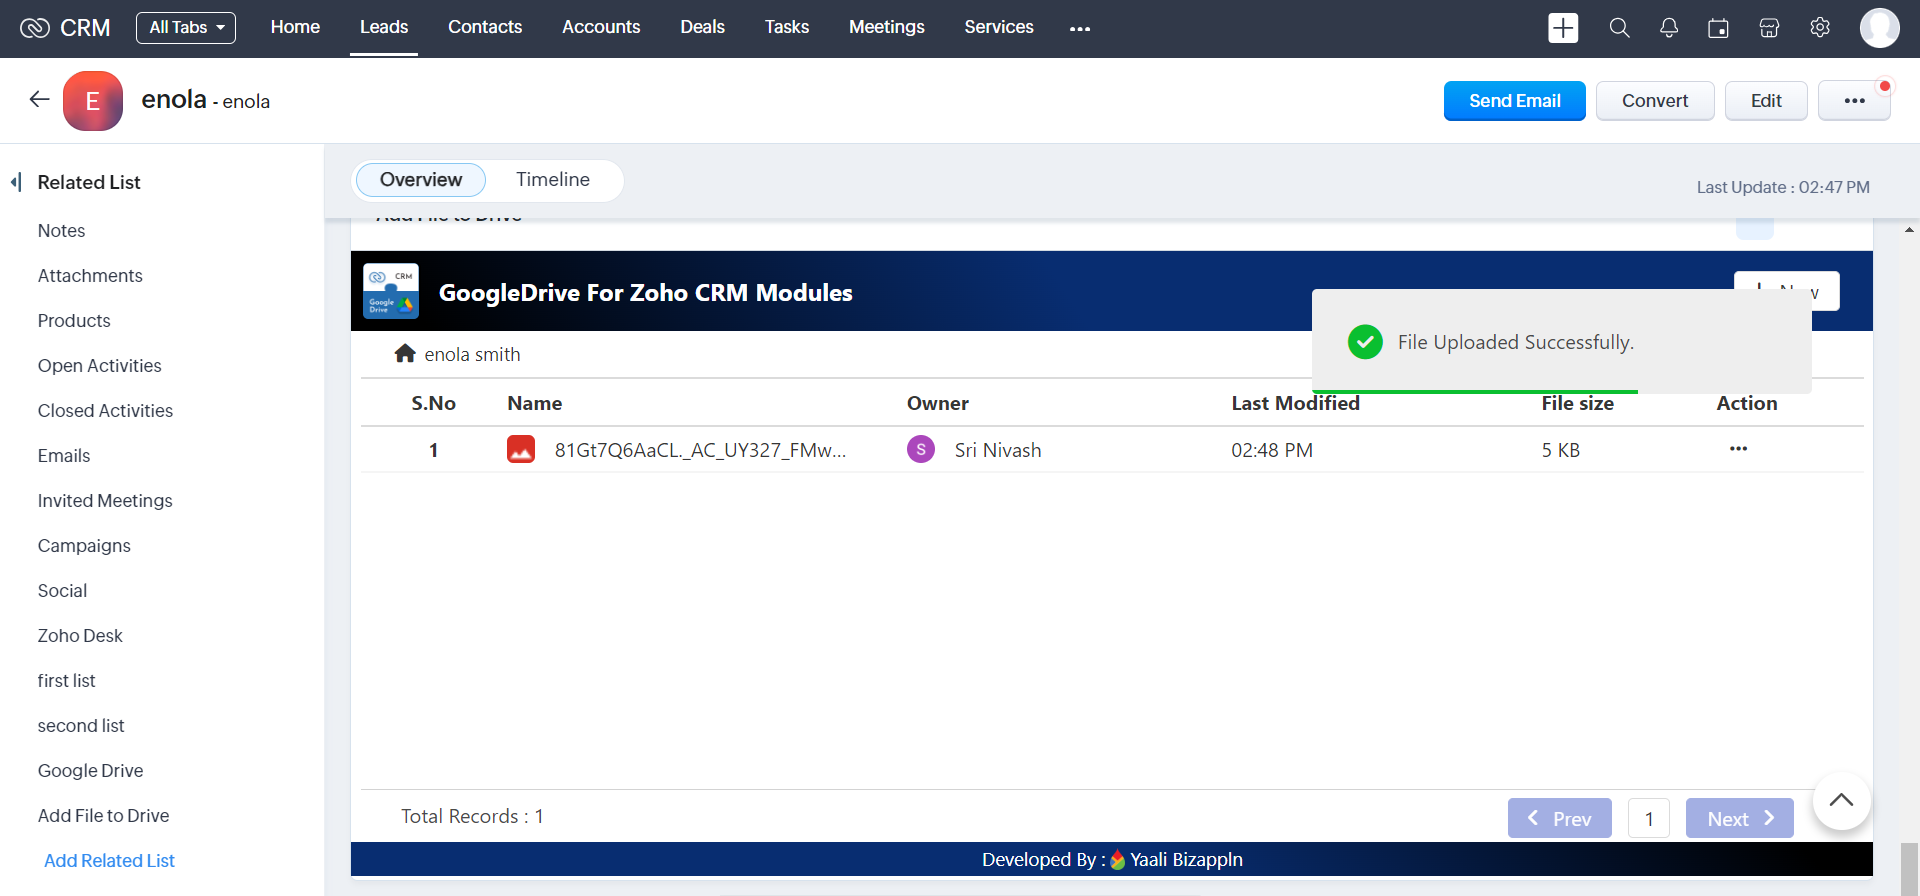
4.Created File will be Uploaded in your associated Google Drive Folder.
4.The uploaded file can also be viewed on the Widget page.
Add Folder
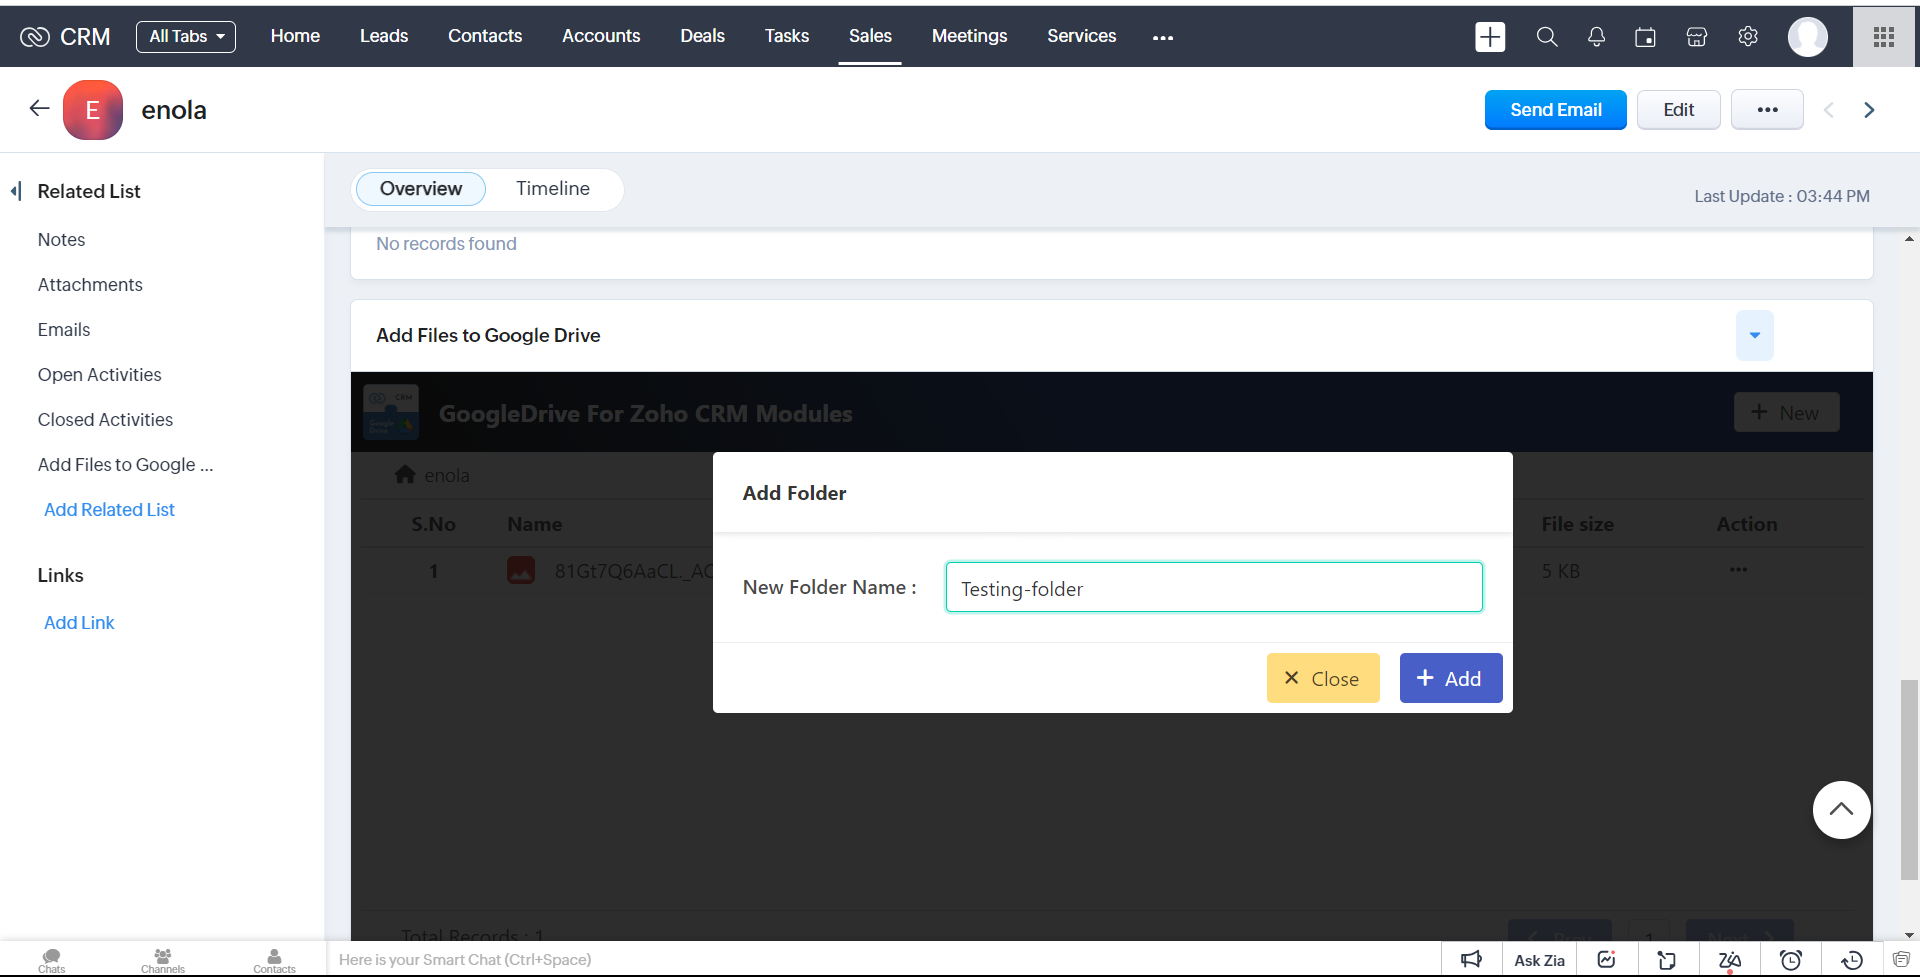
1.Click Add Folder button to Create a folder
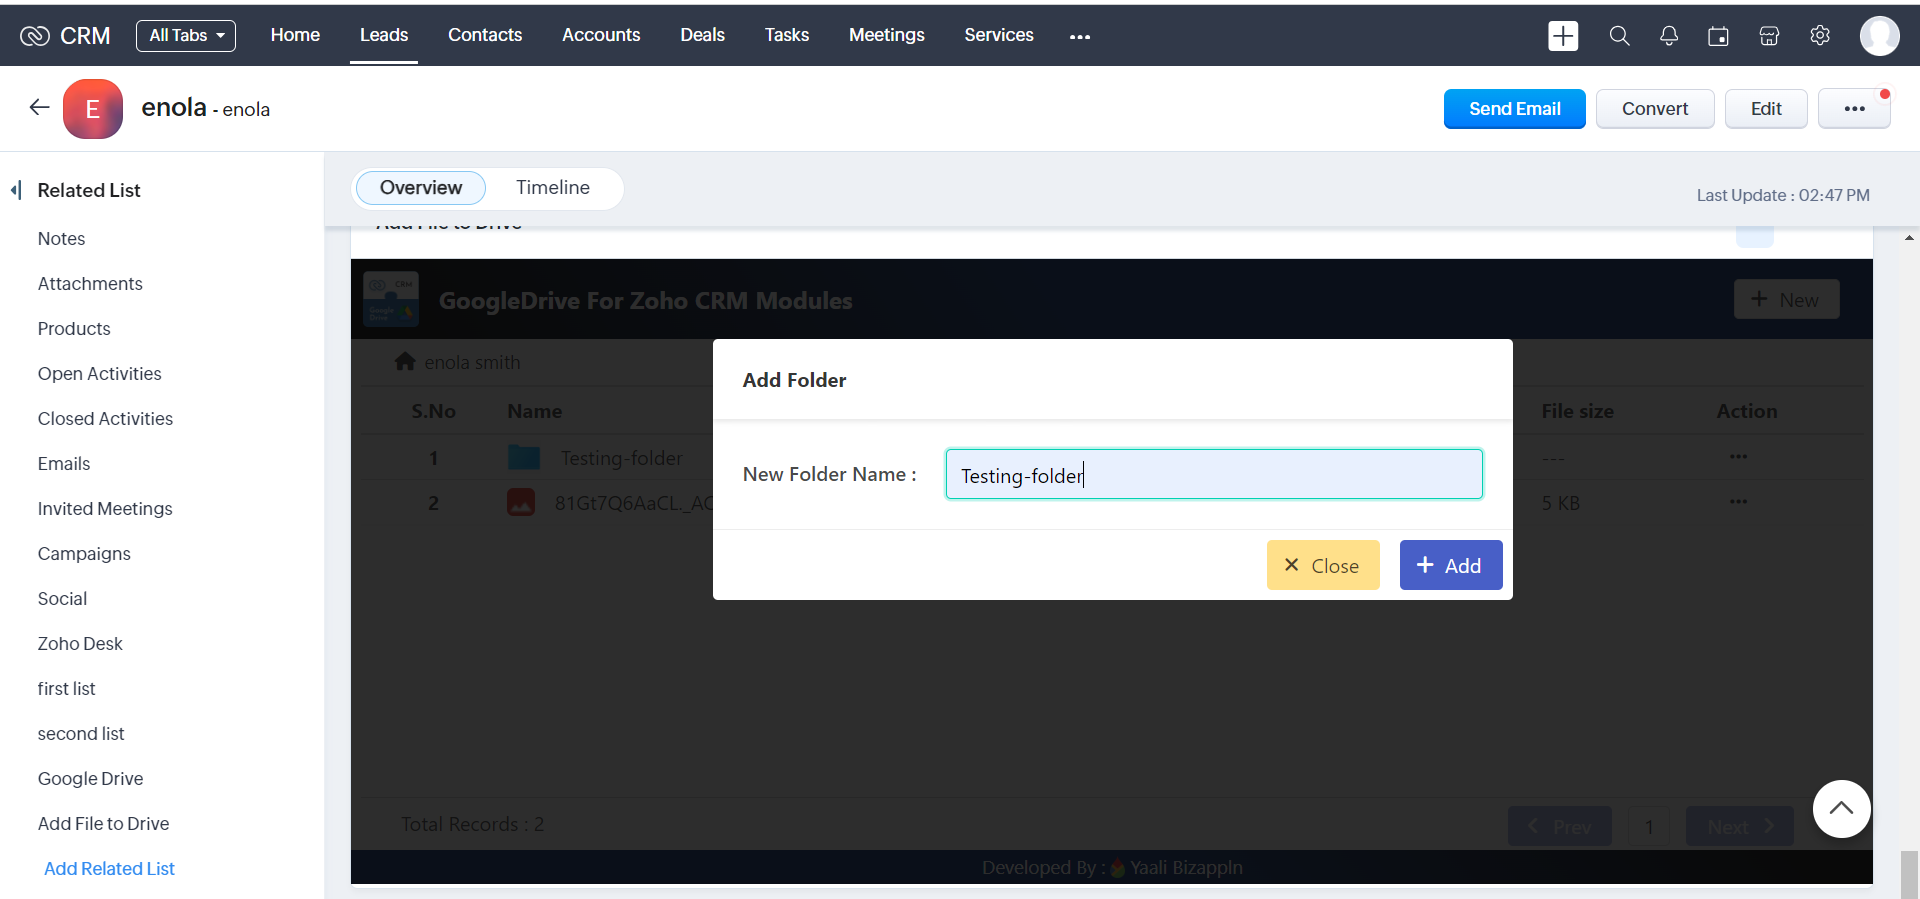
2.It will show popup and Enter the Folder name and Then Click Add Button
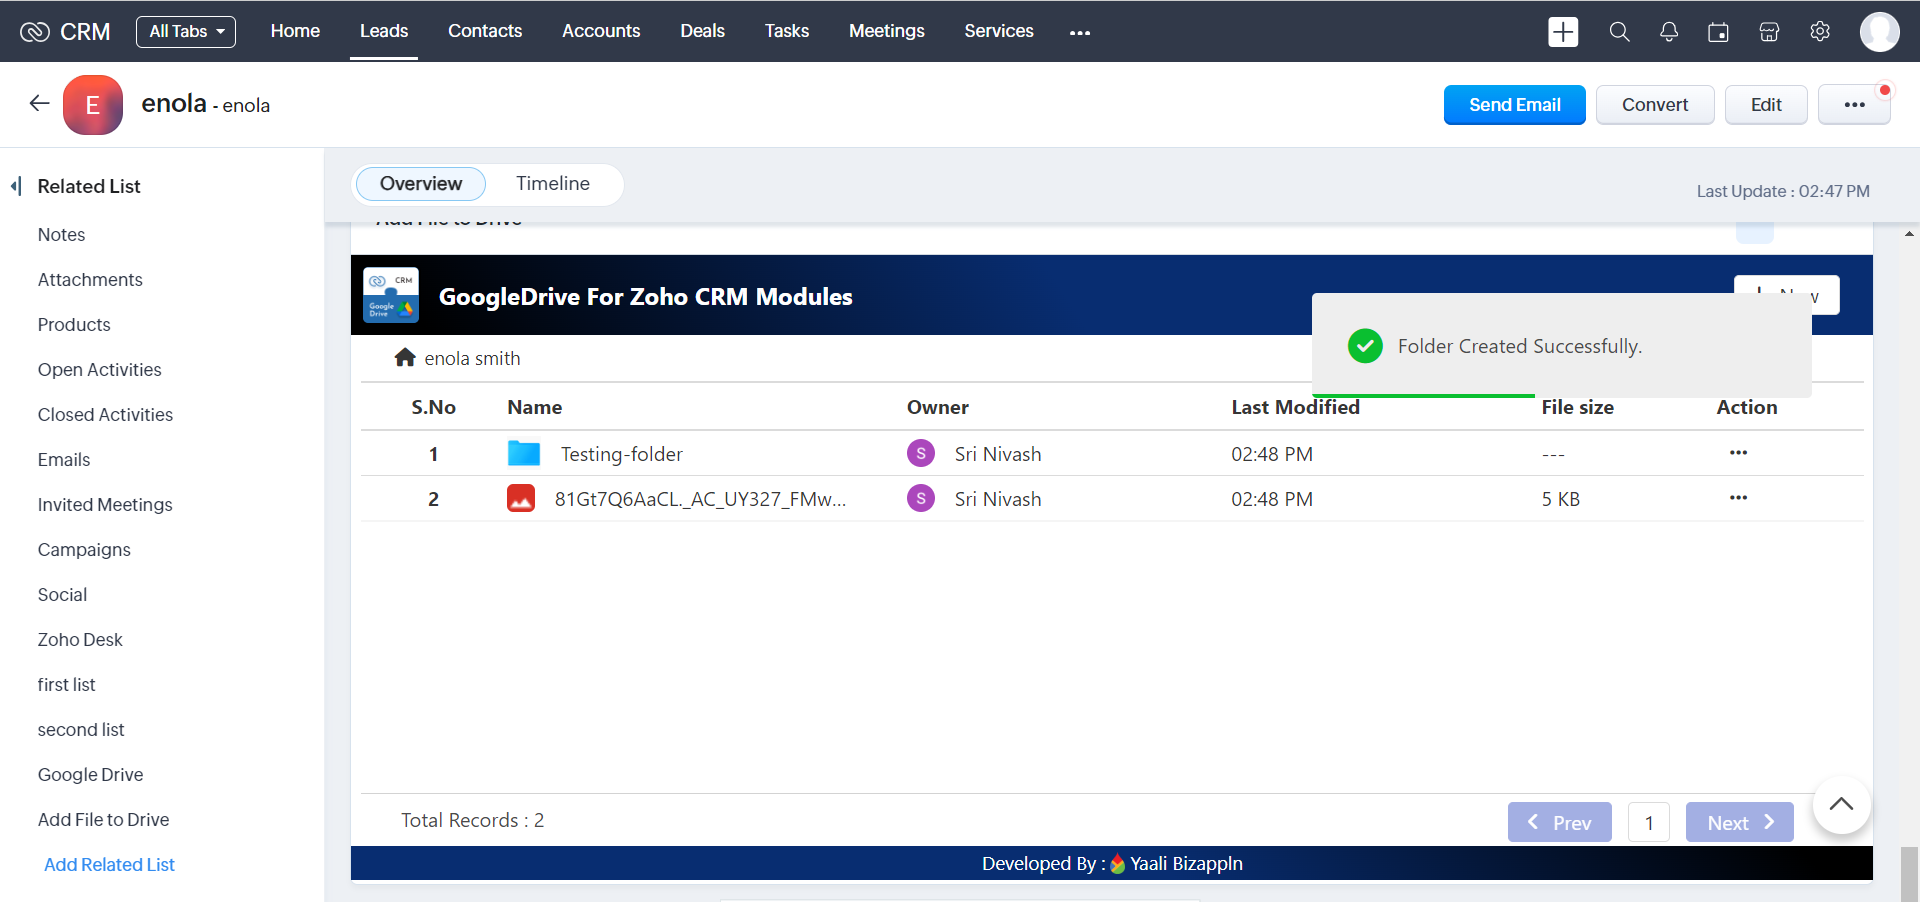
3.It will successfully created that folder
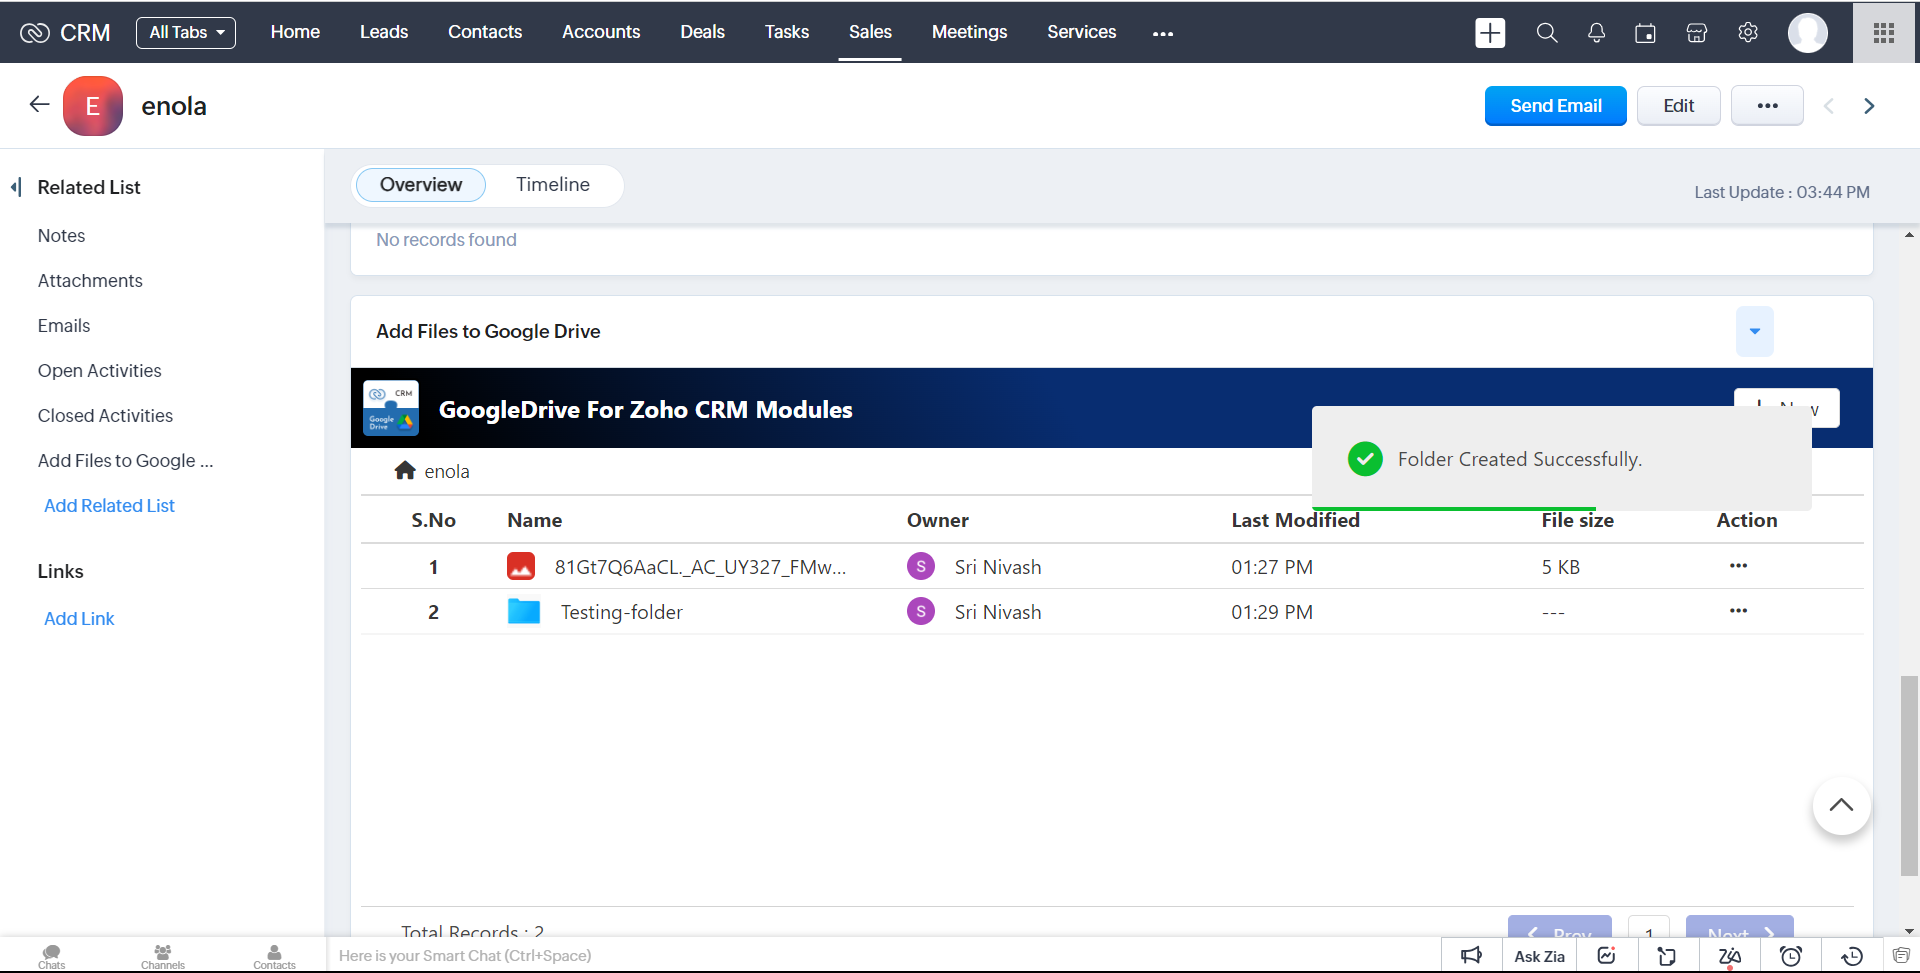
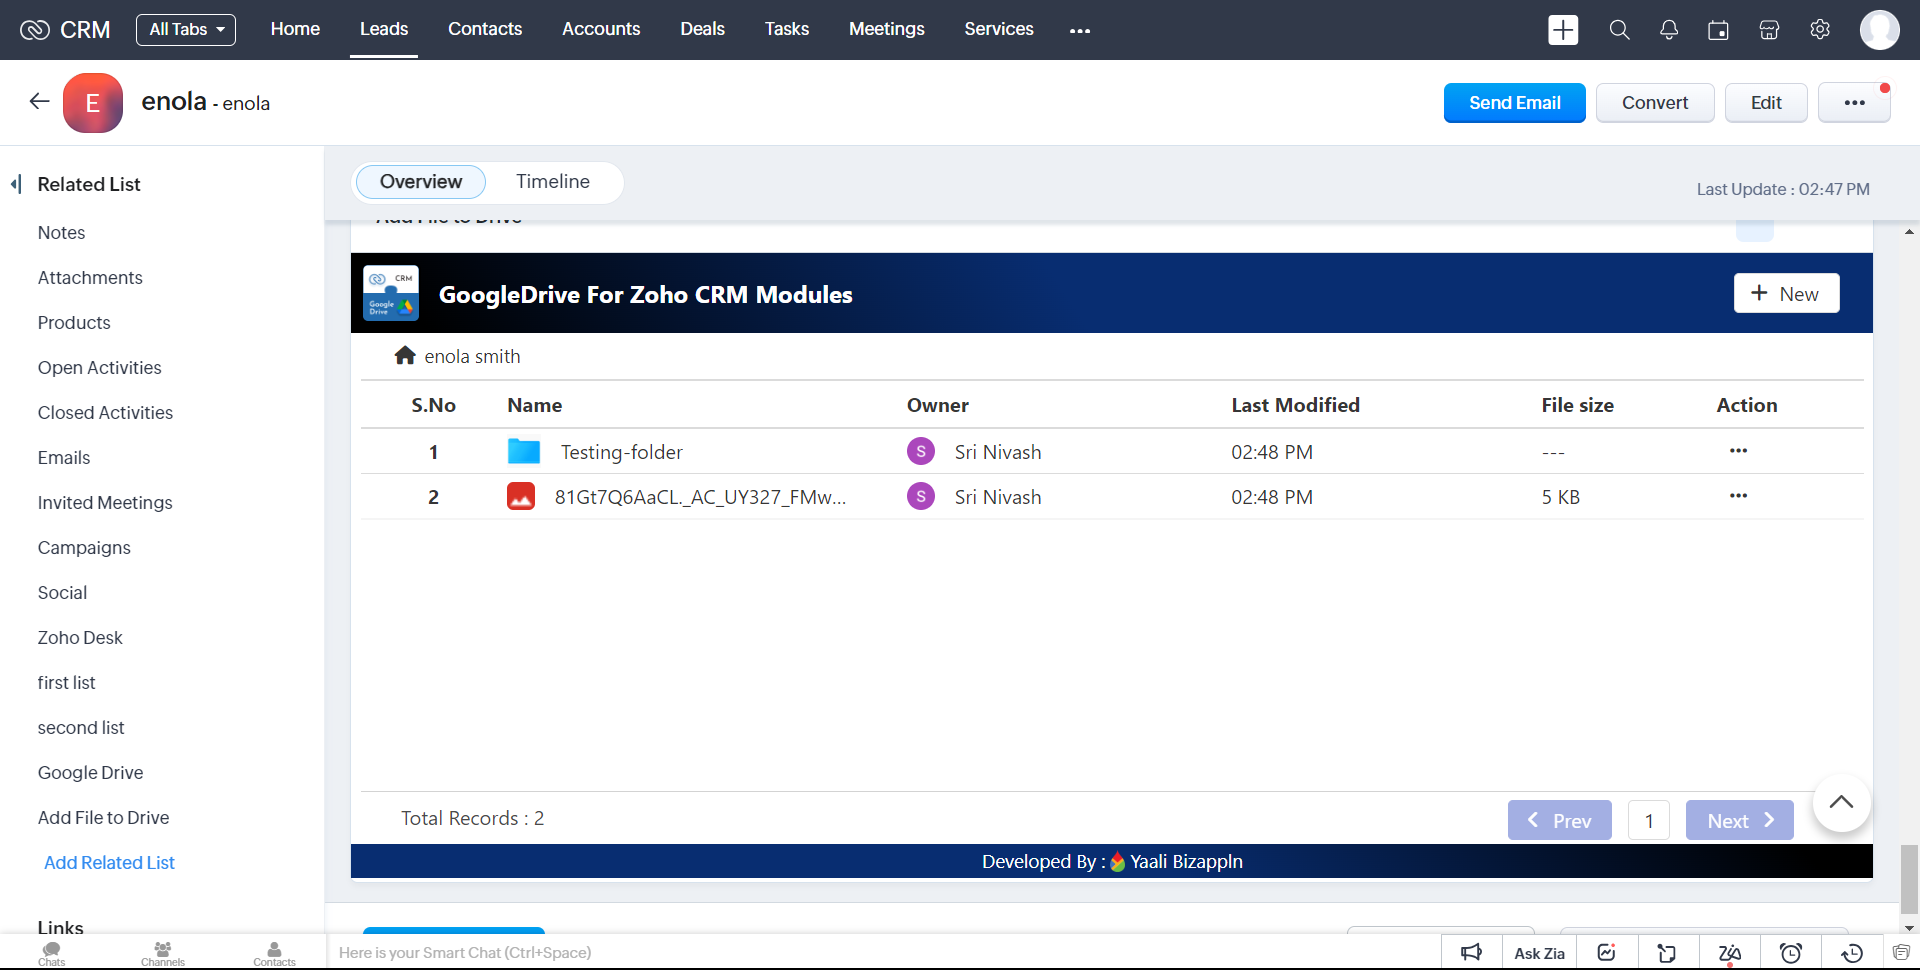
4.Created Folder will be Uploaded in your associated Google Drive Folder.
5.You can view the uploaded Folders in our Widget page.
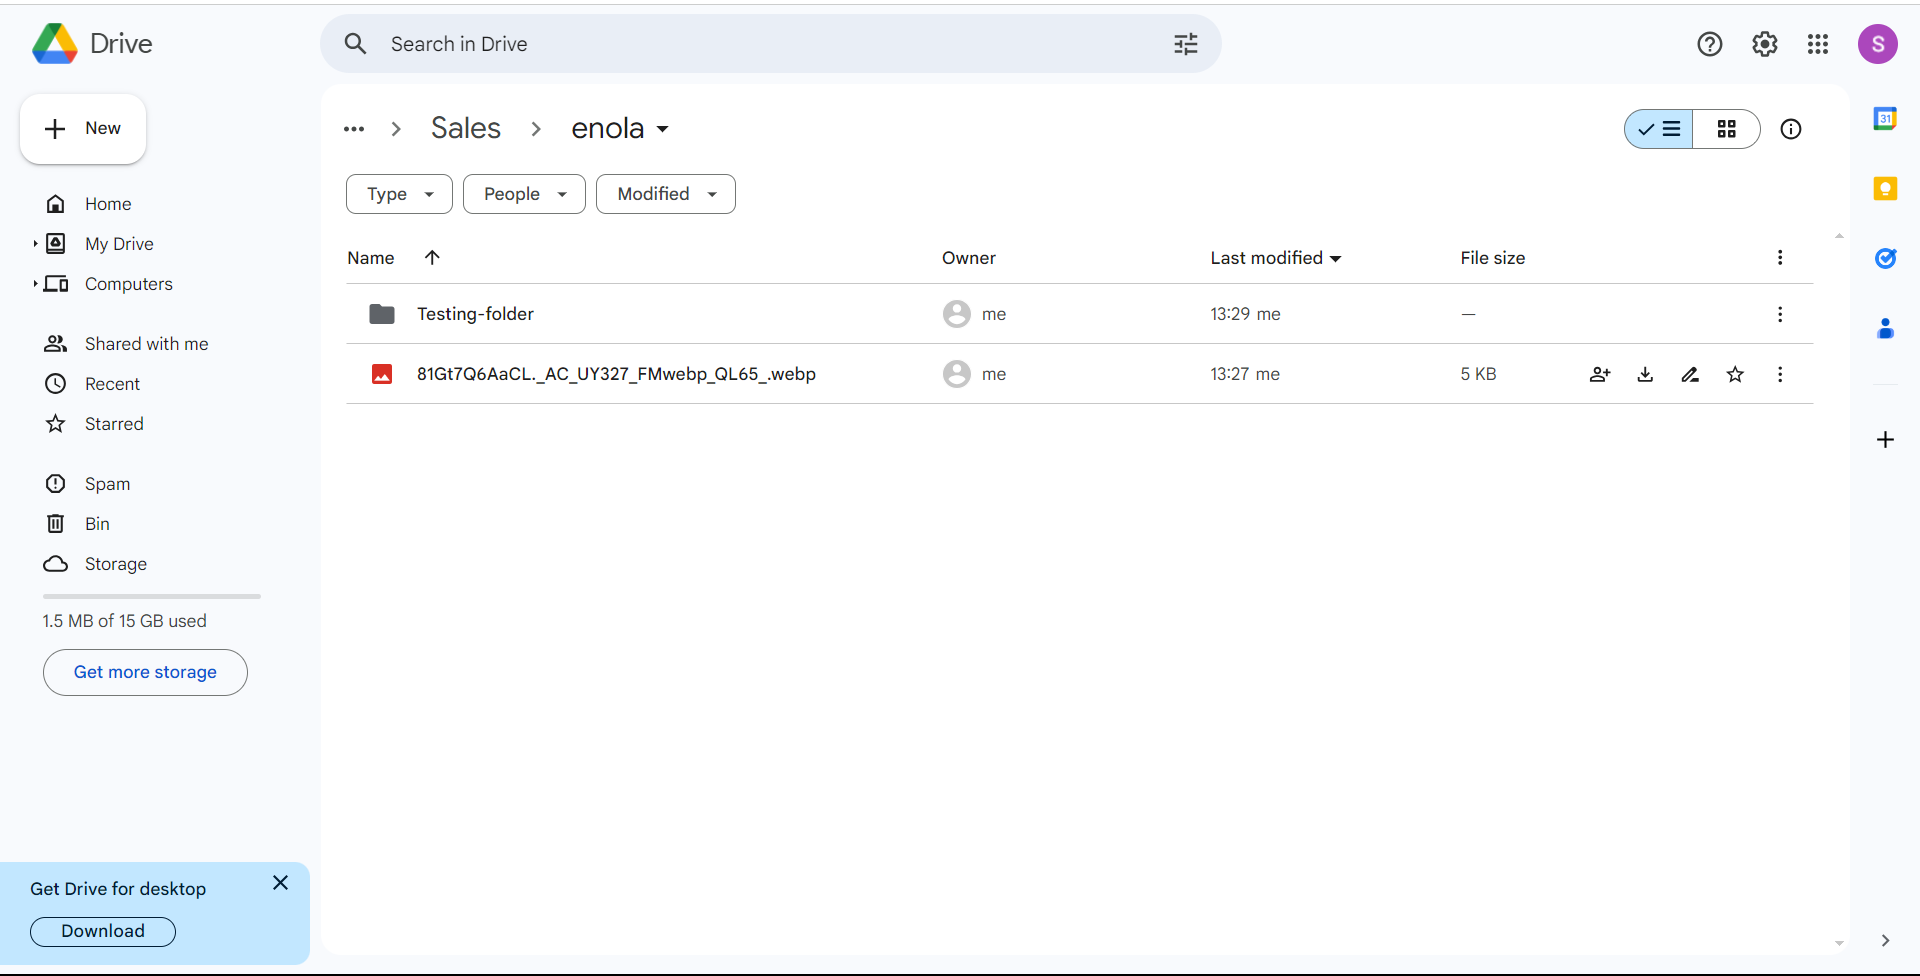
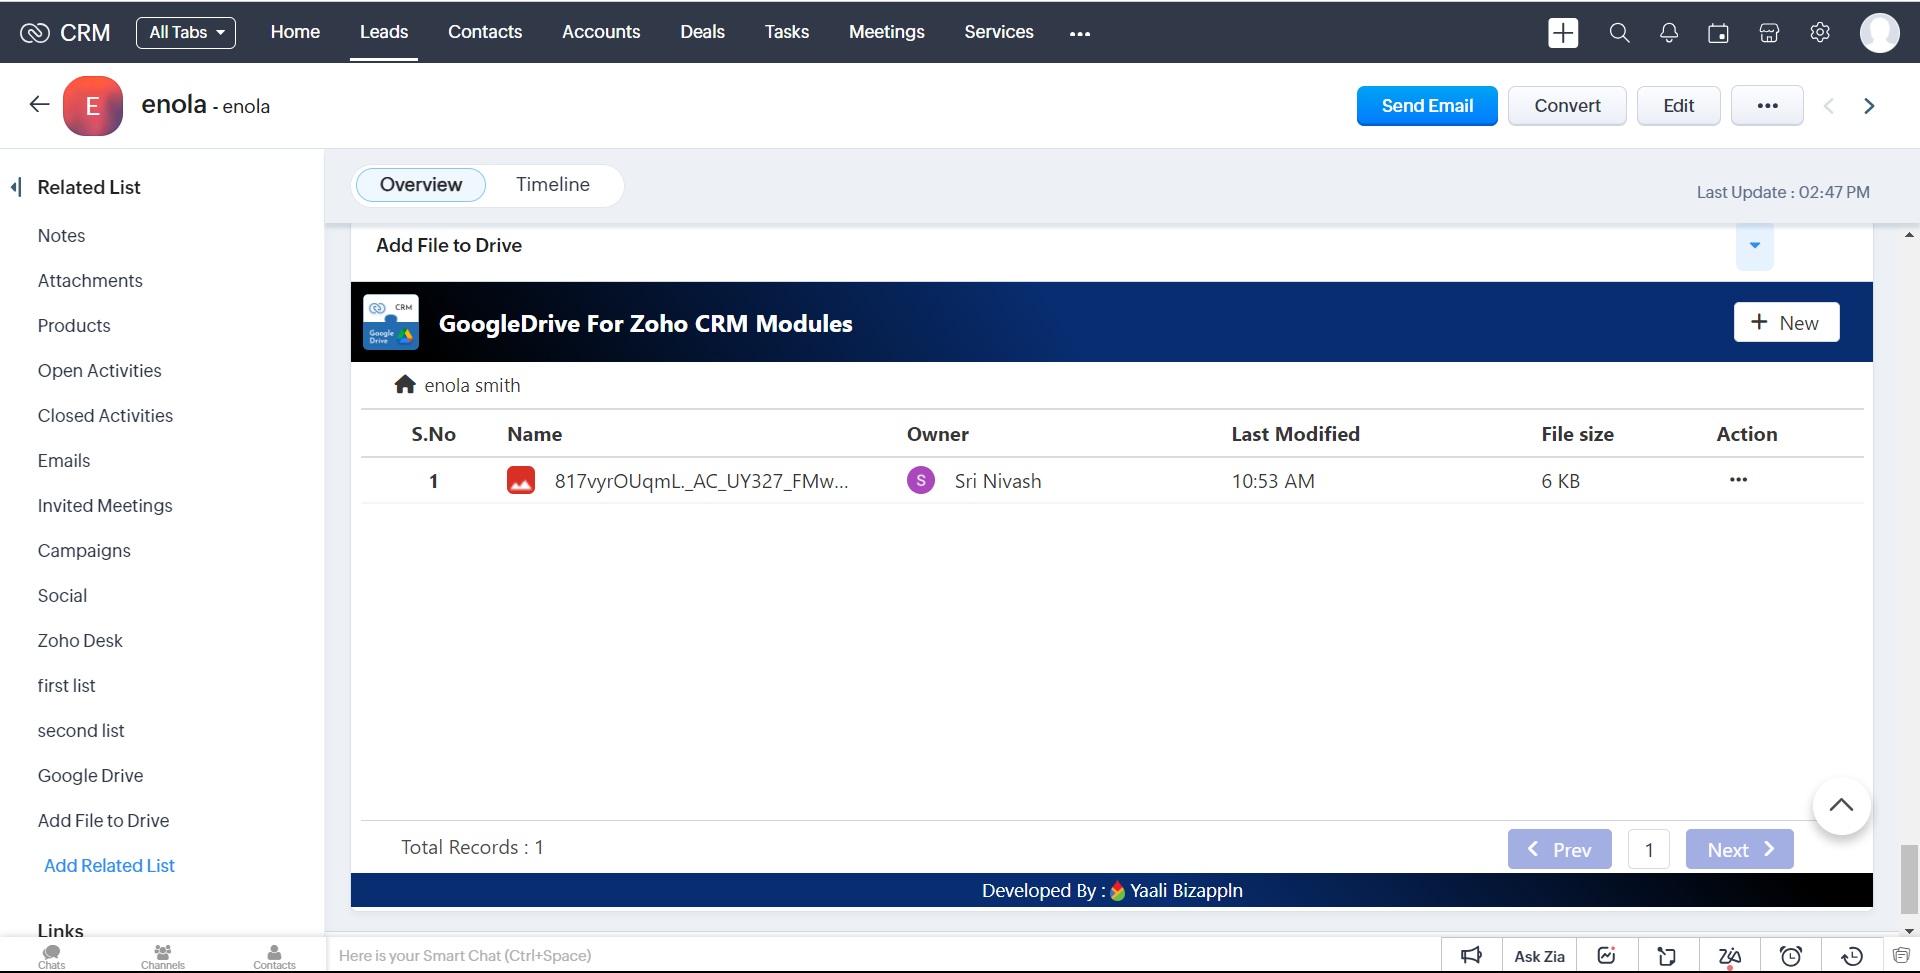
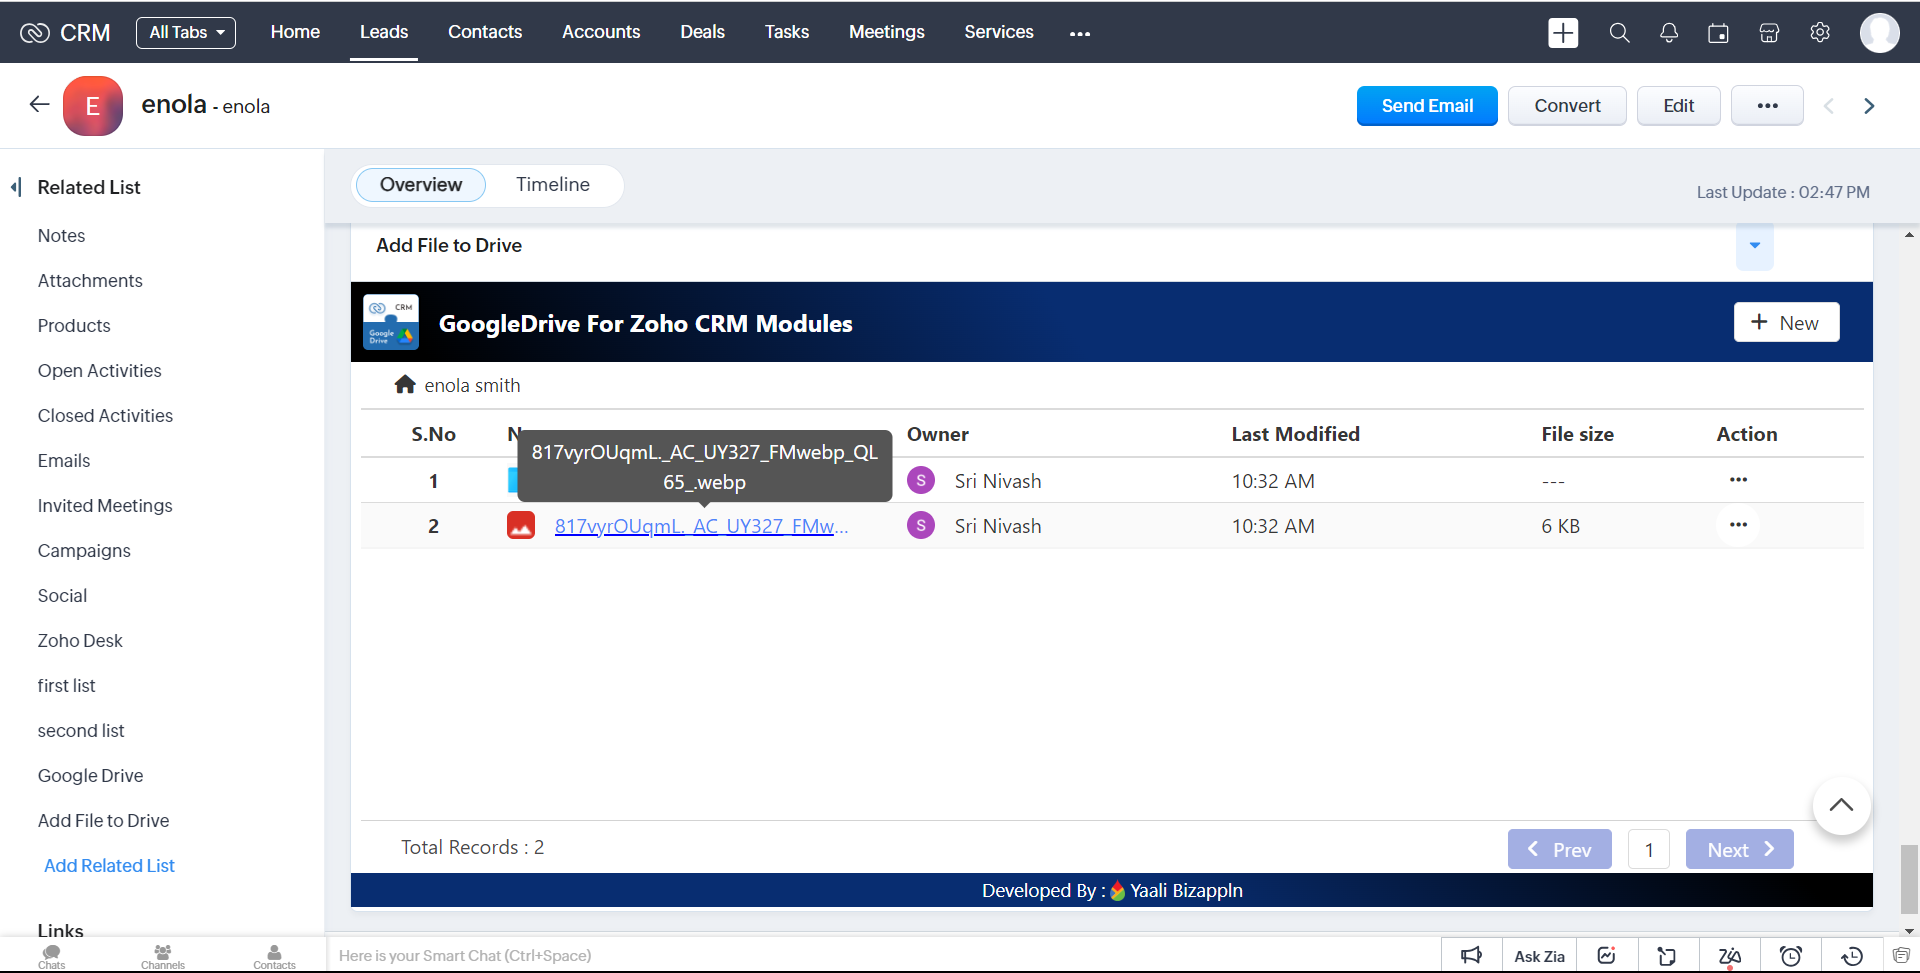
To View the uploaded file from Zoho CRM
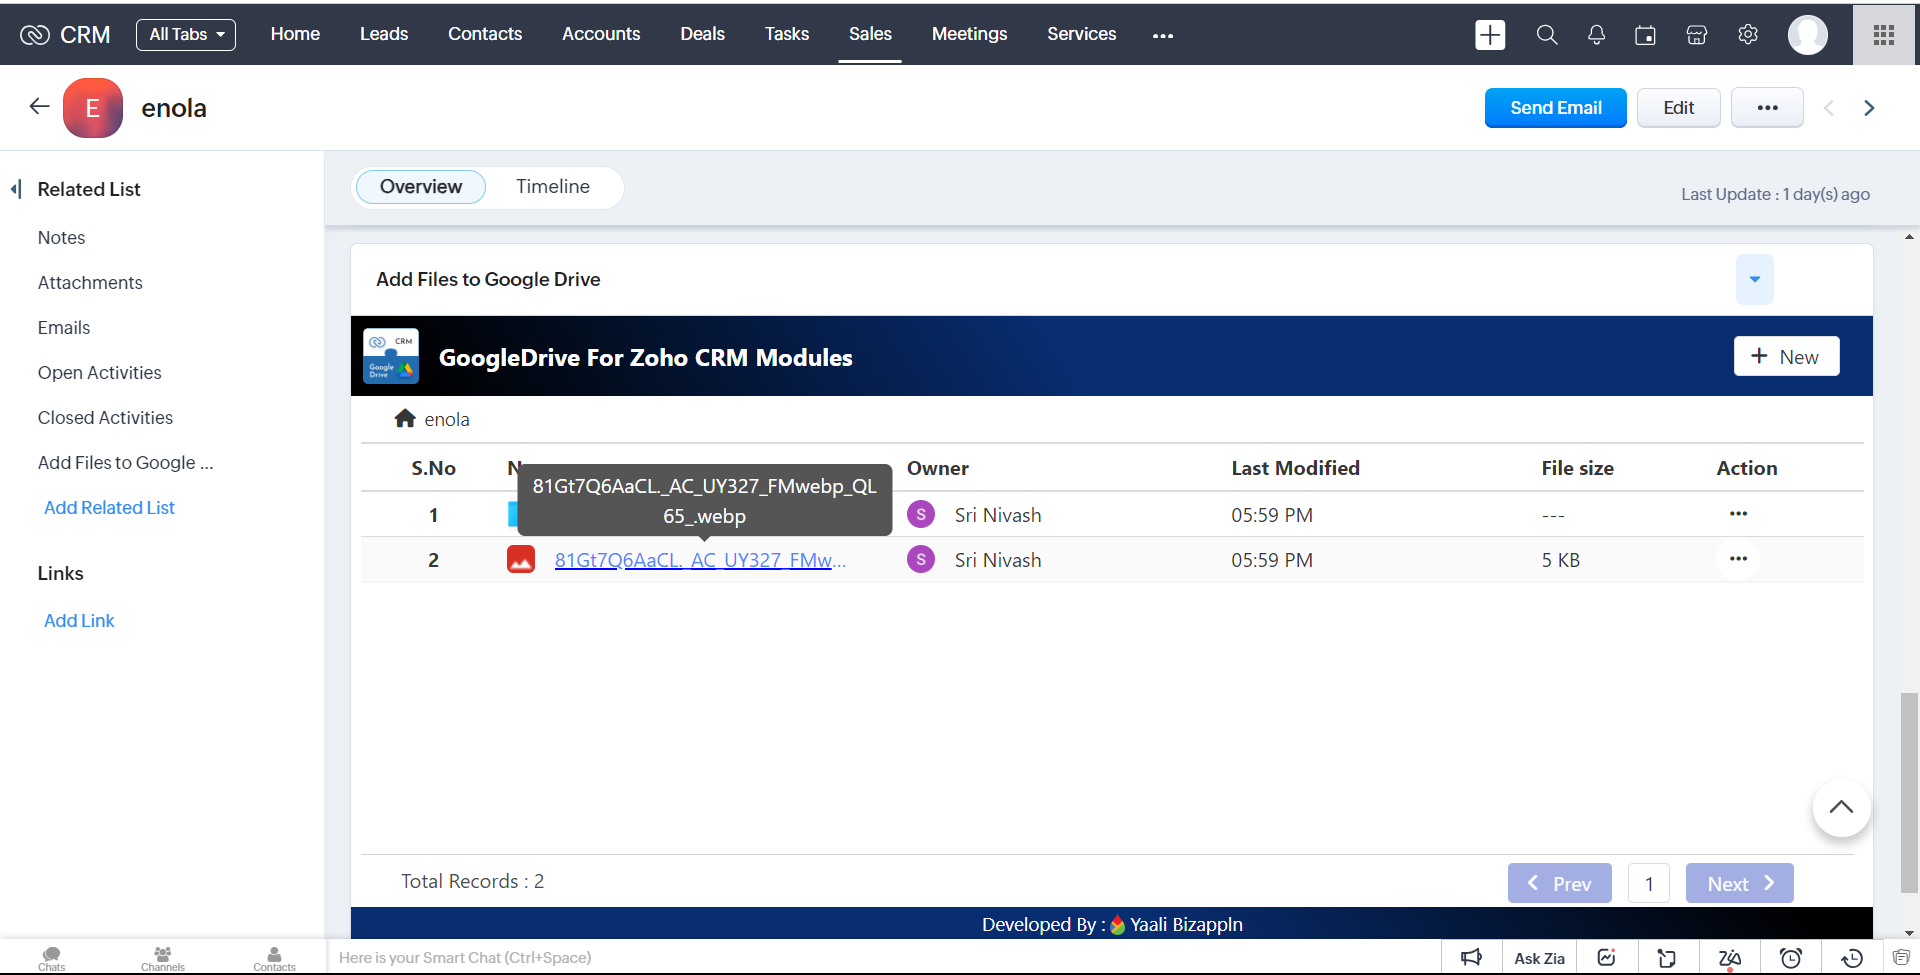
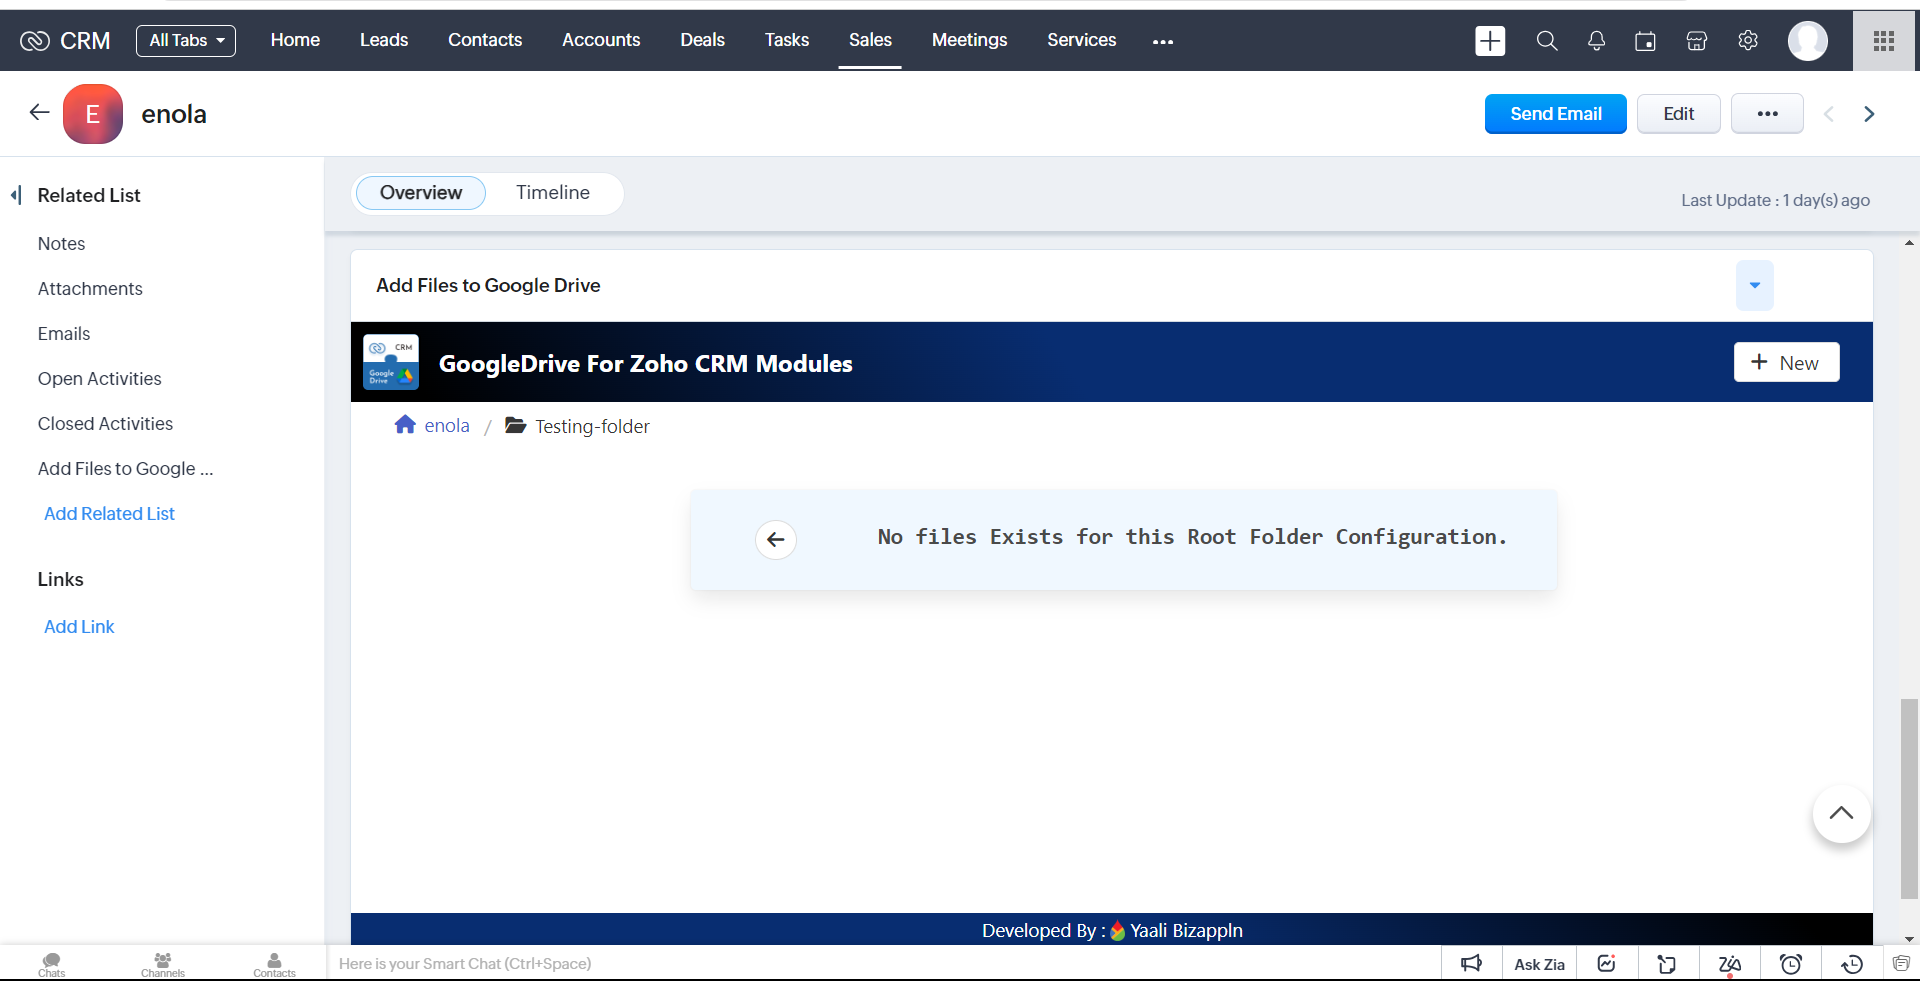
1.Click the desired file to open from the Extension widget page. You will be taken to the default view mode of Google Drive after clicking the file name
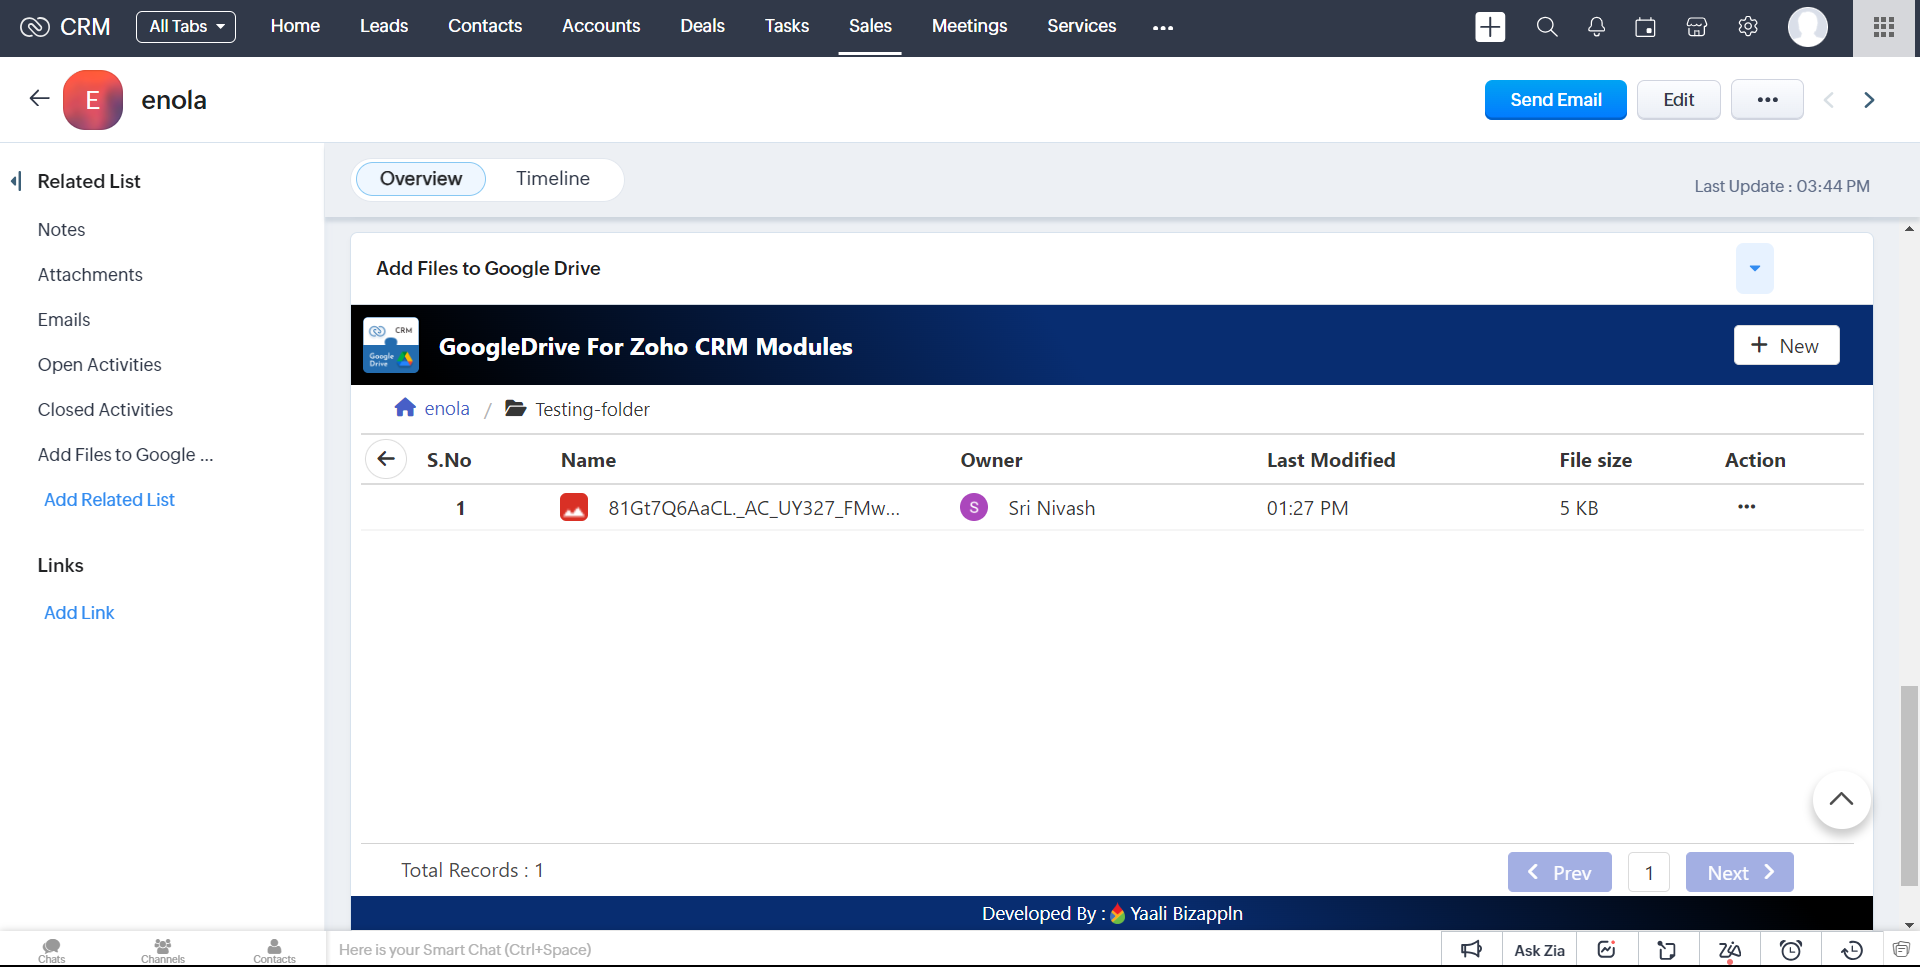
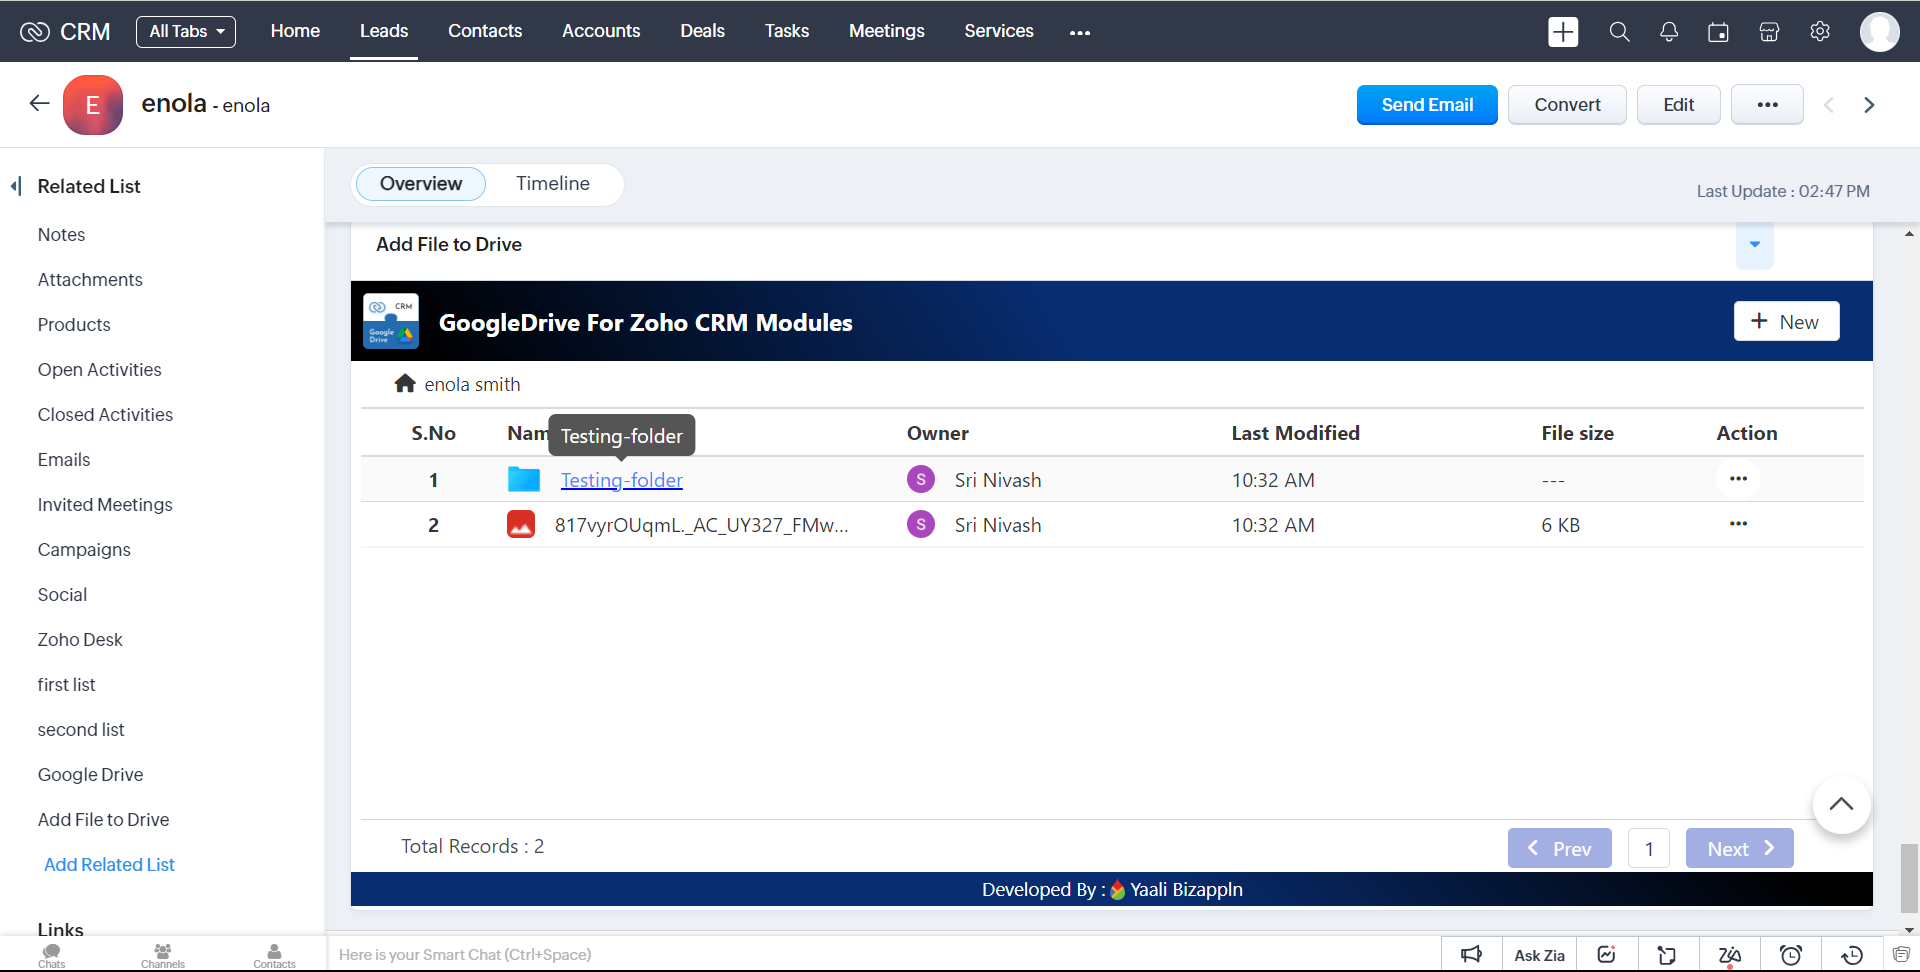
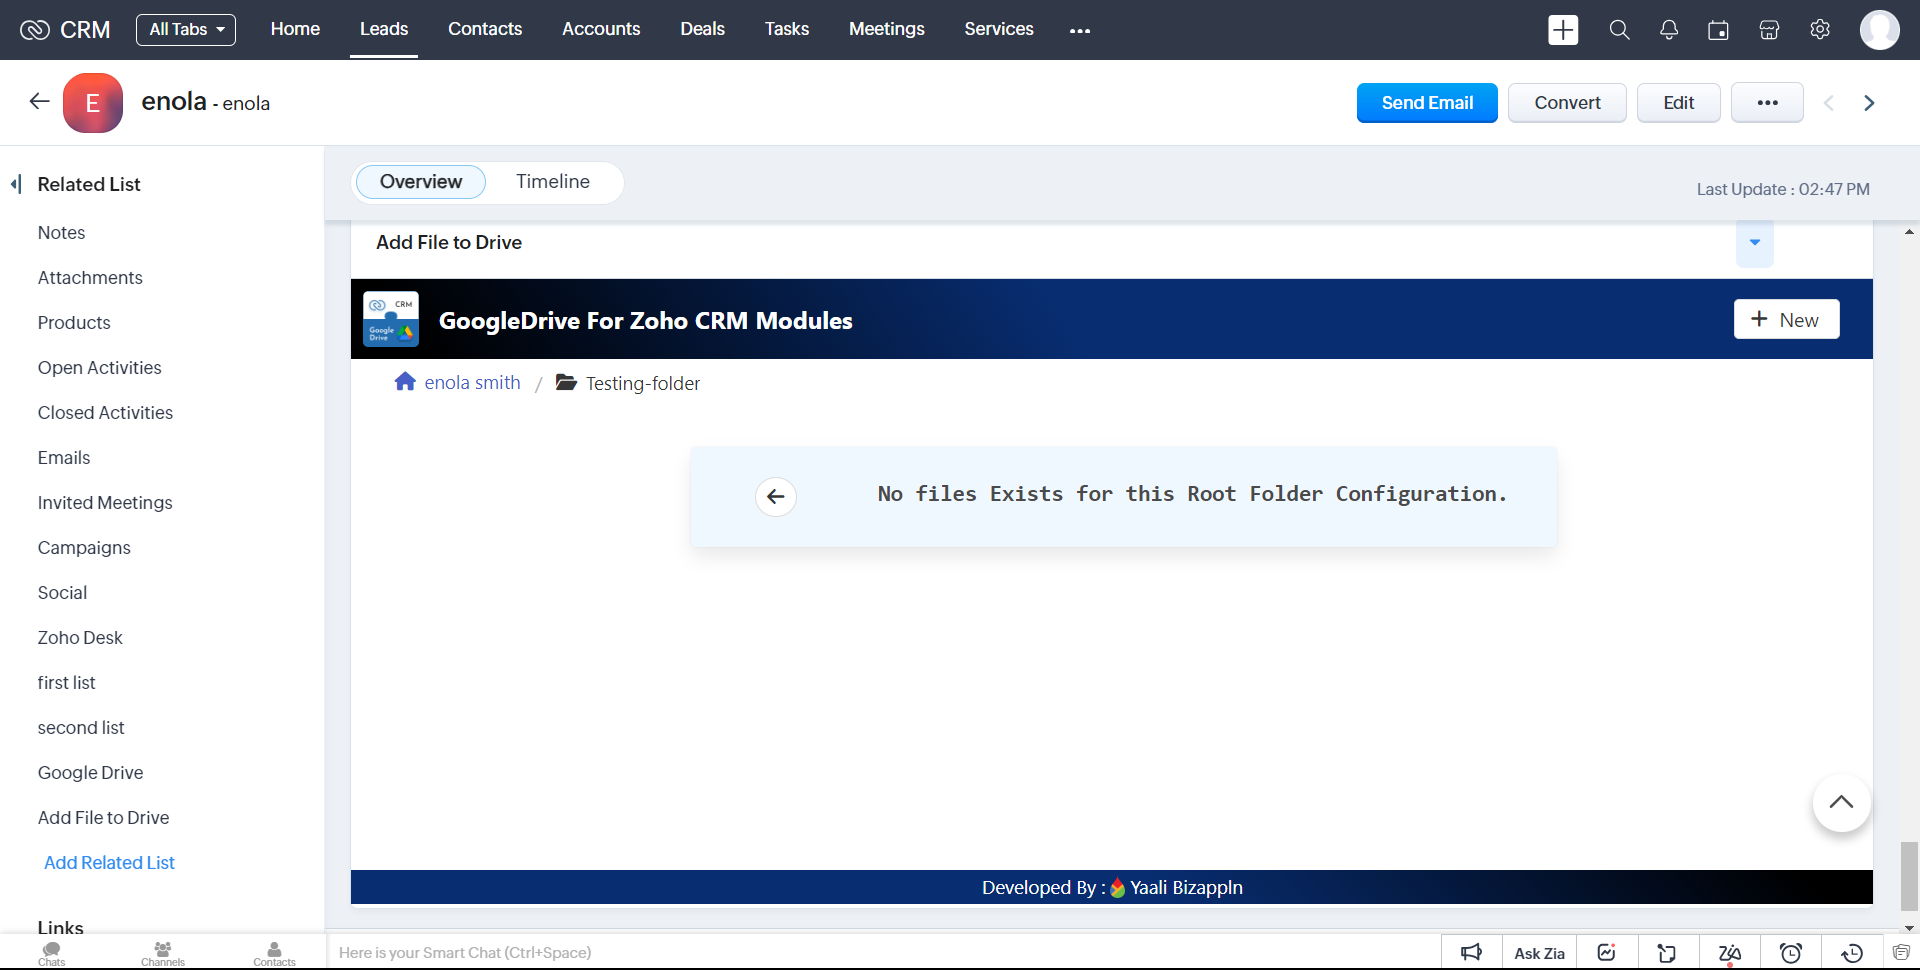
2.If you click a folder name in the table.
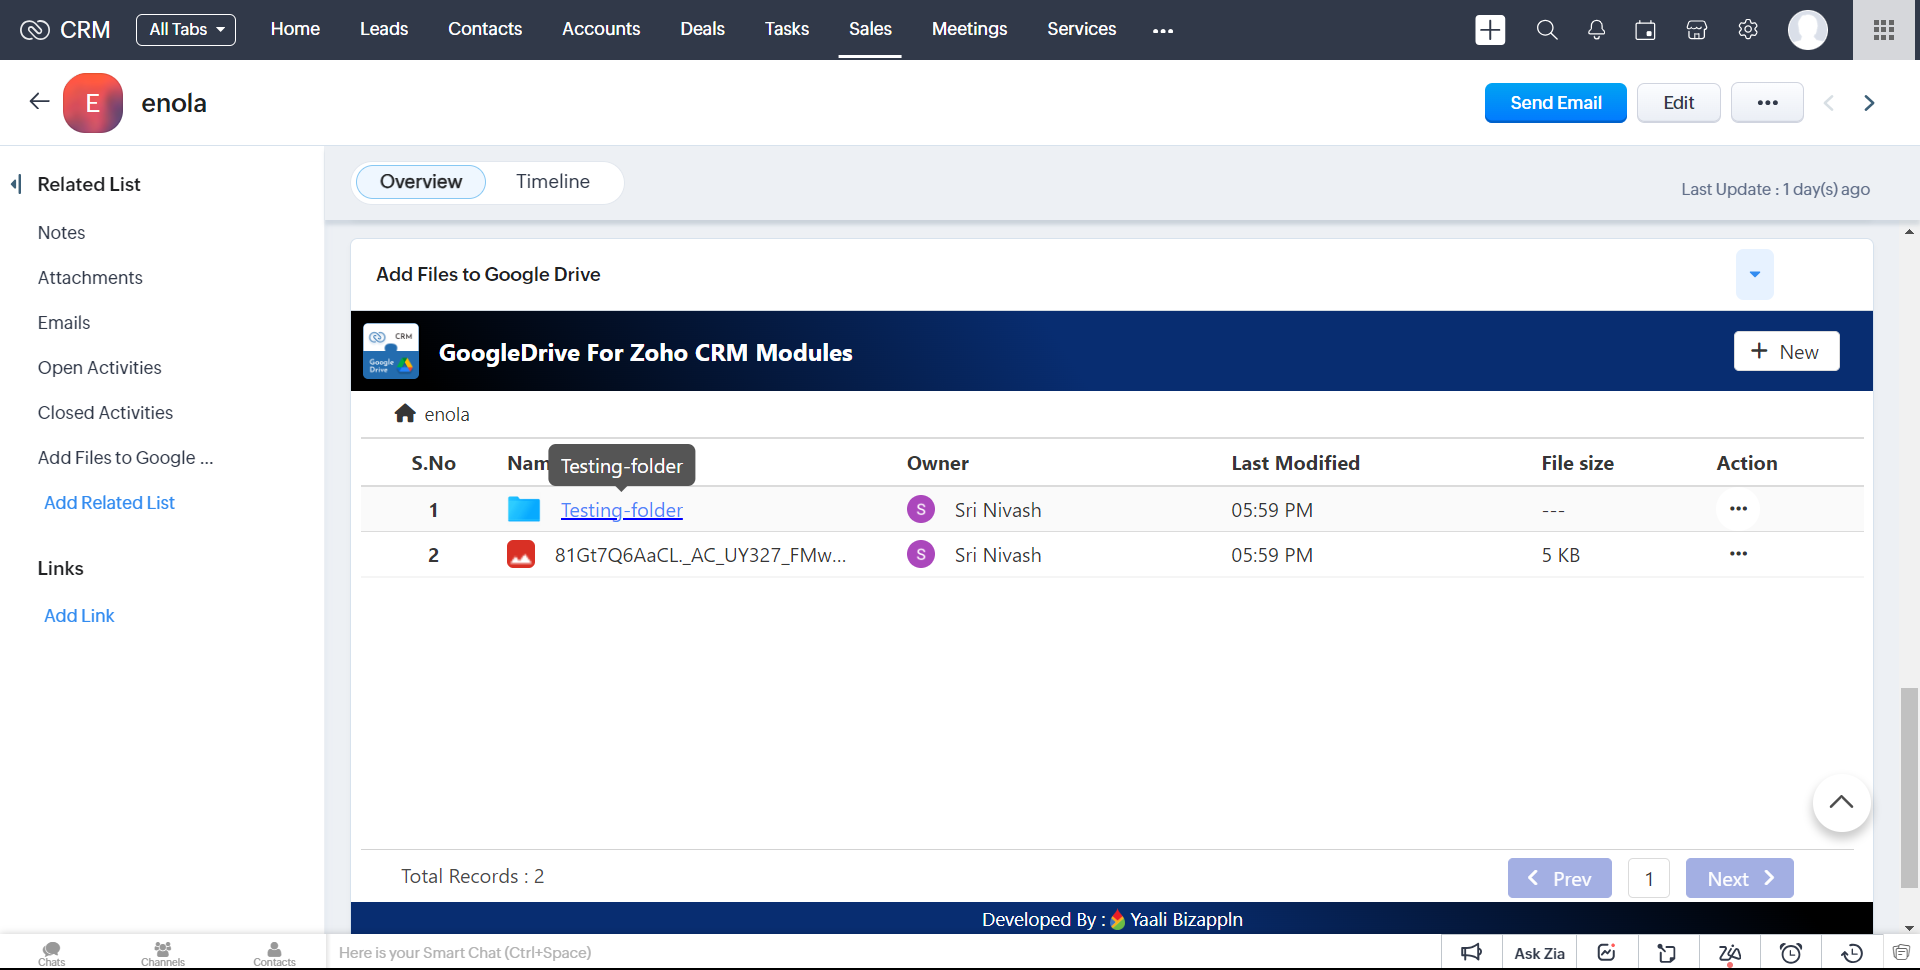
3.You will be automatically navigate to inside the folder and view the files available in it.
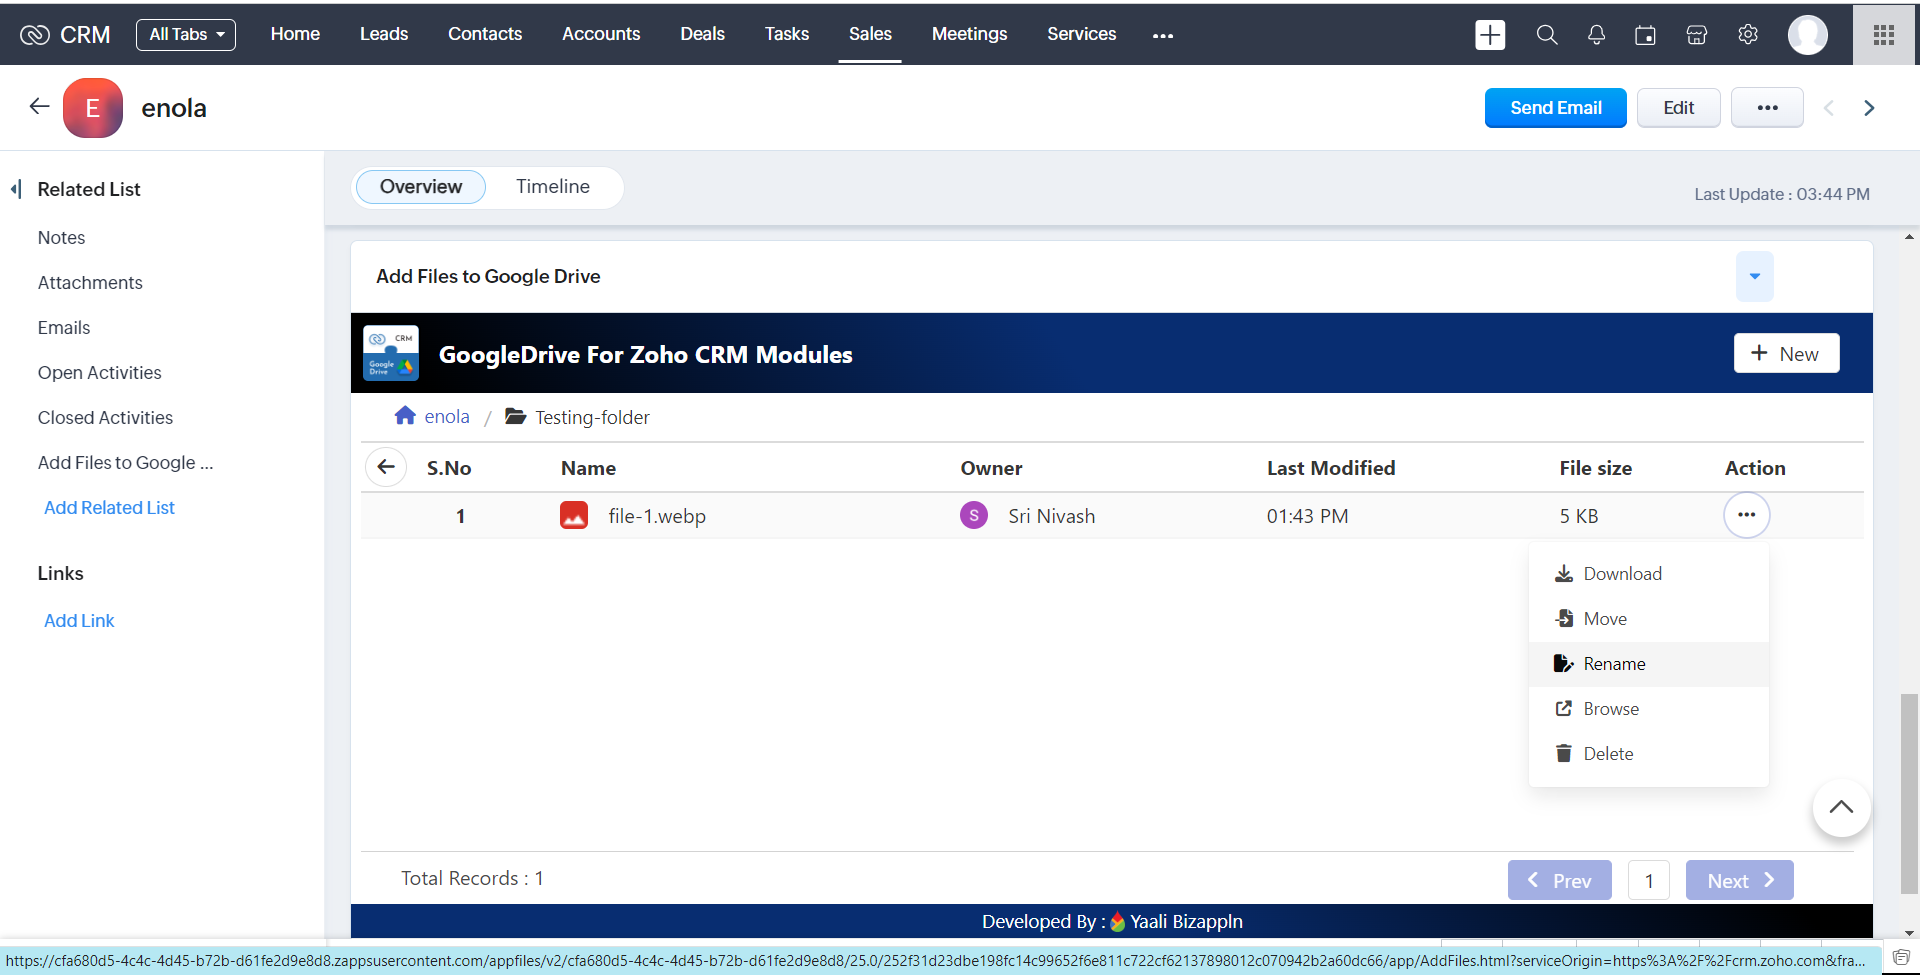
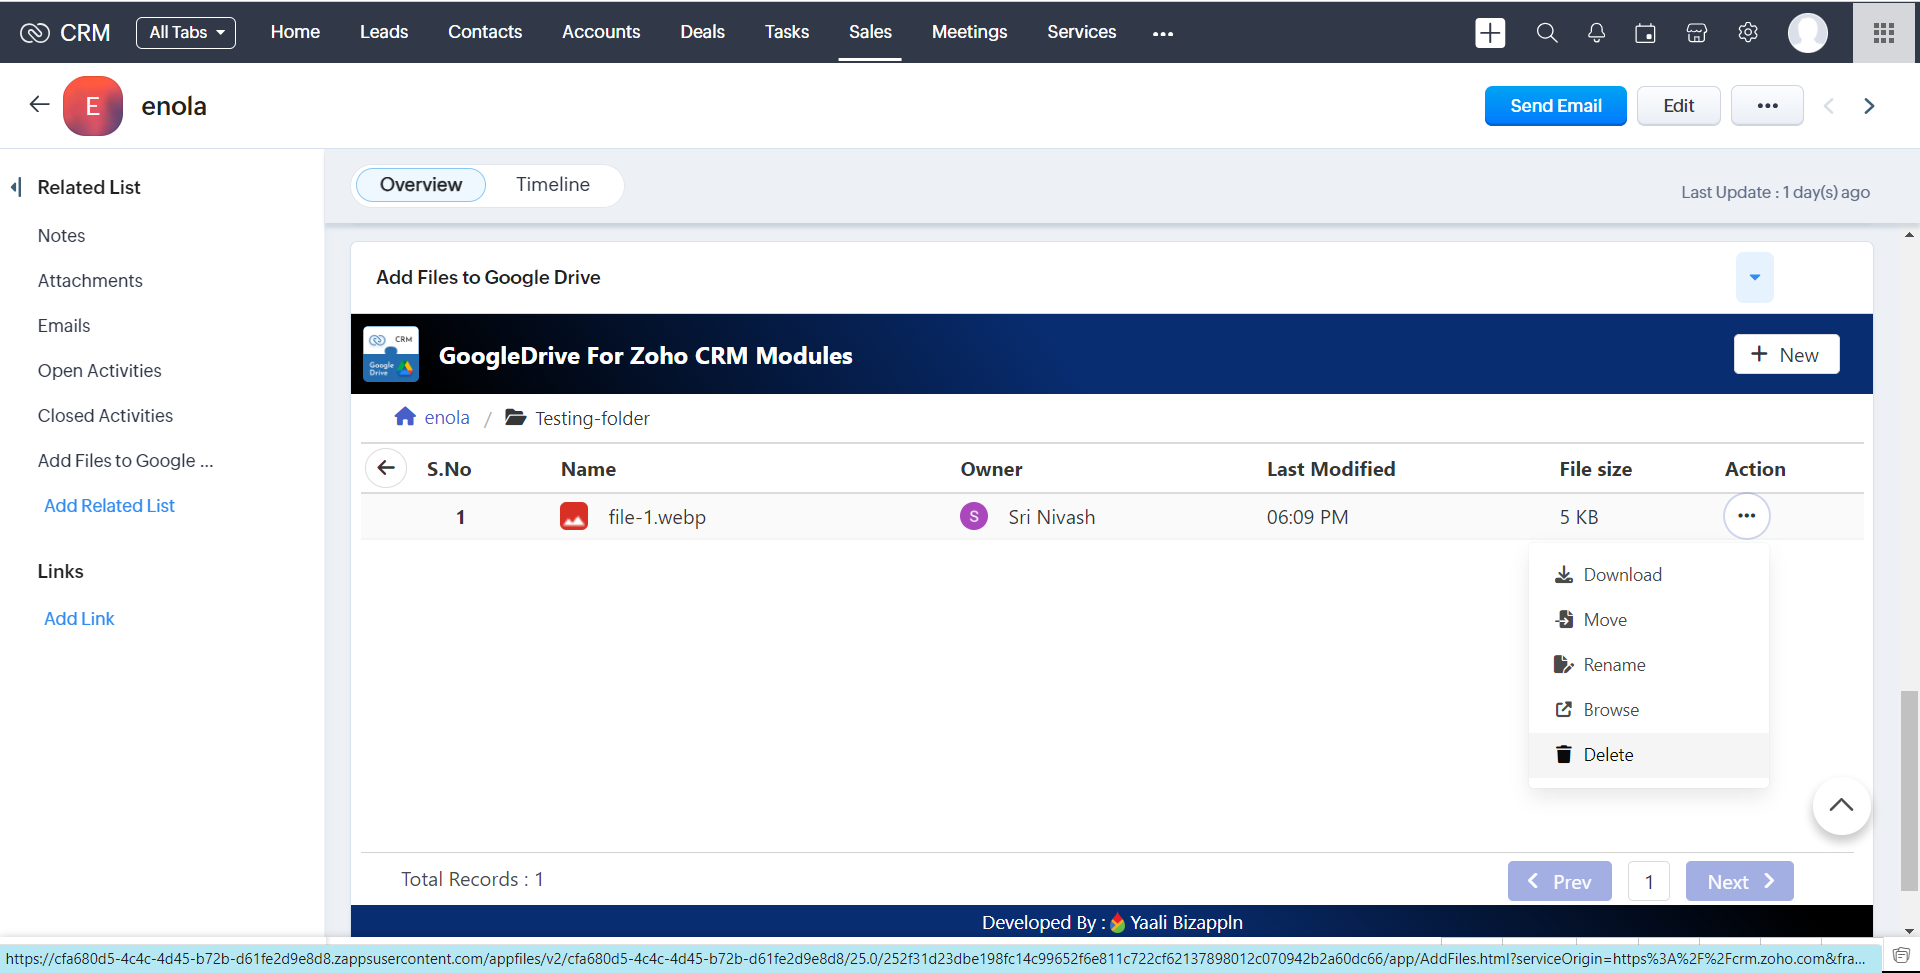
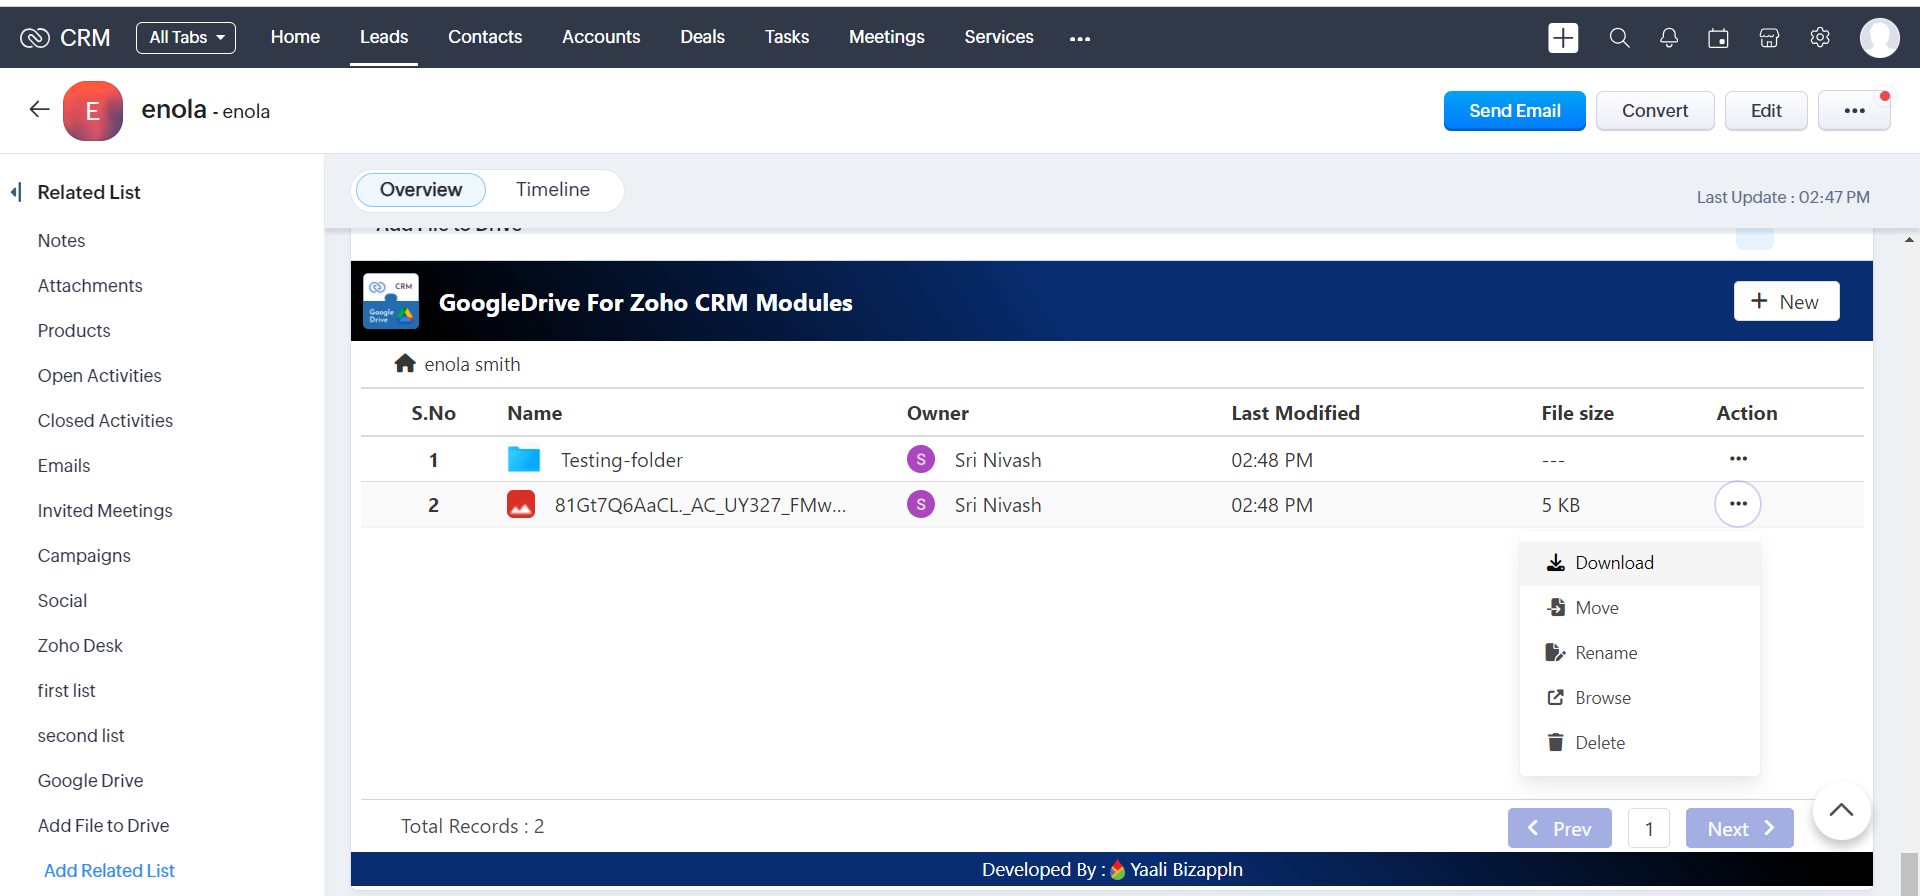
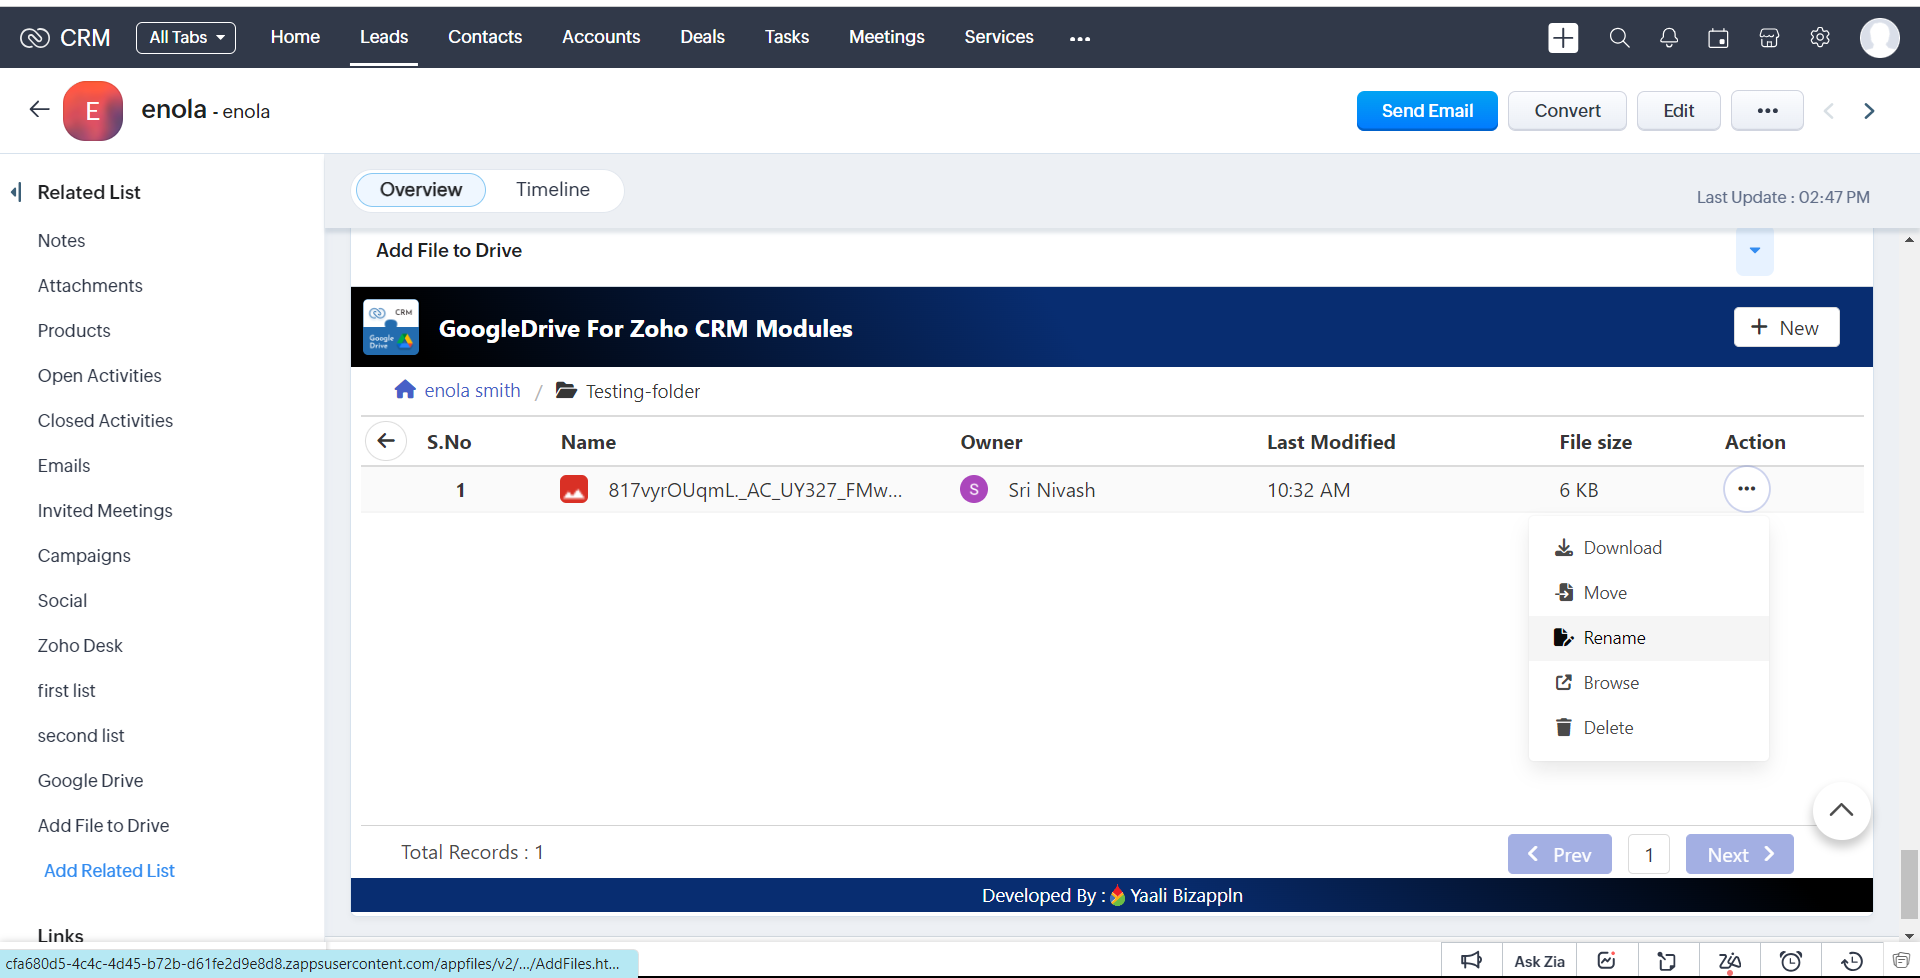
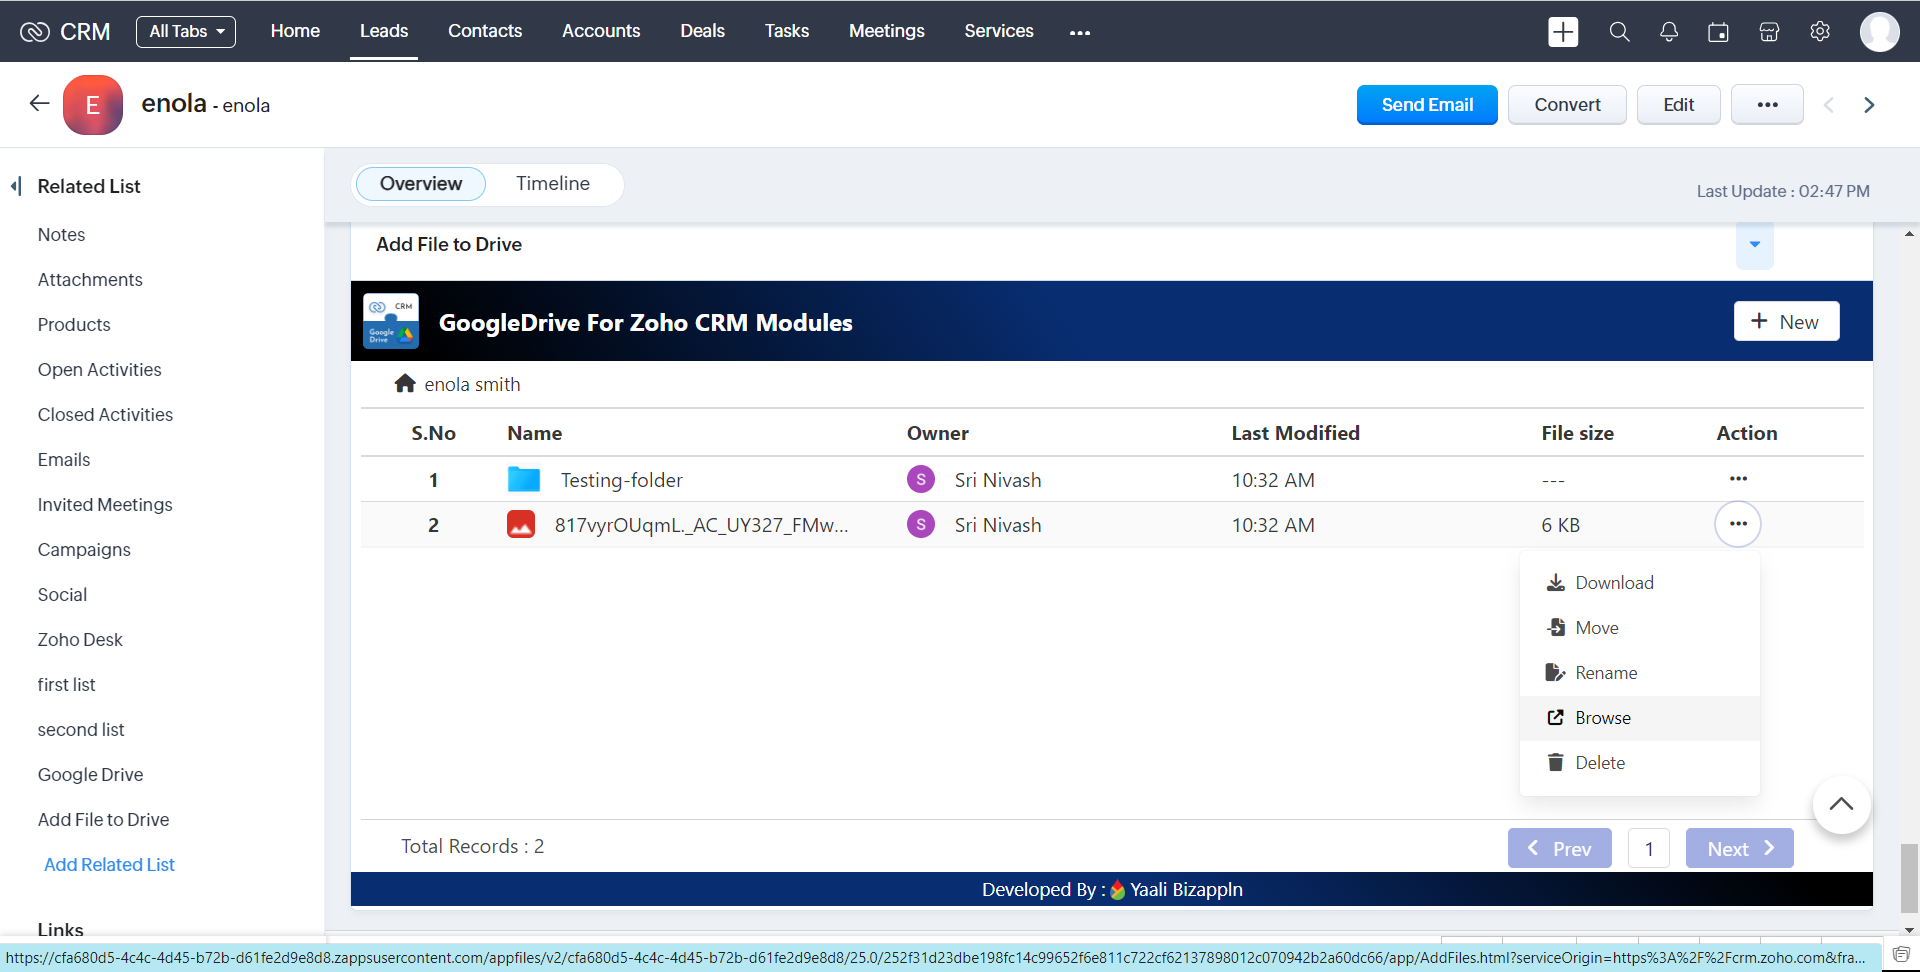
Actions
1.When You Click "..." It shows the list of actions.
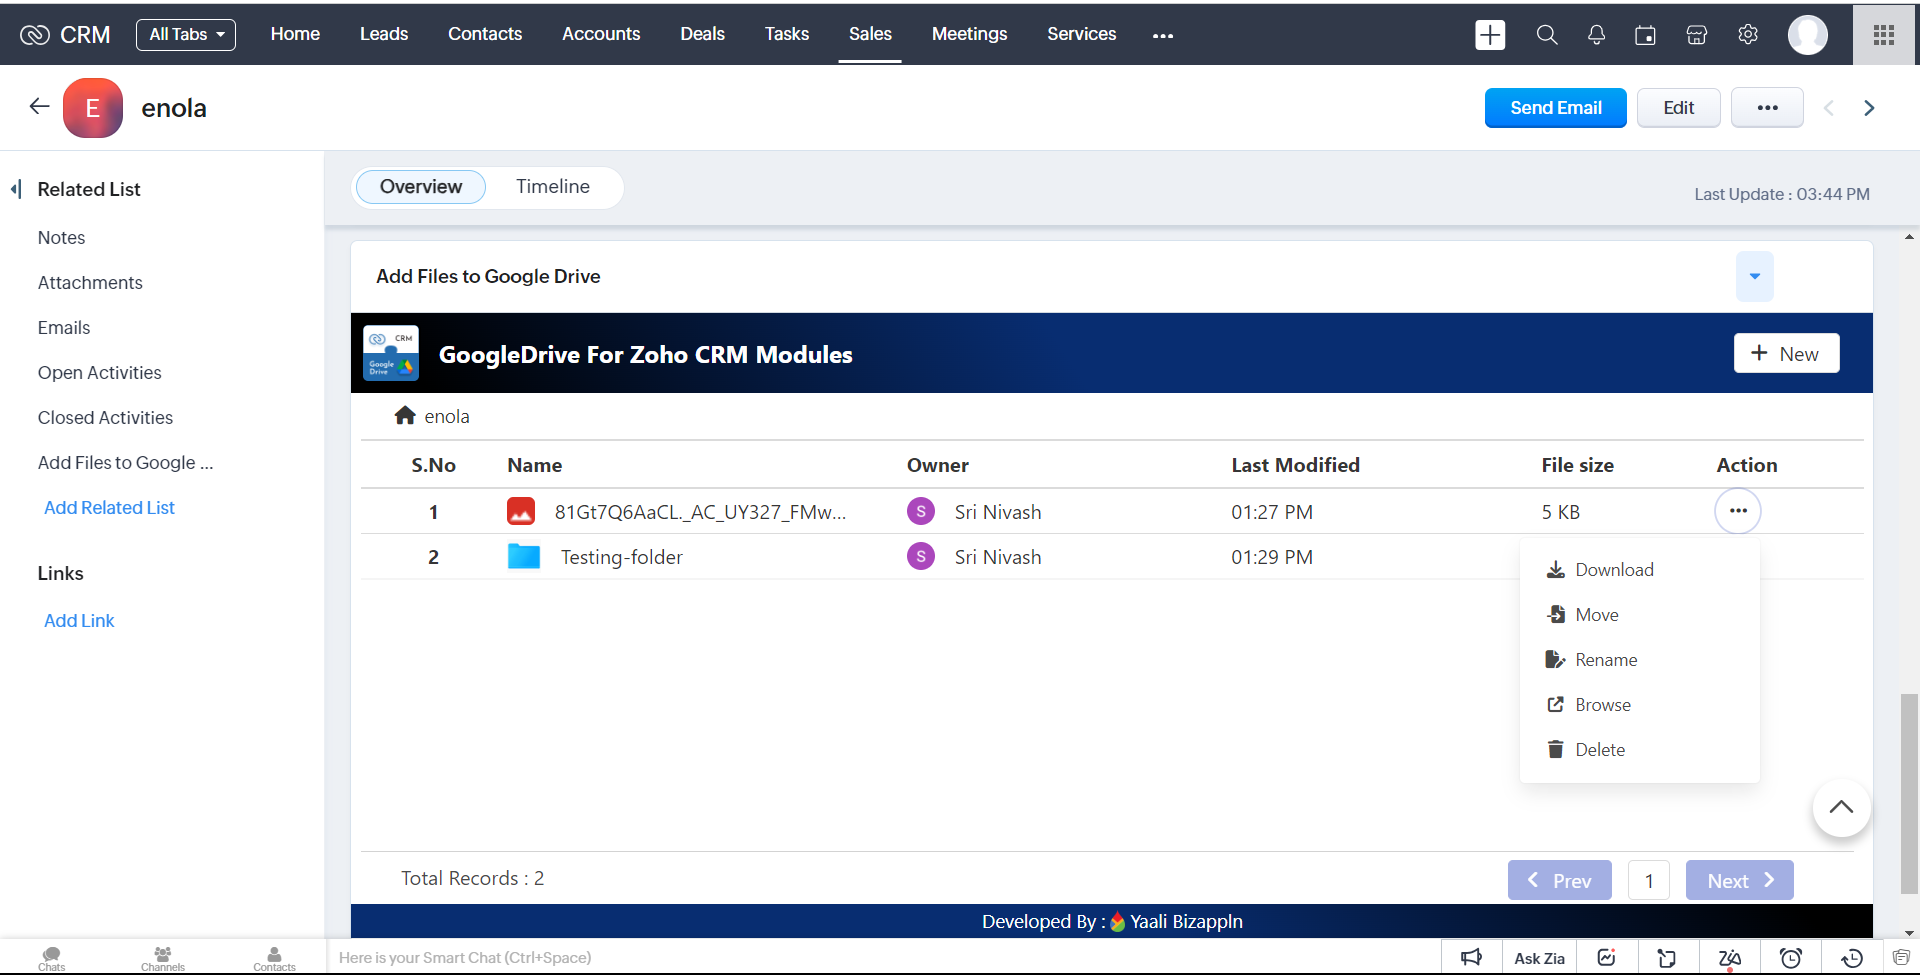
Download
1.In the action list,You have to click the 'Download' Option,It will initiate the download of the corresponding file.
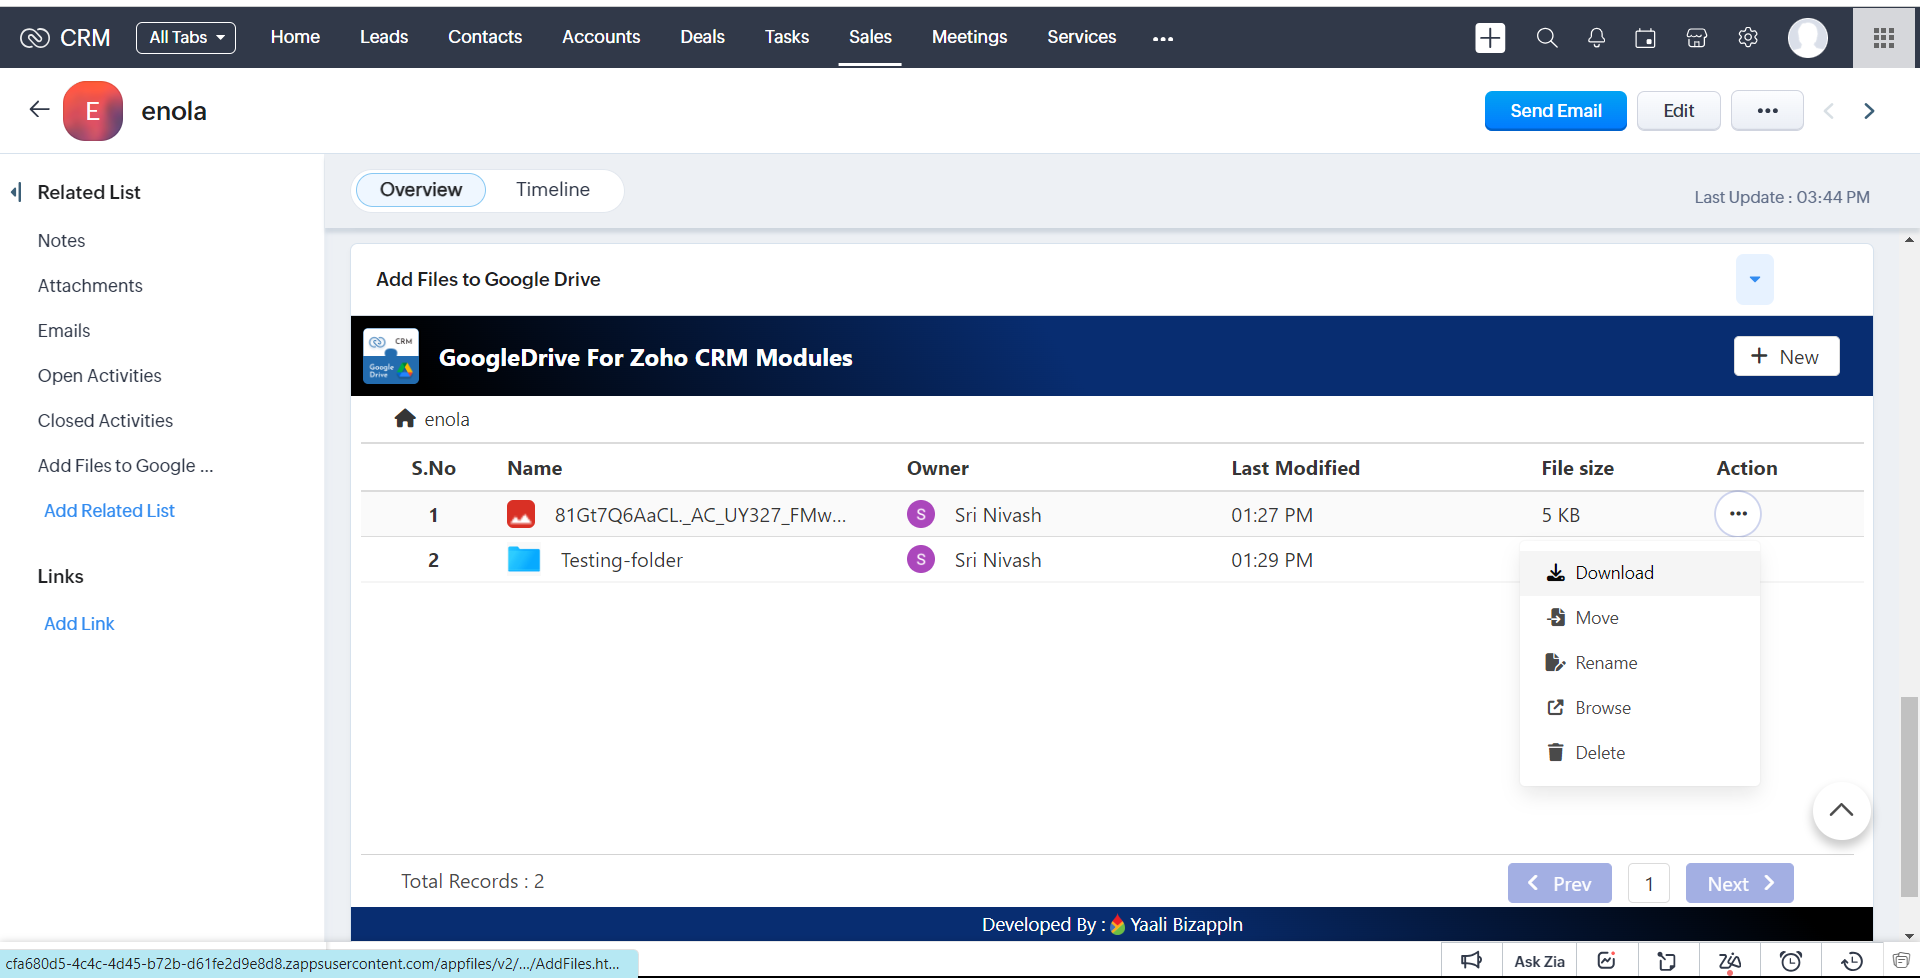
Note: we can Only Download Files Not Folders.
Move
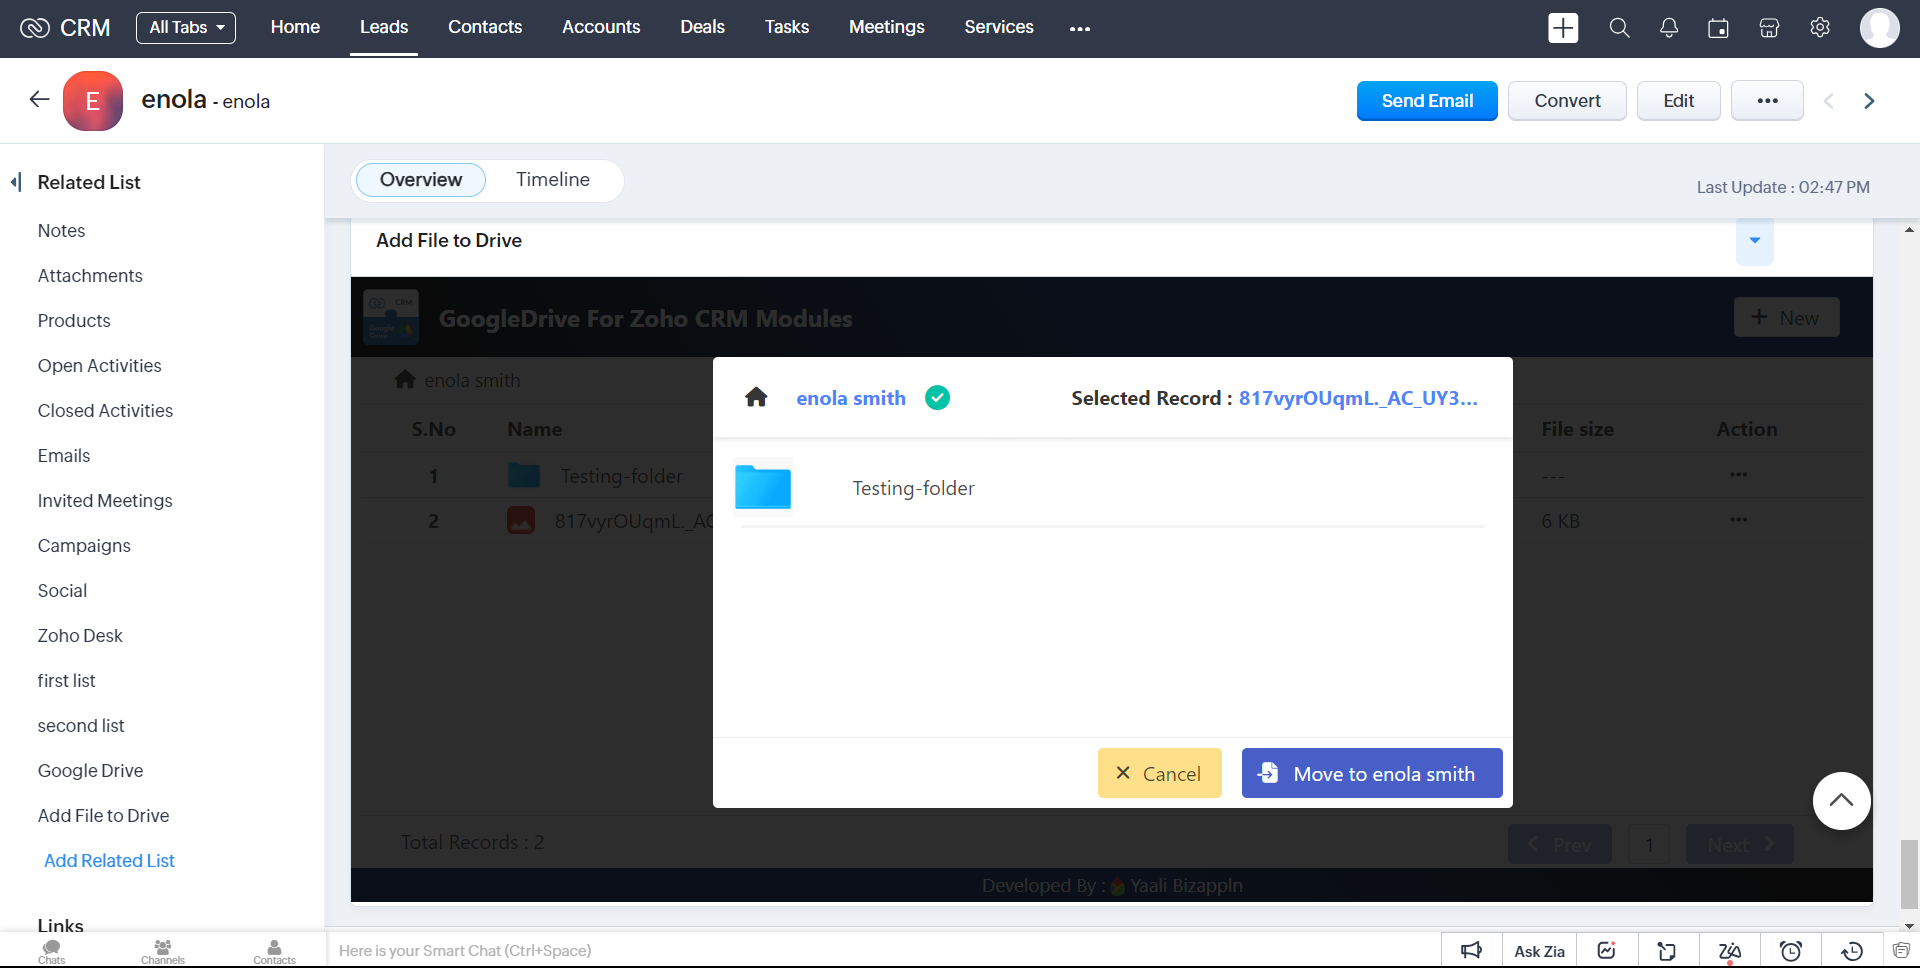
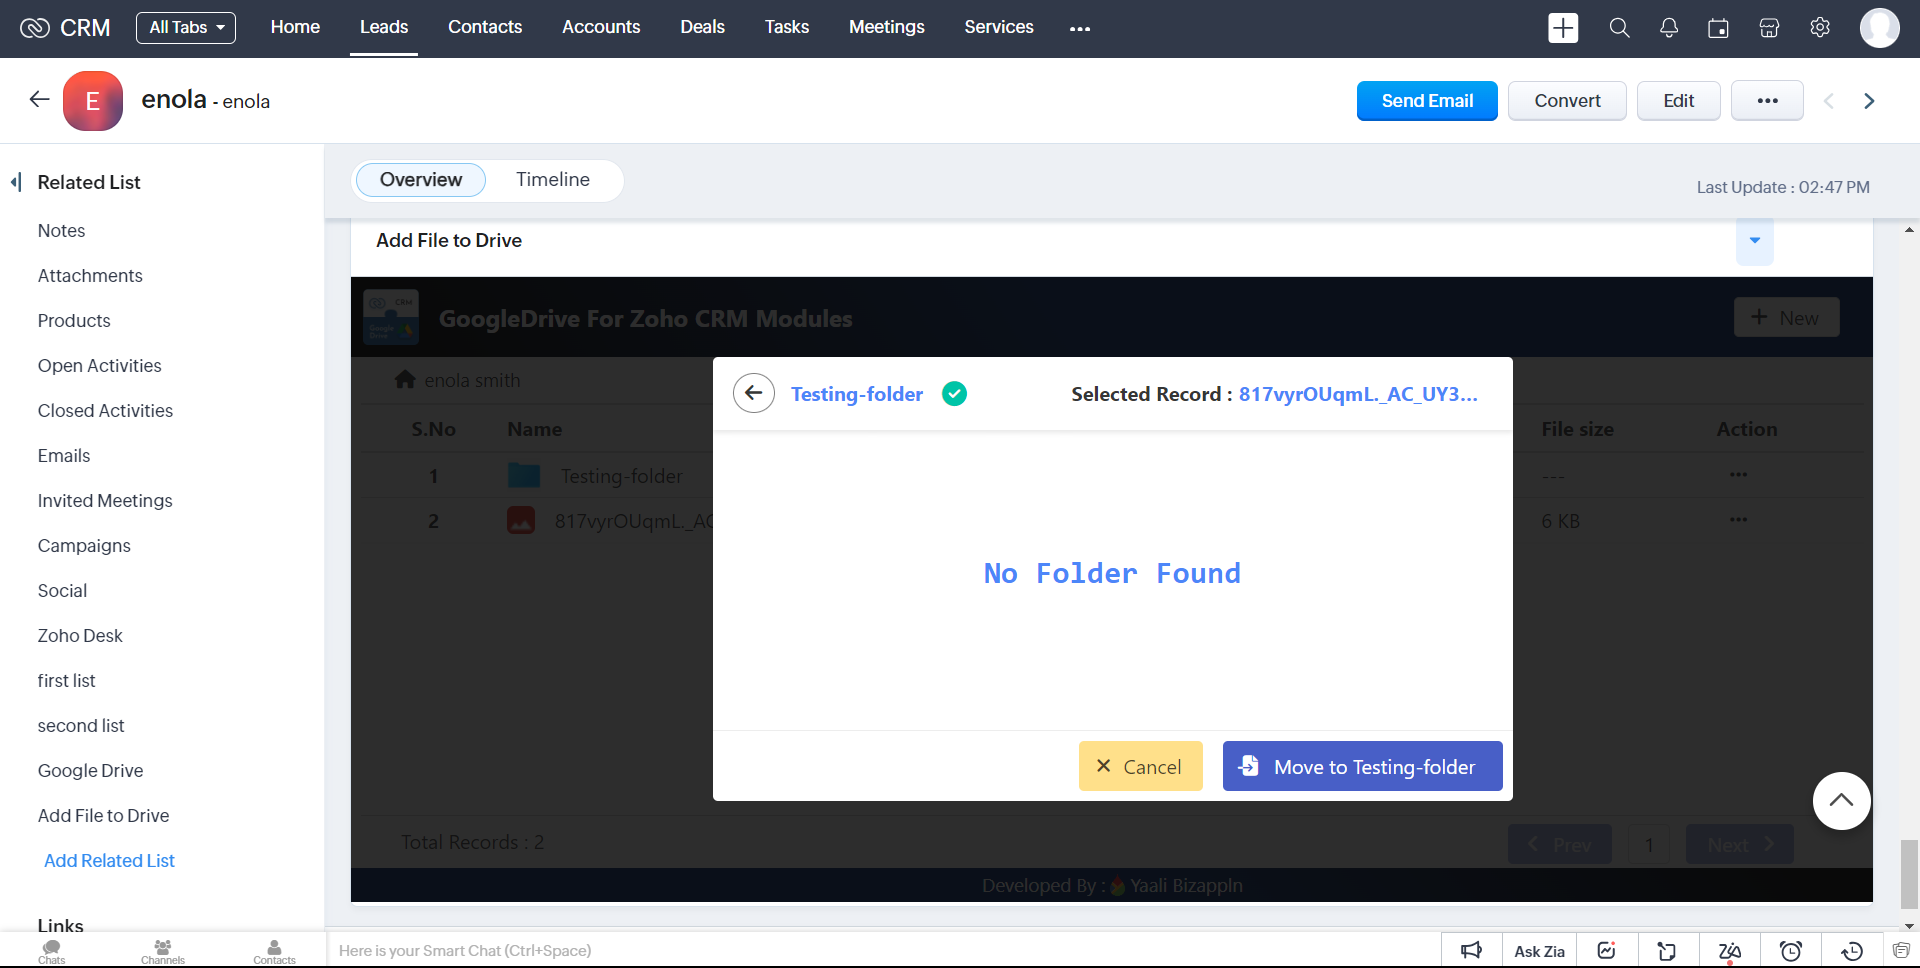
1.In the action list,When you click the 'Move' action, a popup will open displaying a list of folders to move the selected file.
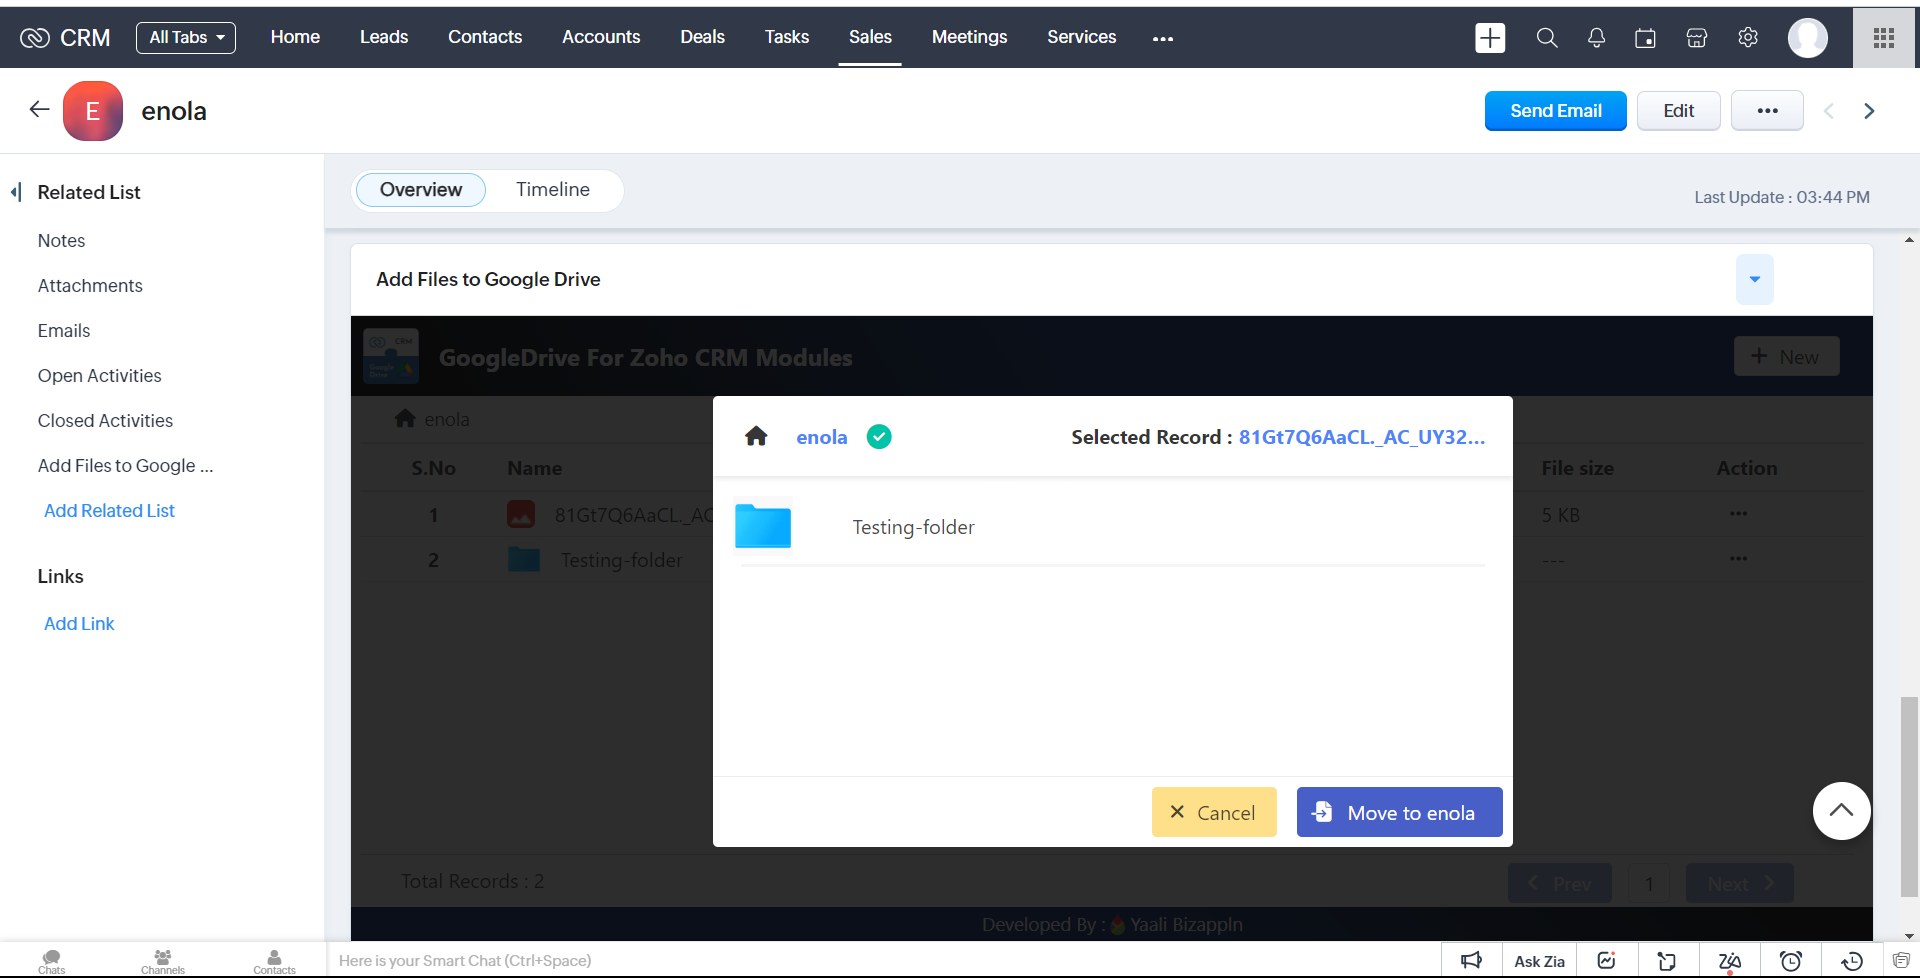
2.choose a Folder to move that file.
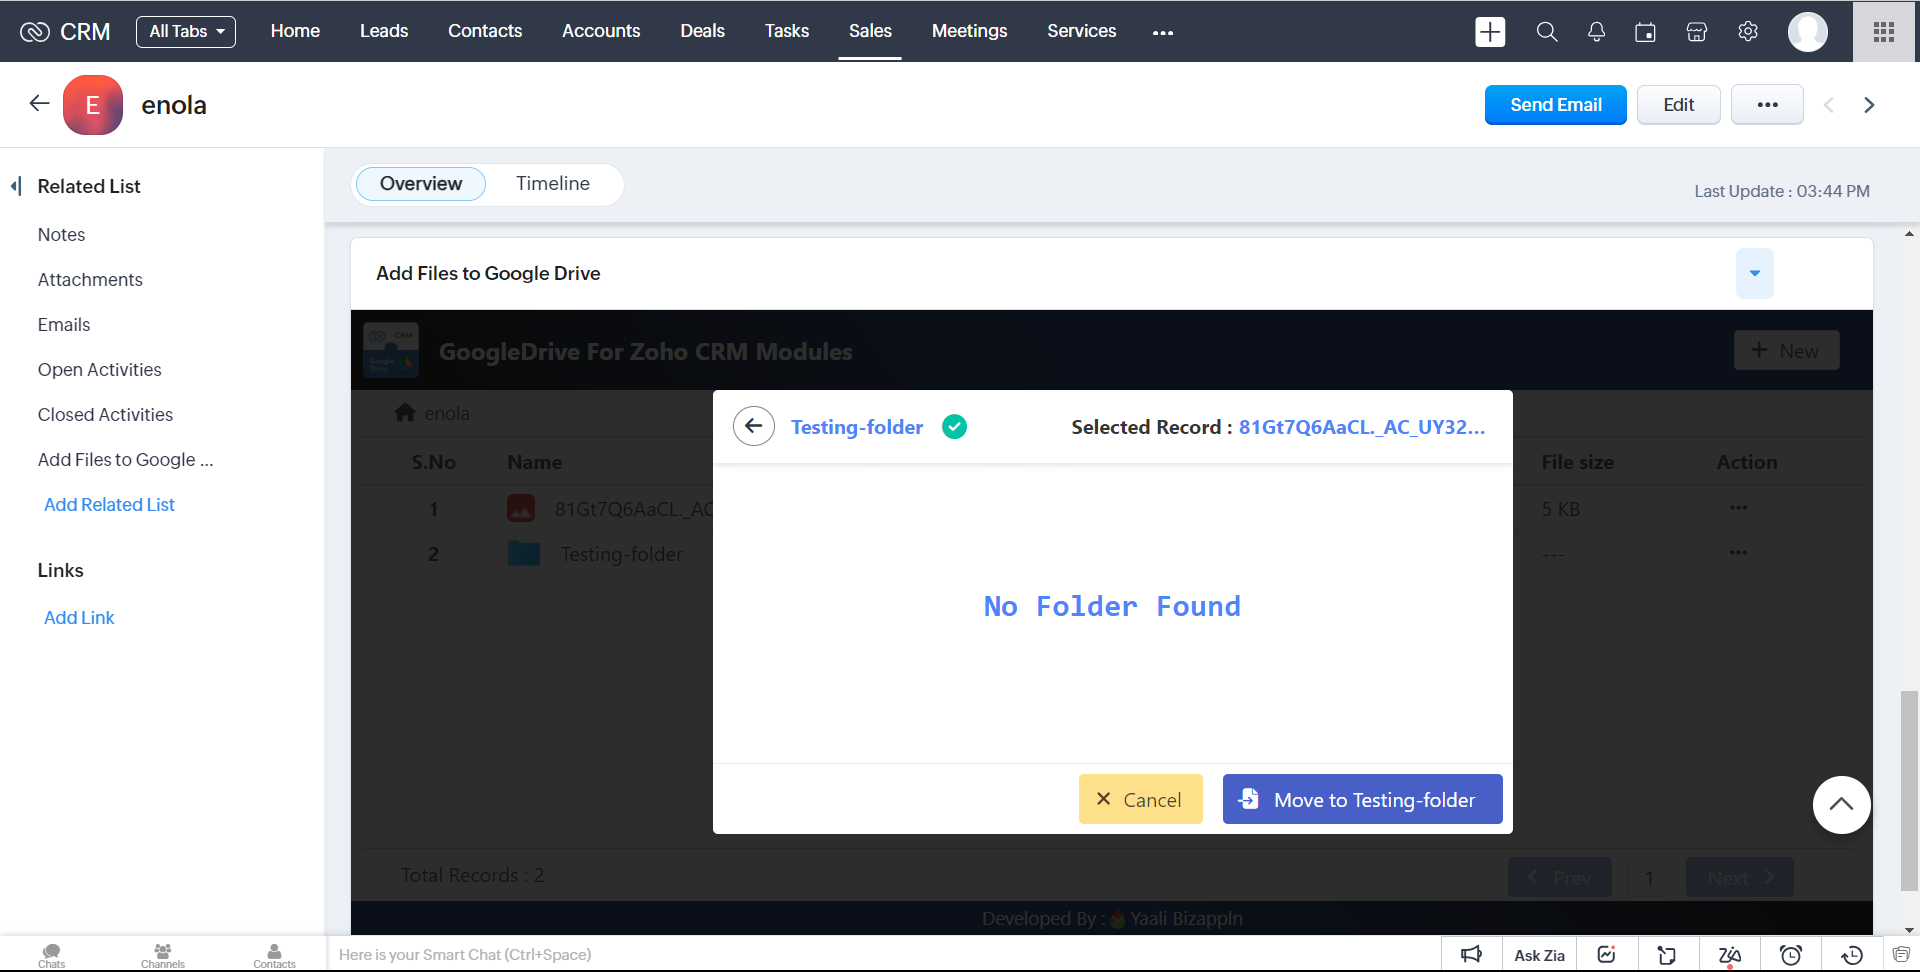
3.click Move button to Successfully Move that file on that selected Folder.
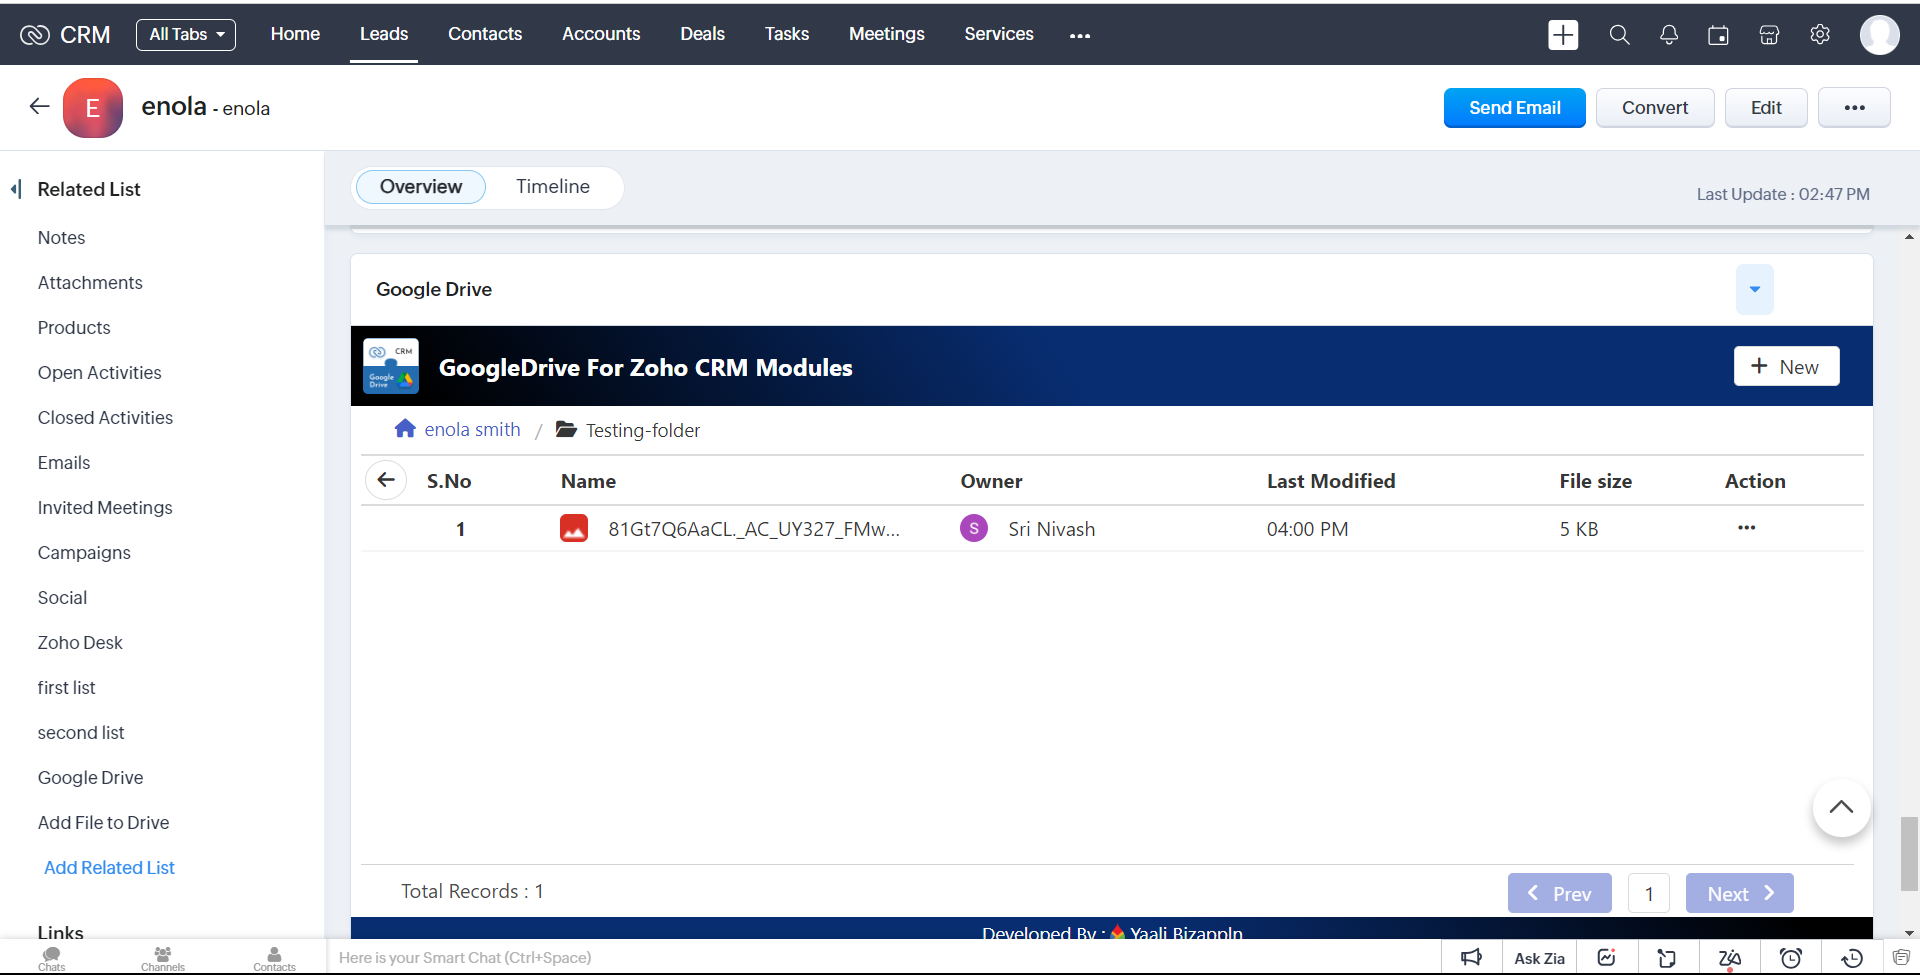
4.you can view the file inside the Moved Folder.
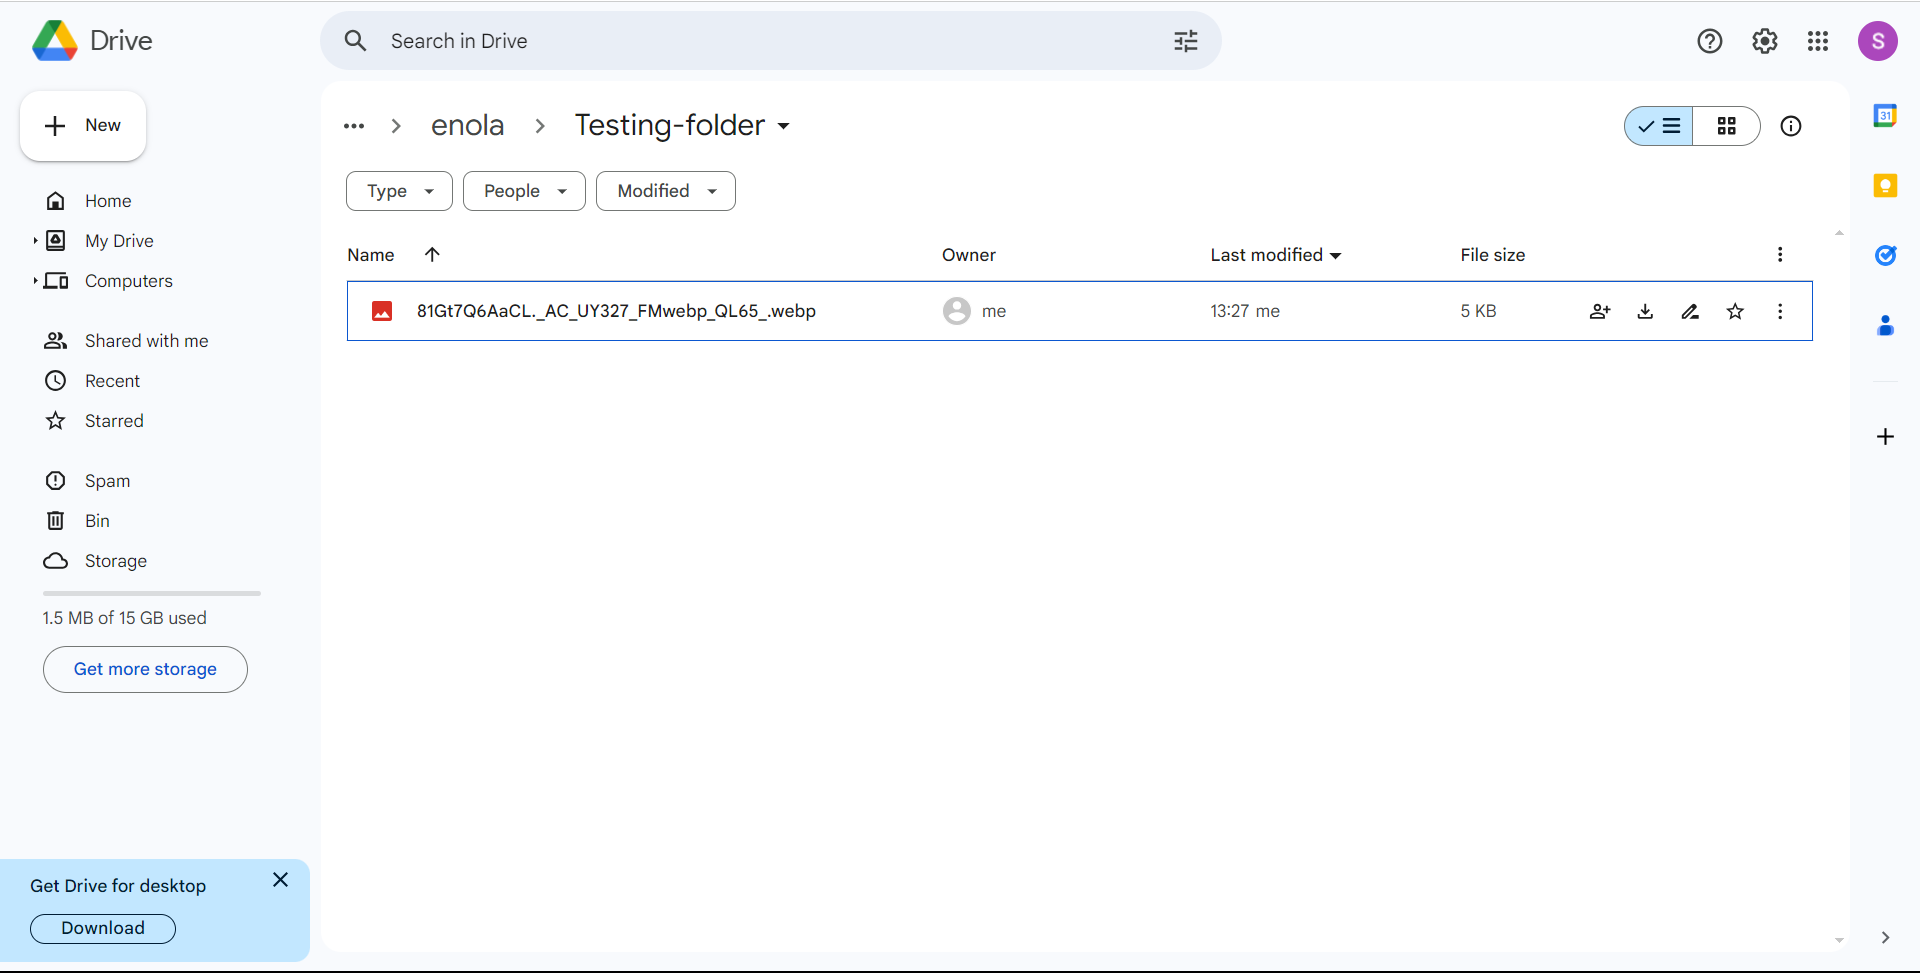
5.It is also Successfully Move that file on that selected Folder on Google Drive.
Rename
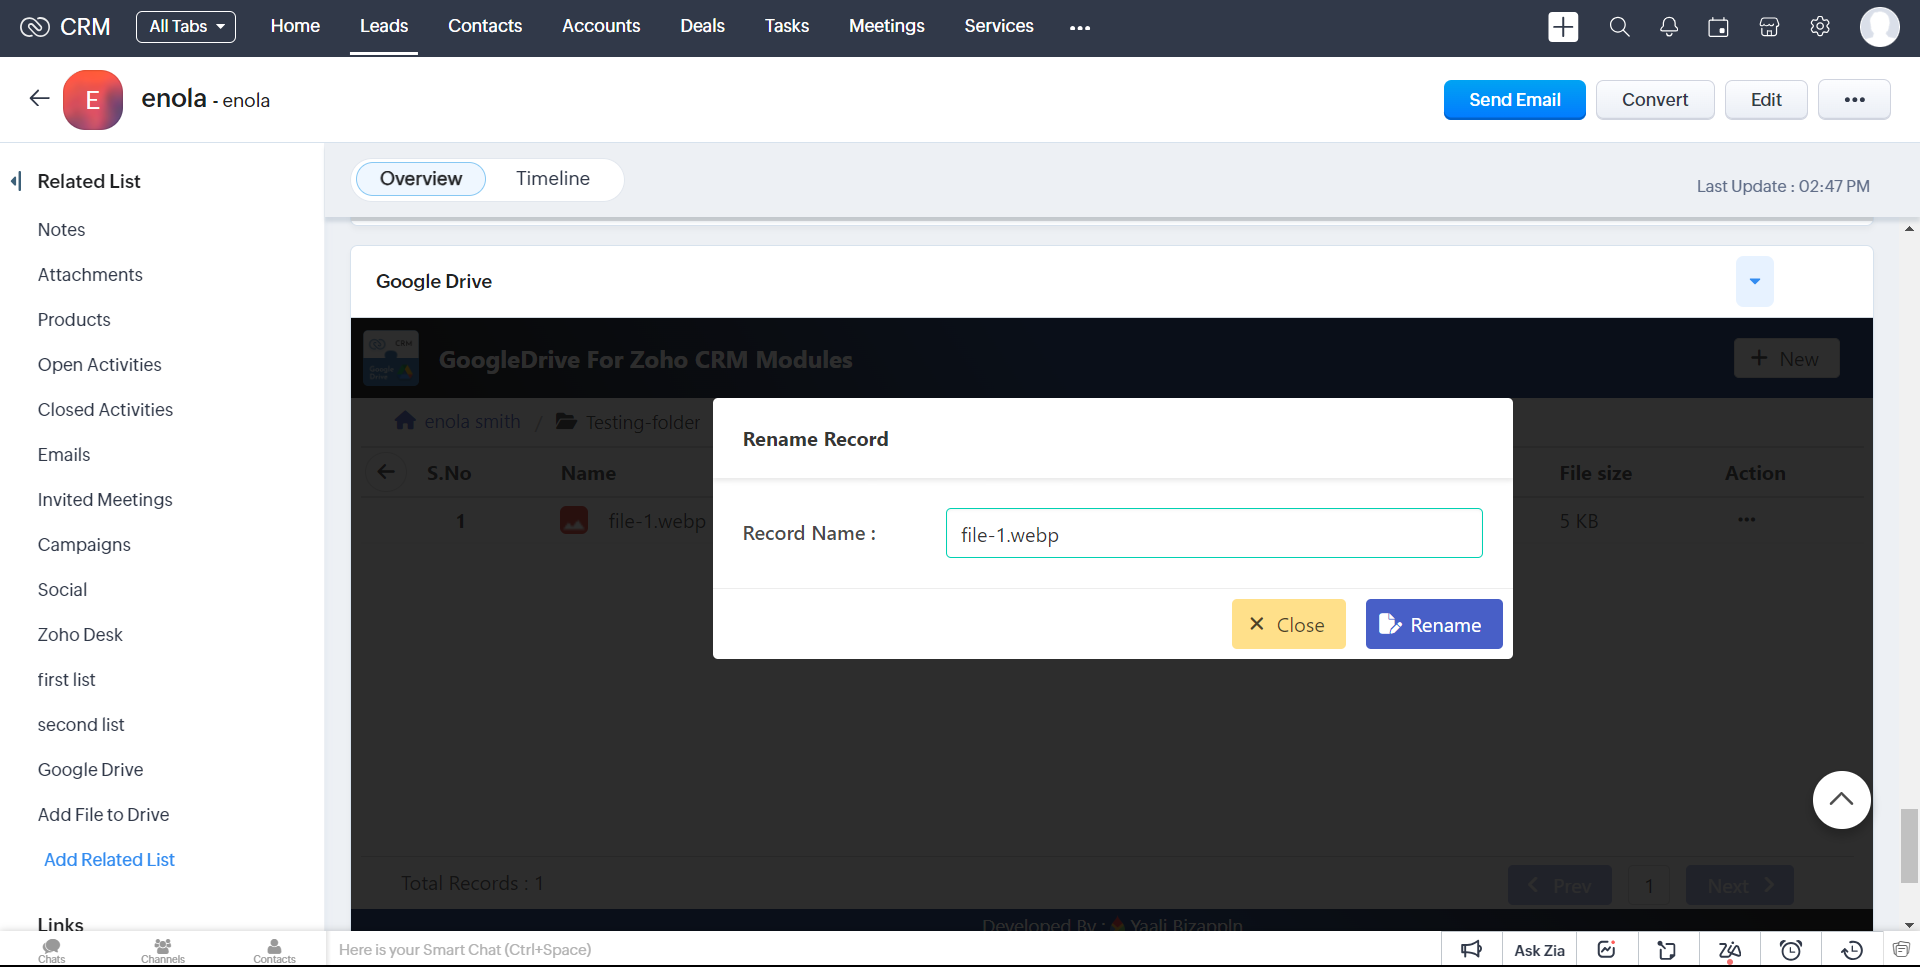
1.In the action list,we have the option to select 'Rename' Choosing this option will Rename the corresponding file
2.It will Open the popup and enter the name
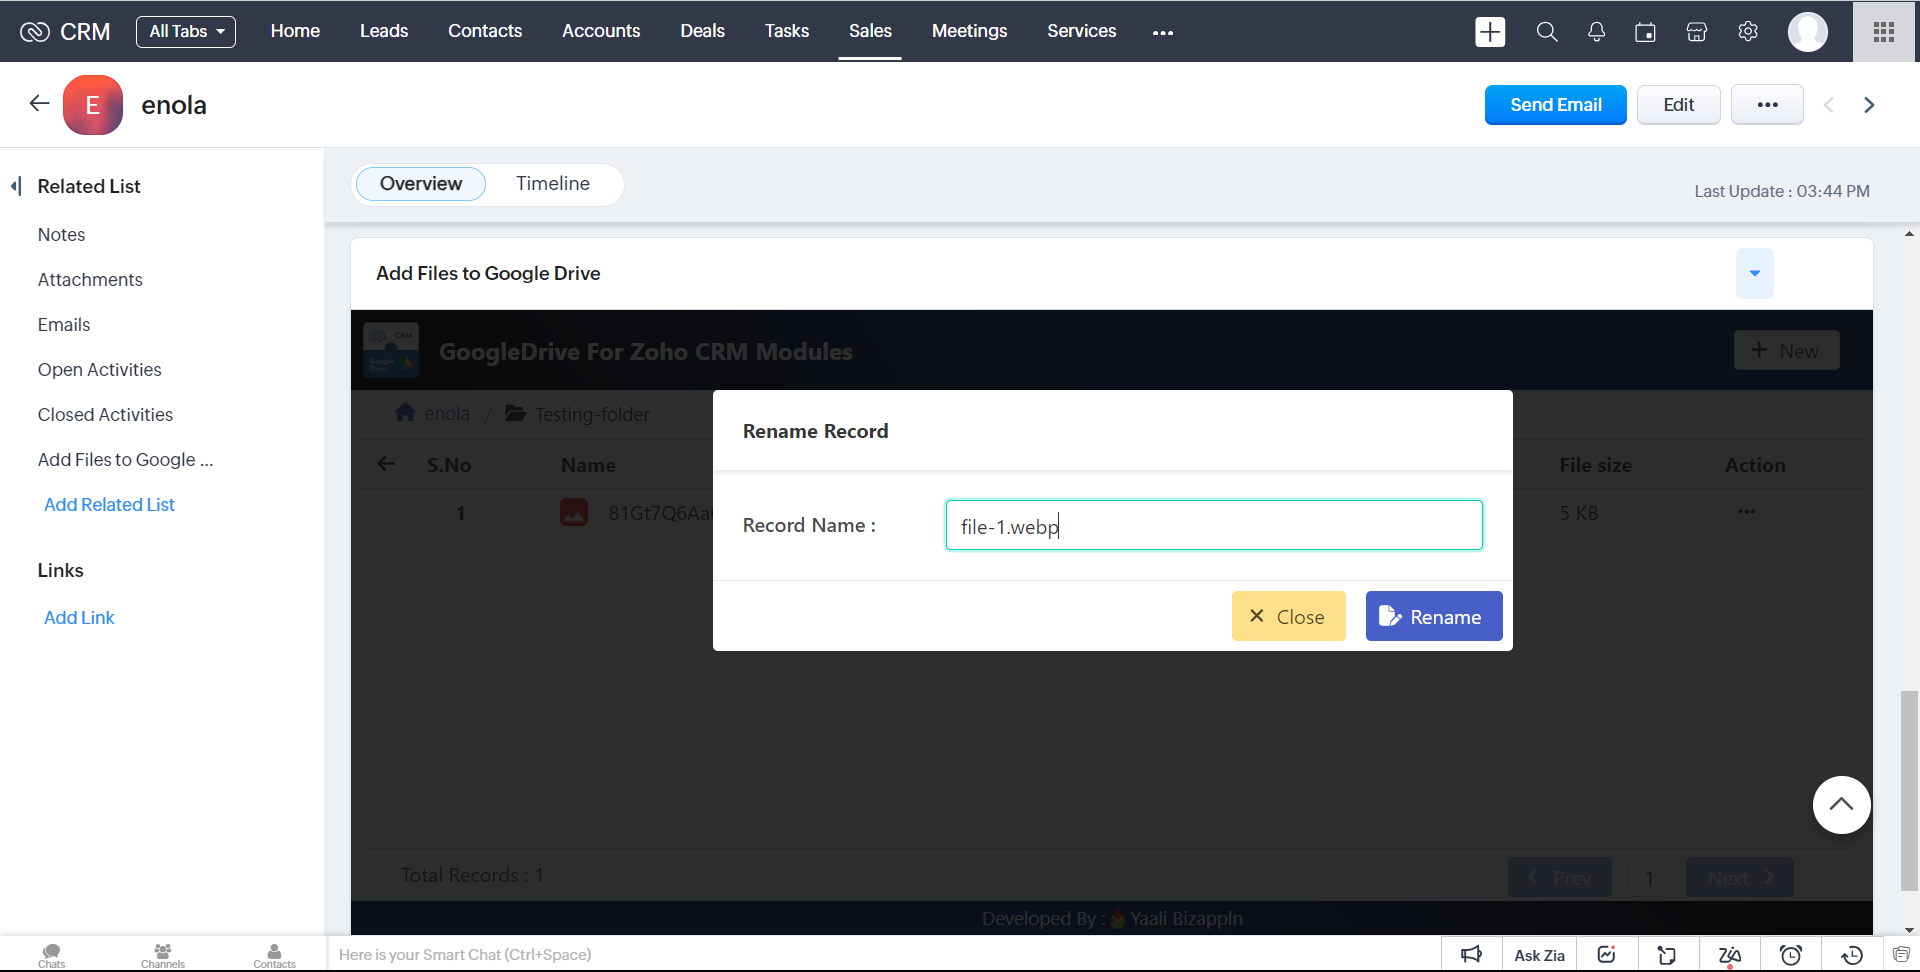
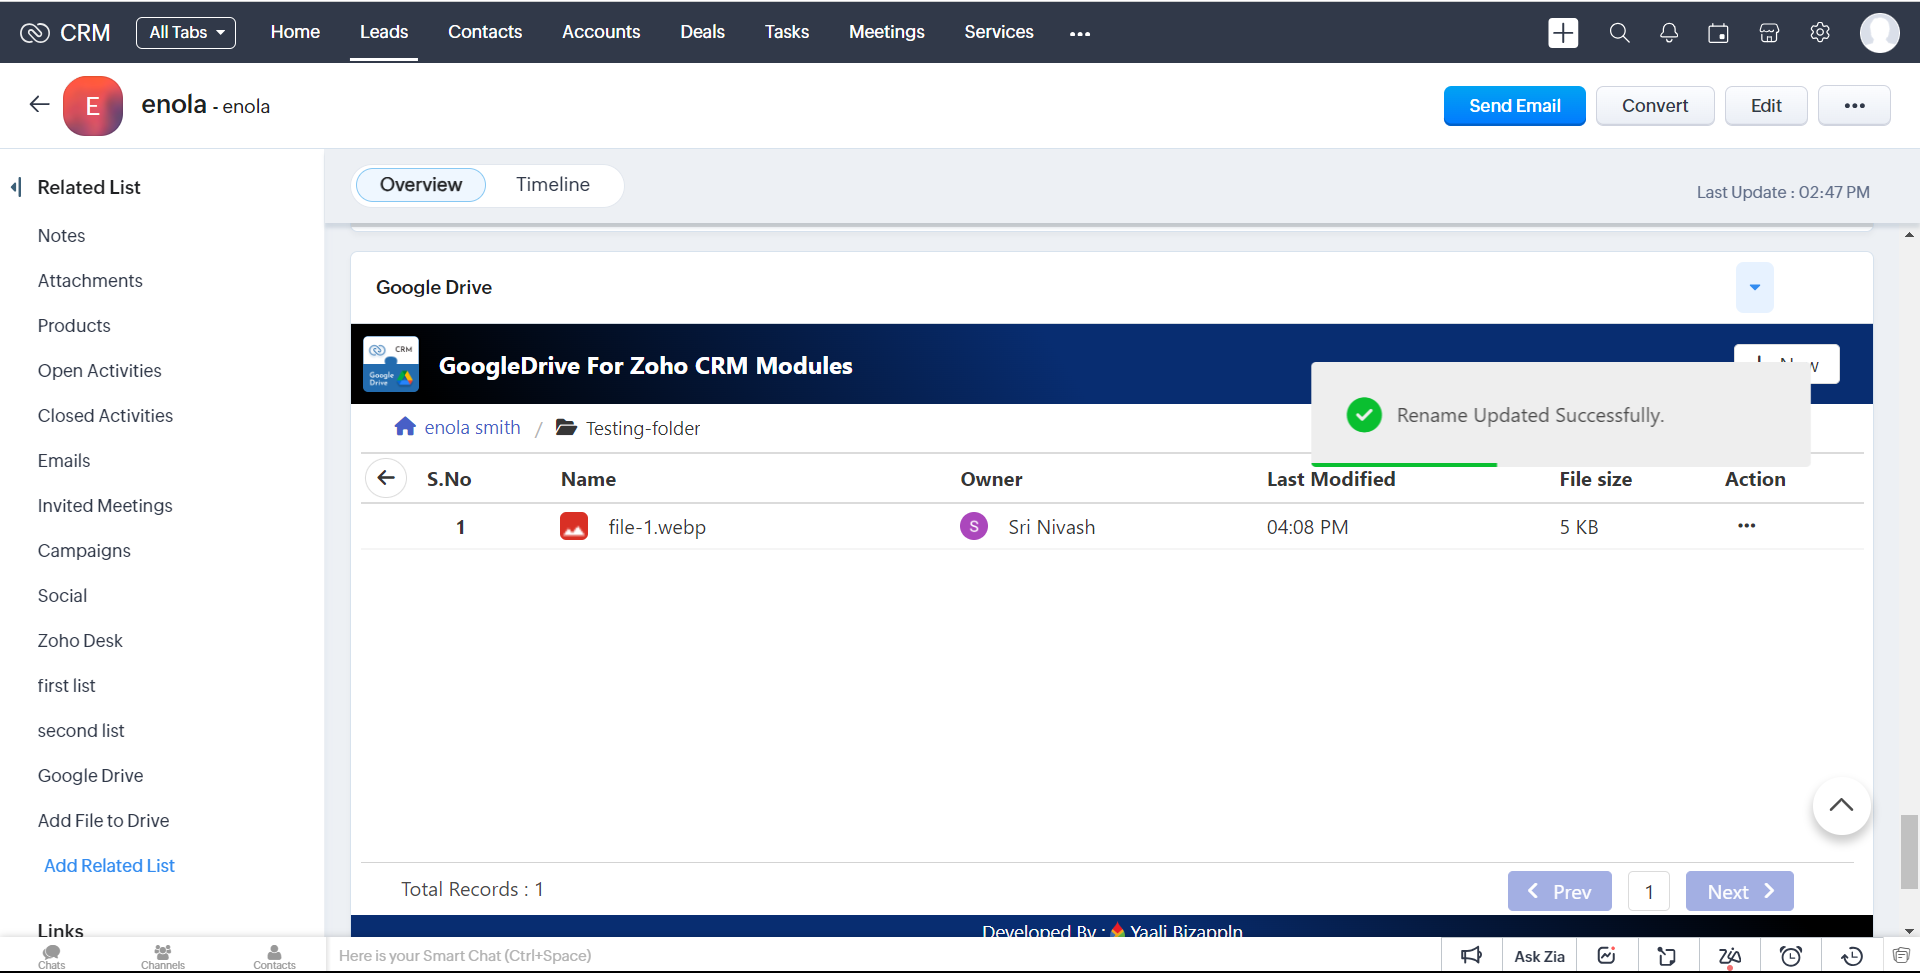
2.click Rename button to successfully 'Rename' the corresponding file
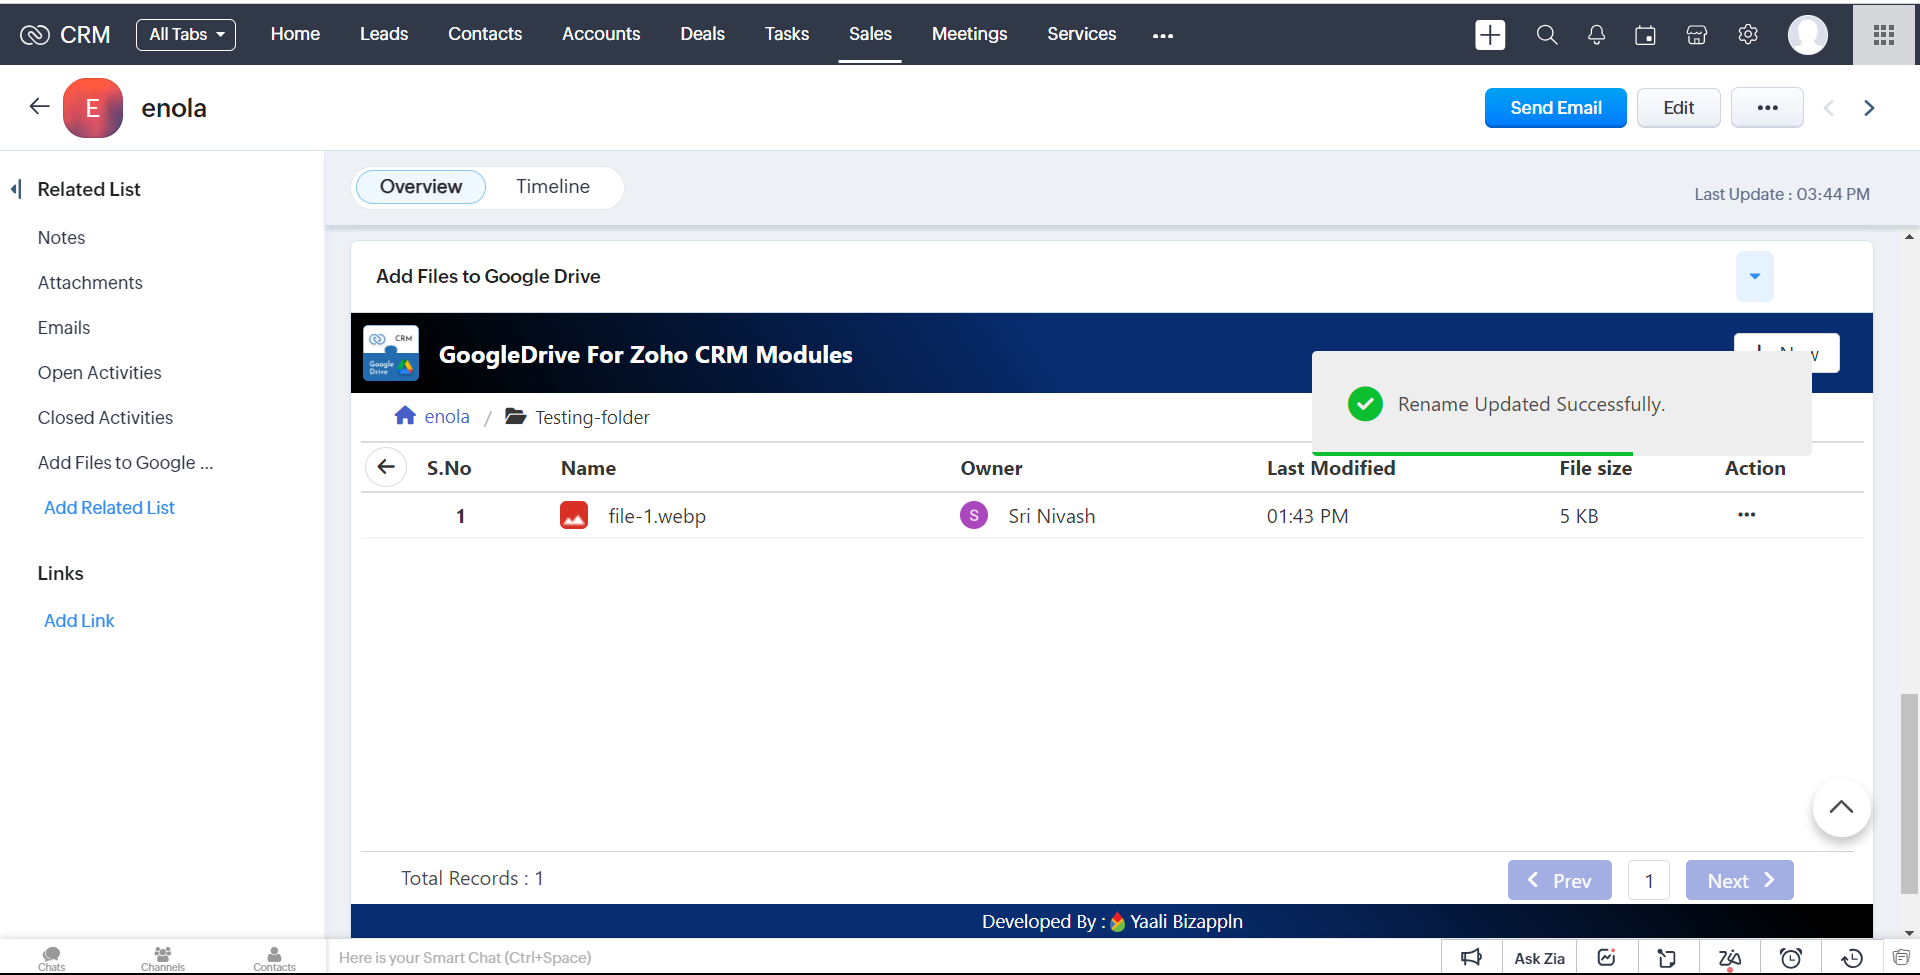
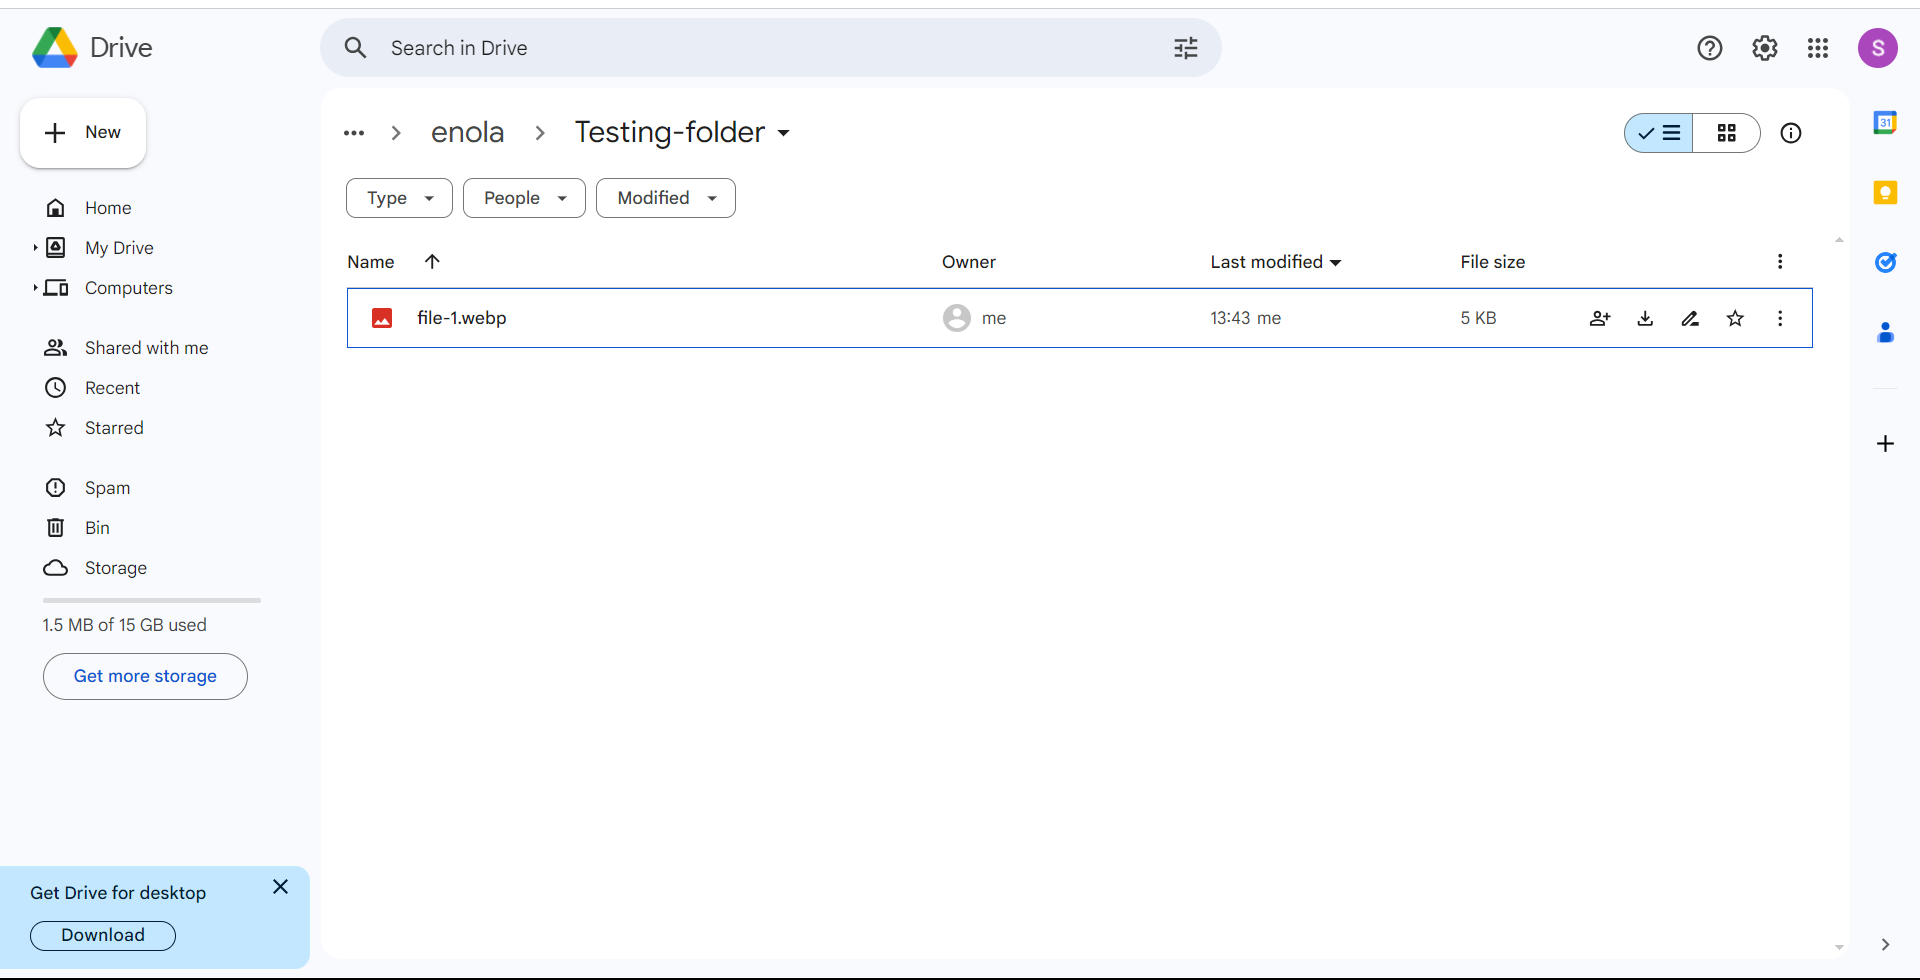
3.It will successfully 'Rename' the corresponding file on google Drive.
Browse
1.In the action list,we have the option to select 'Browse' Choosing this option,it Redirect to Google Drive in Overview of choosed file.
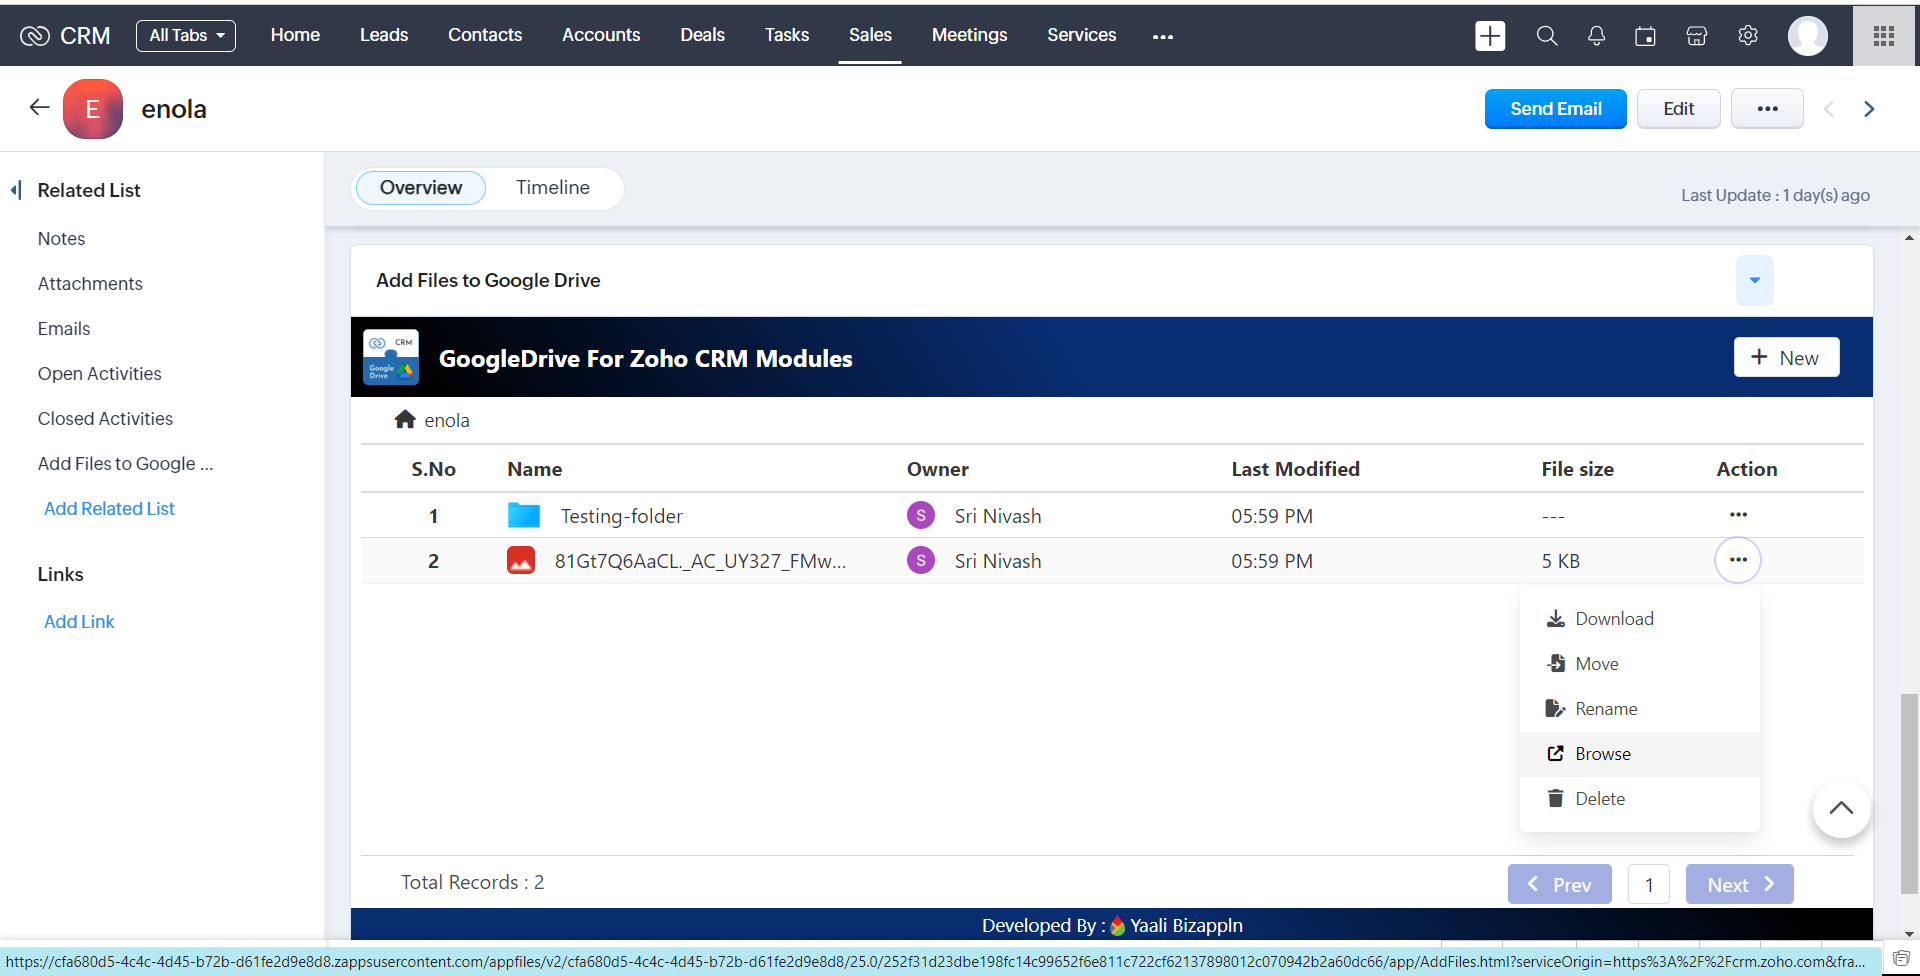
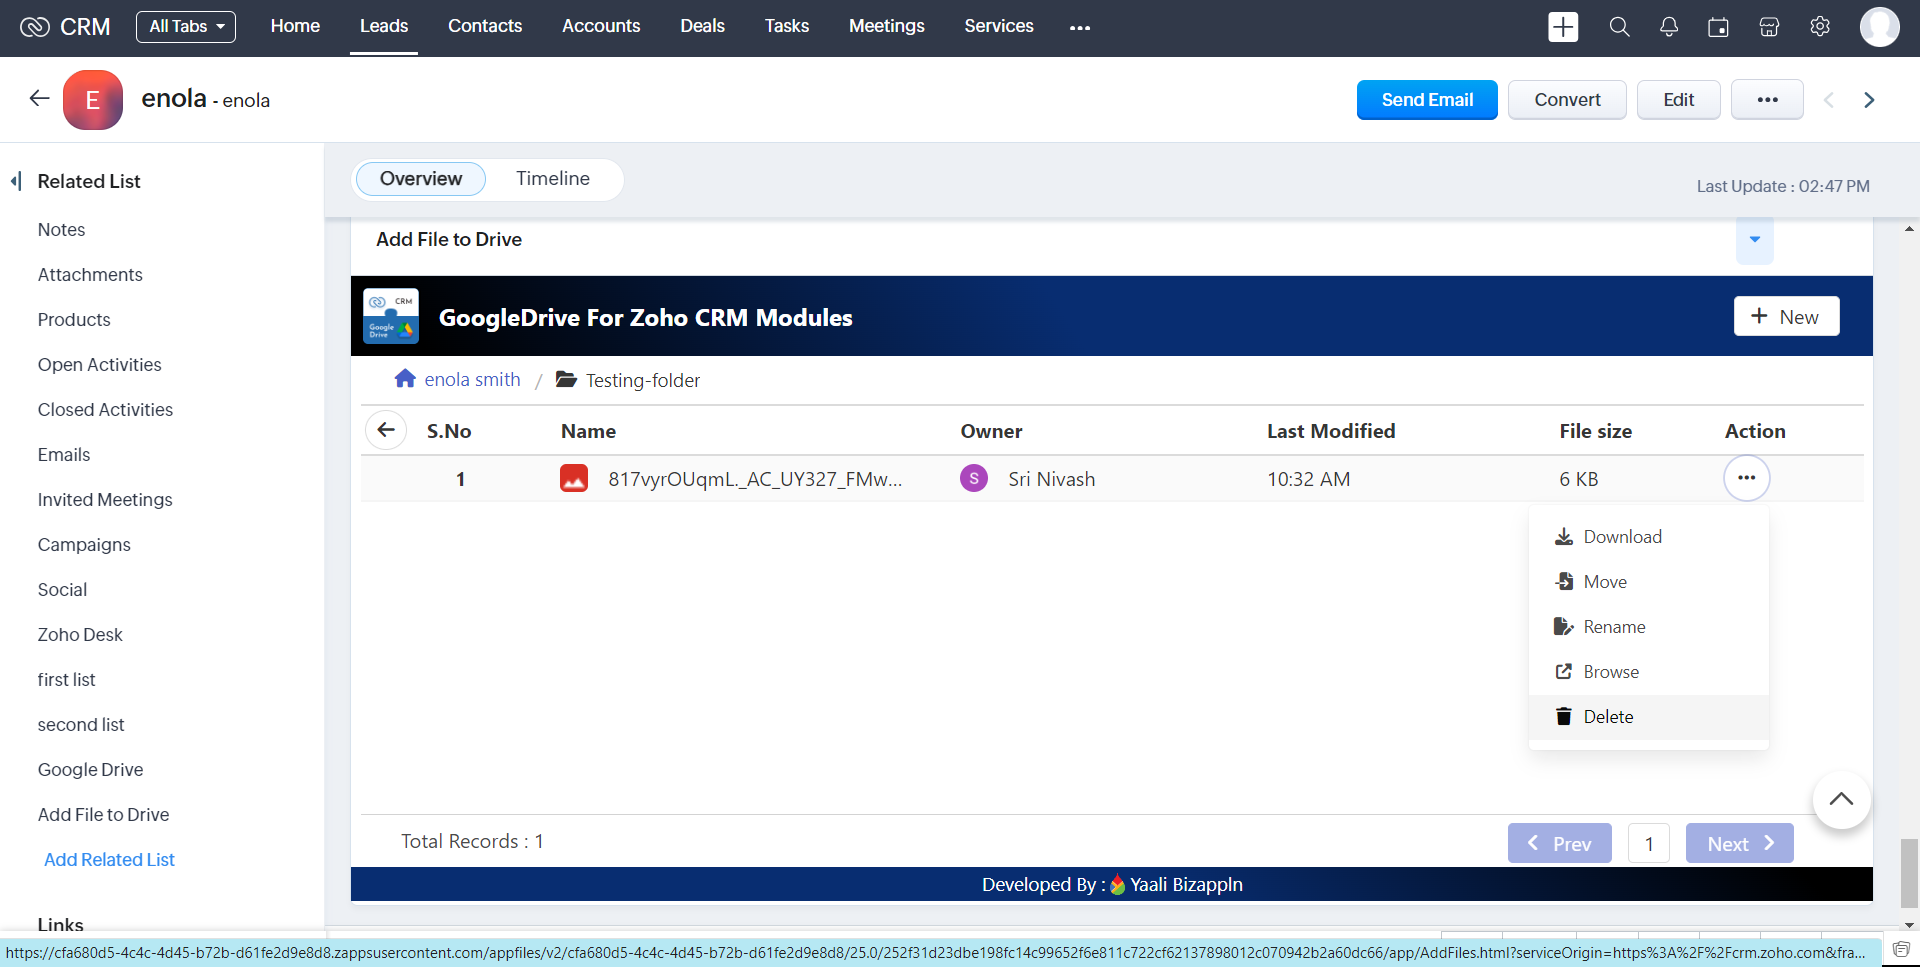
Delete
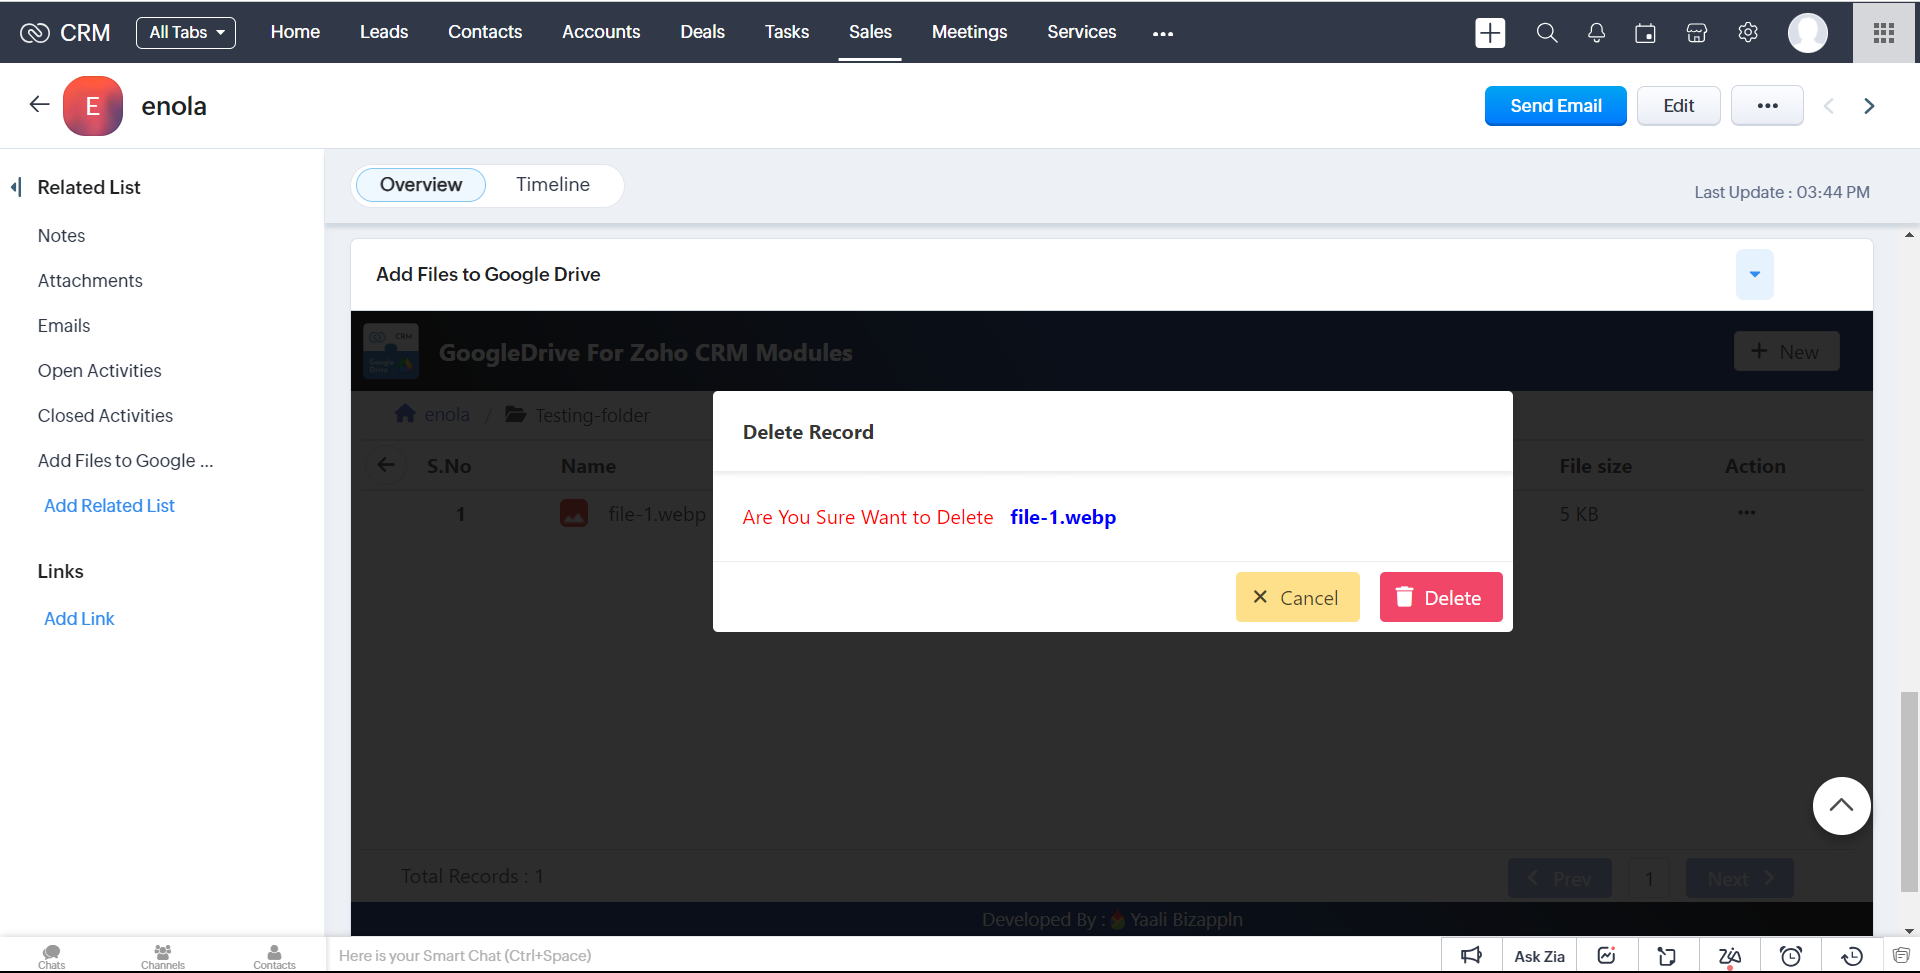
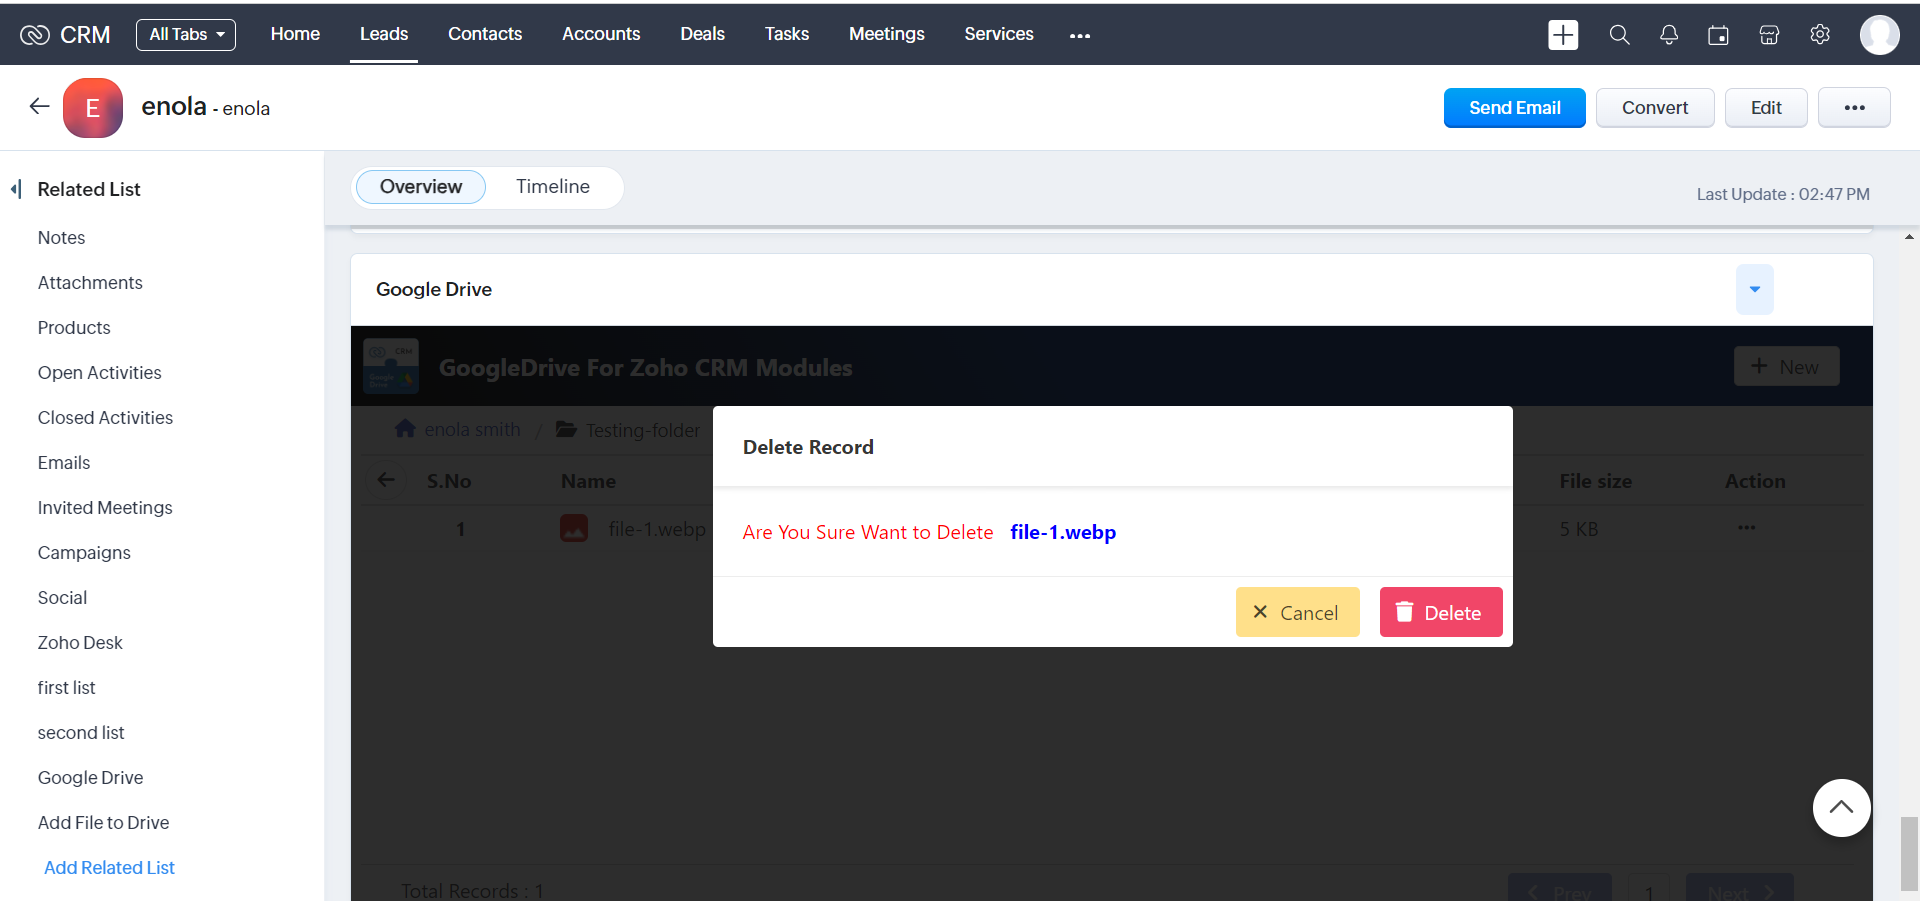
1.In the action list,we have the option to select 'Delete' Choosing this option will Delete the file/folder
2.It will open the popup and Click Delete Button to Delete the file/folder
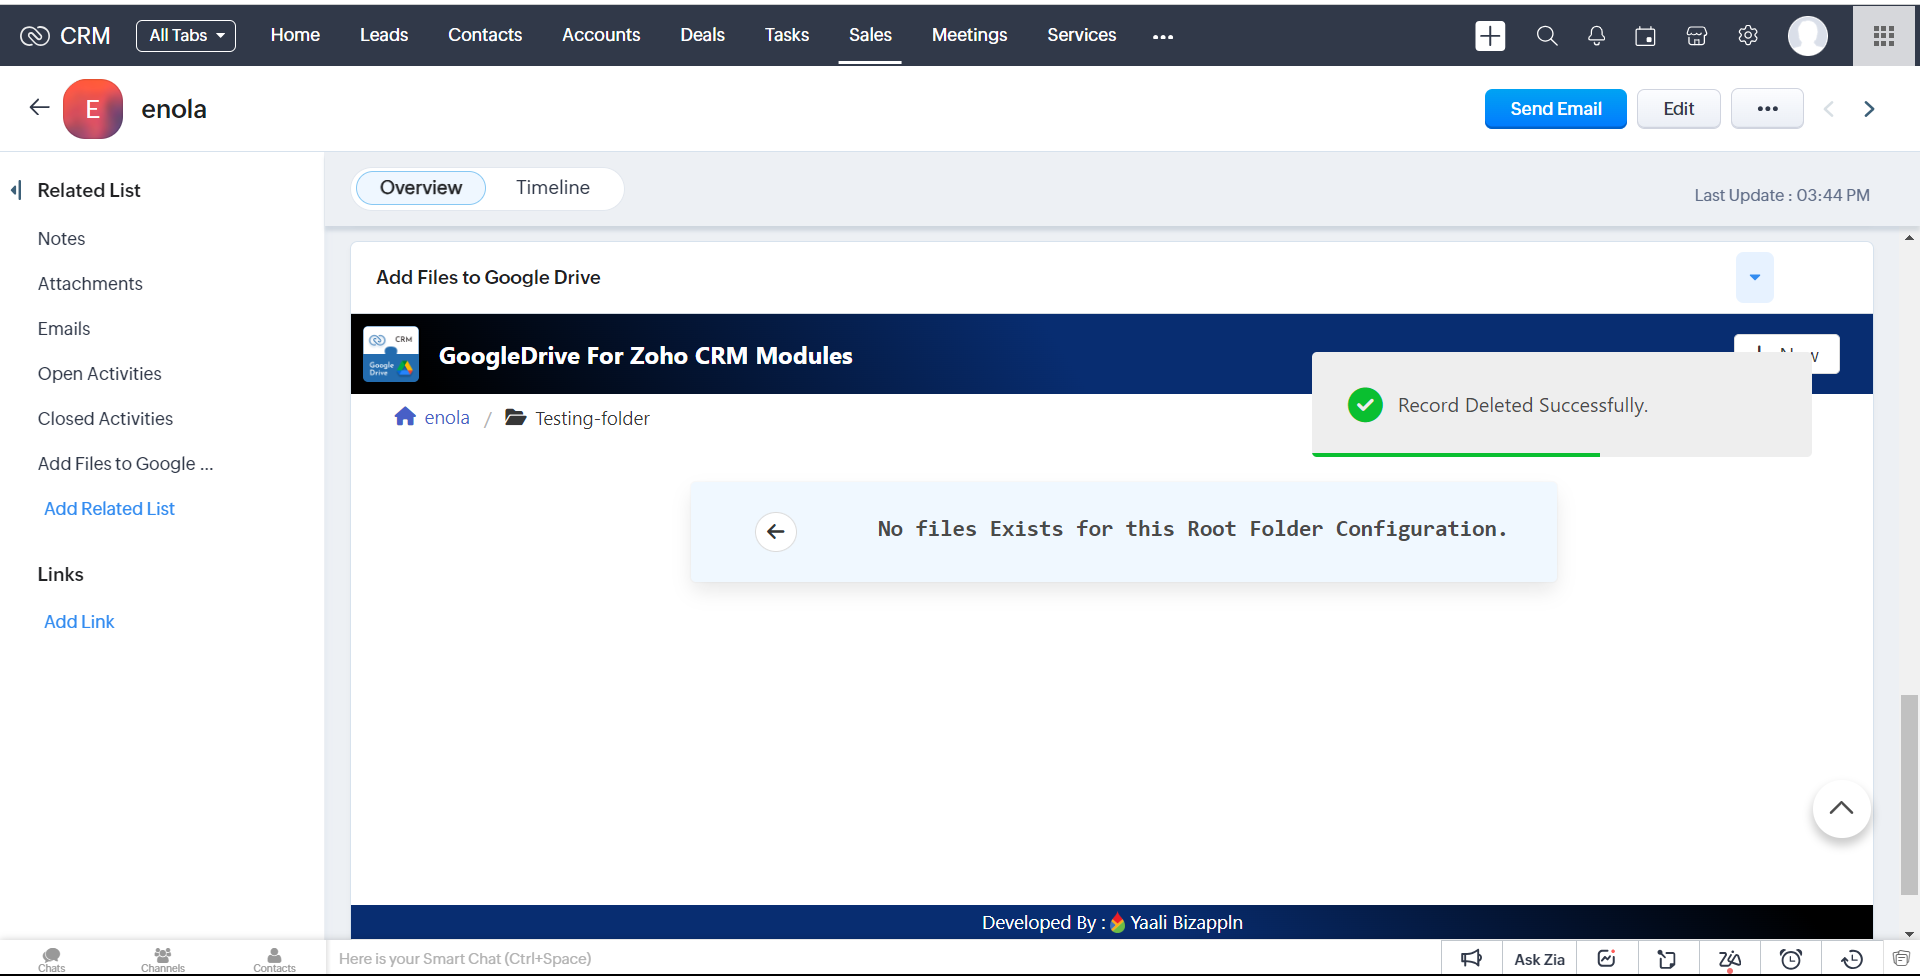
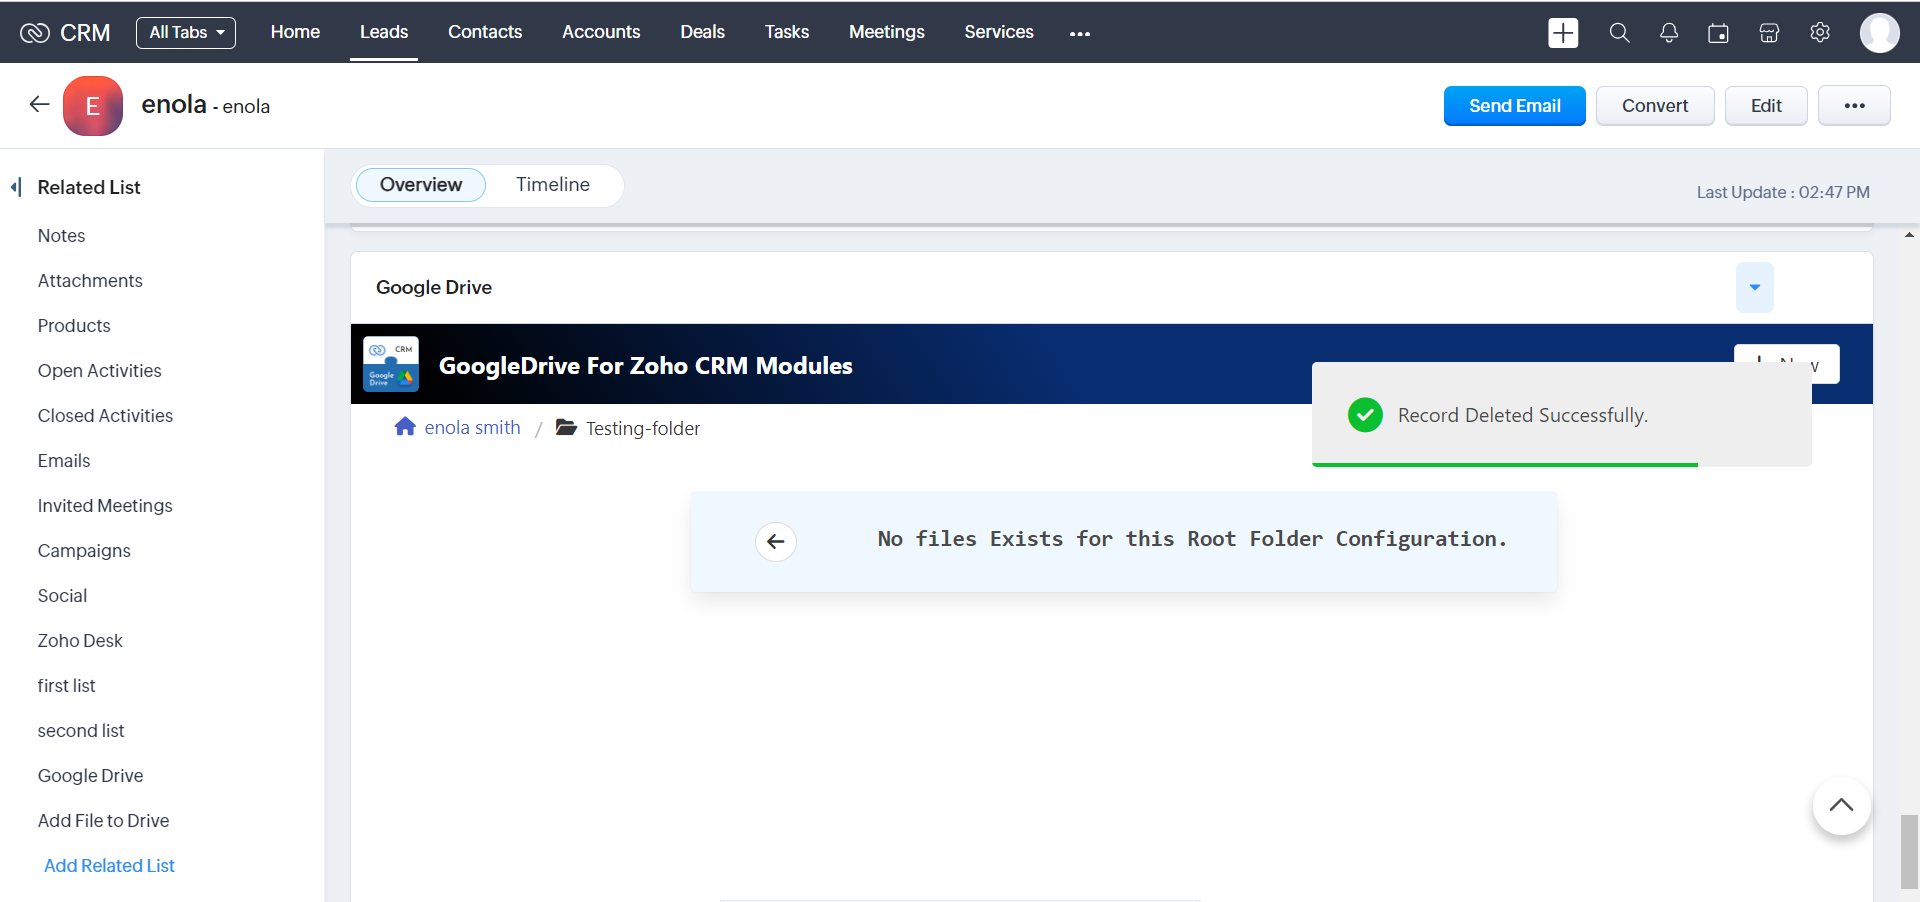
3.after Deleted file/folder you can view in widget page
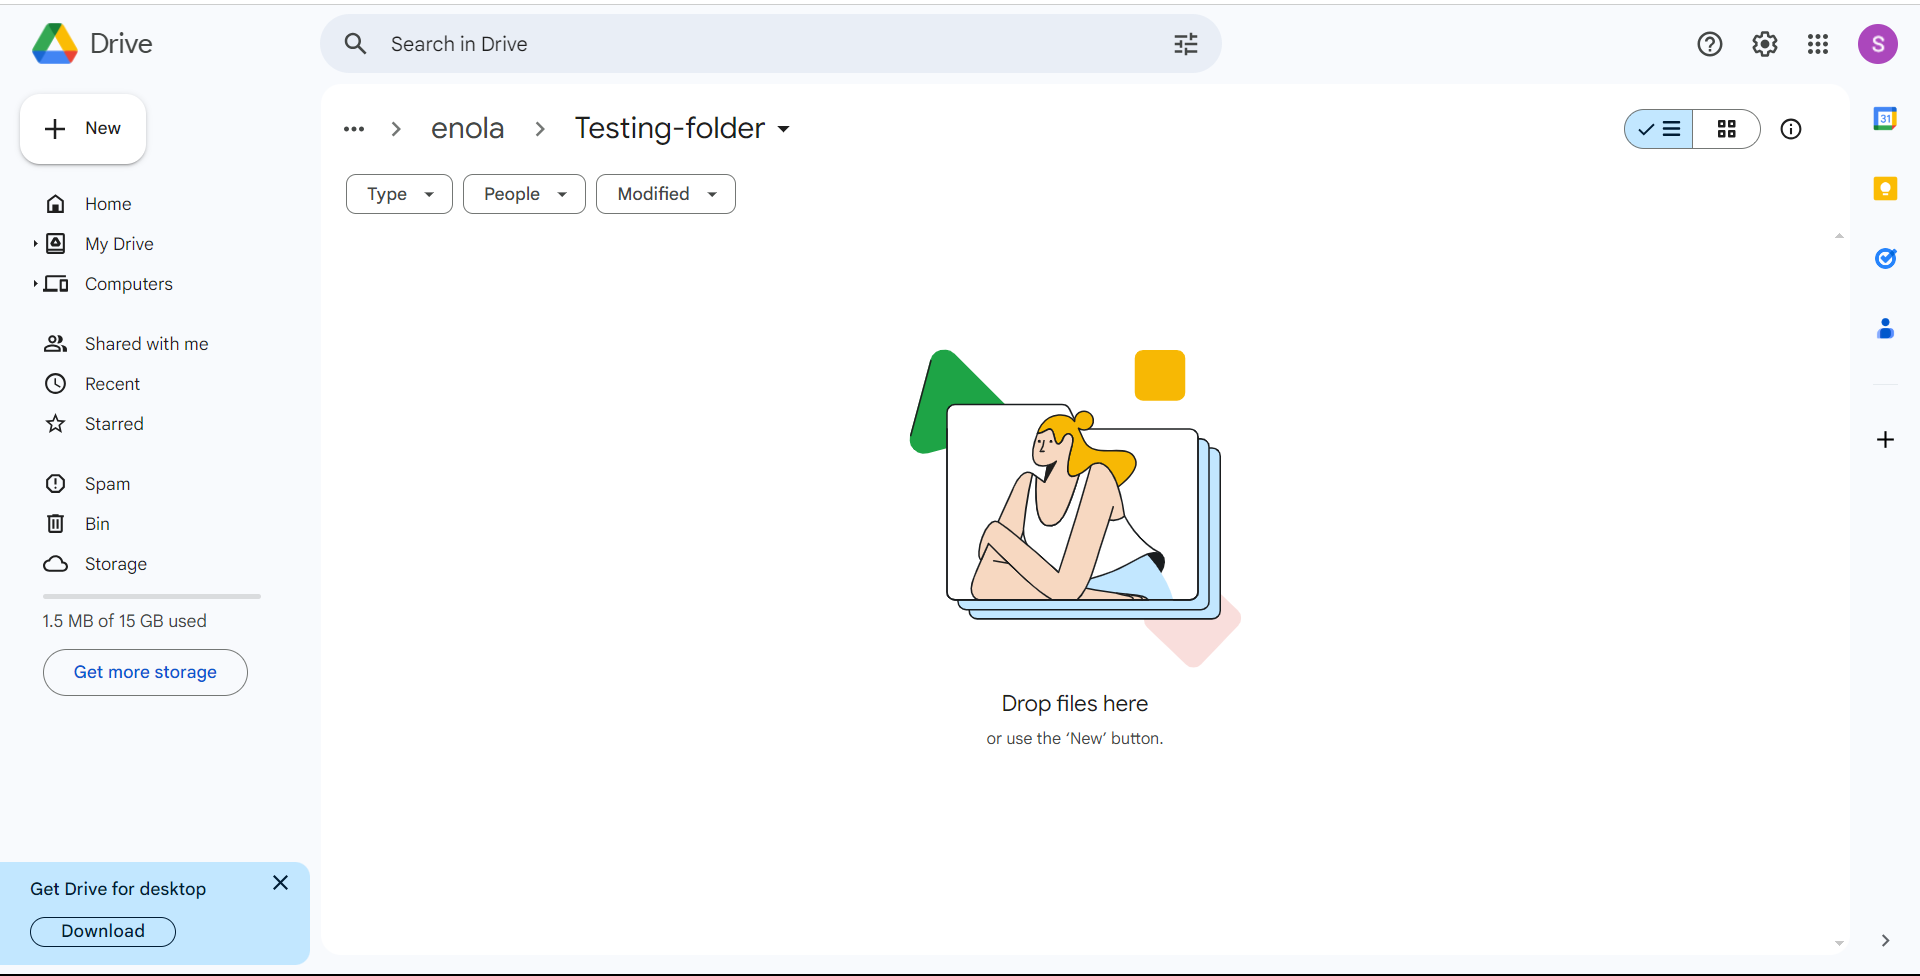
4.It will also Delete that file/folder on google Drive
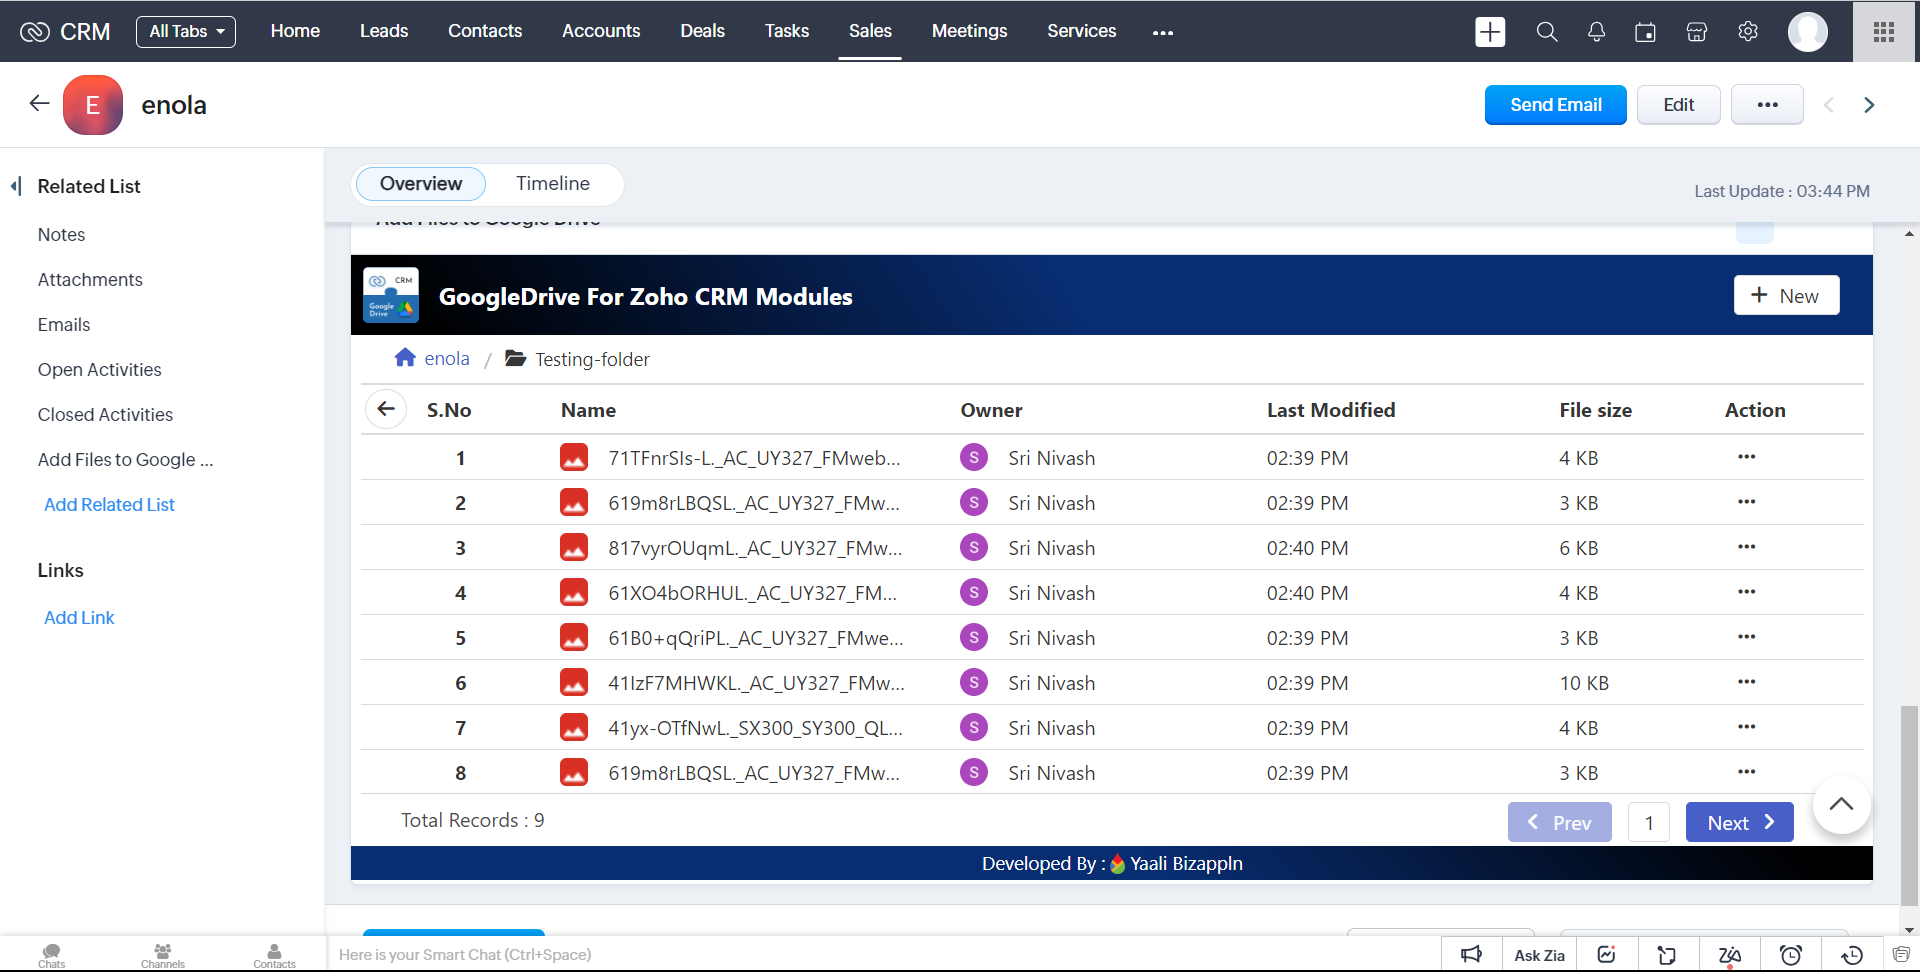
Pagination
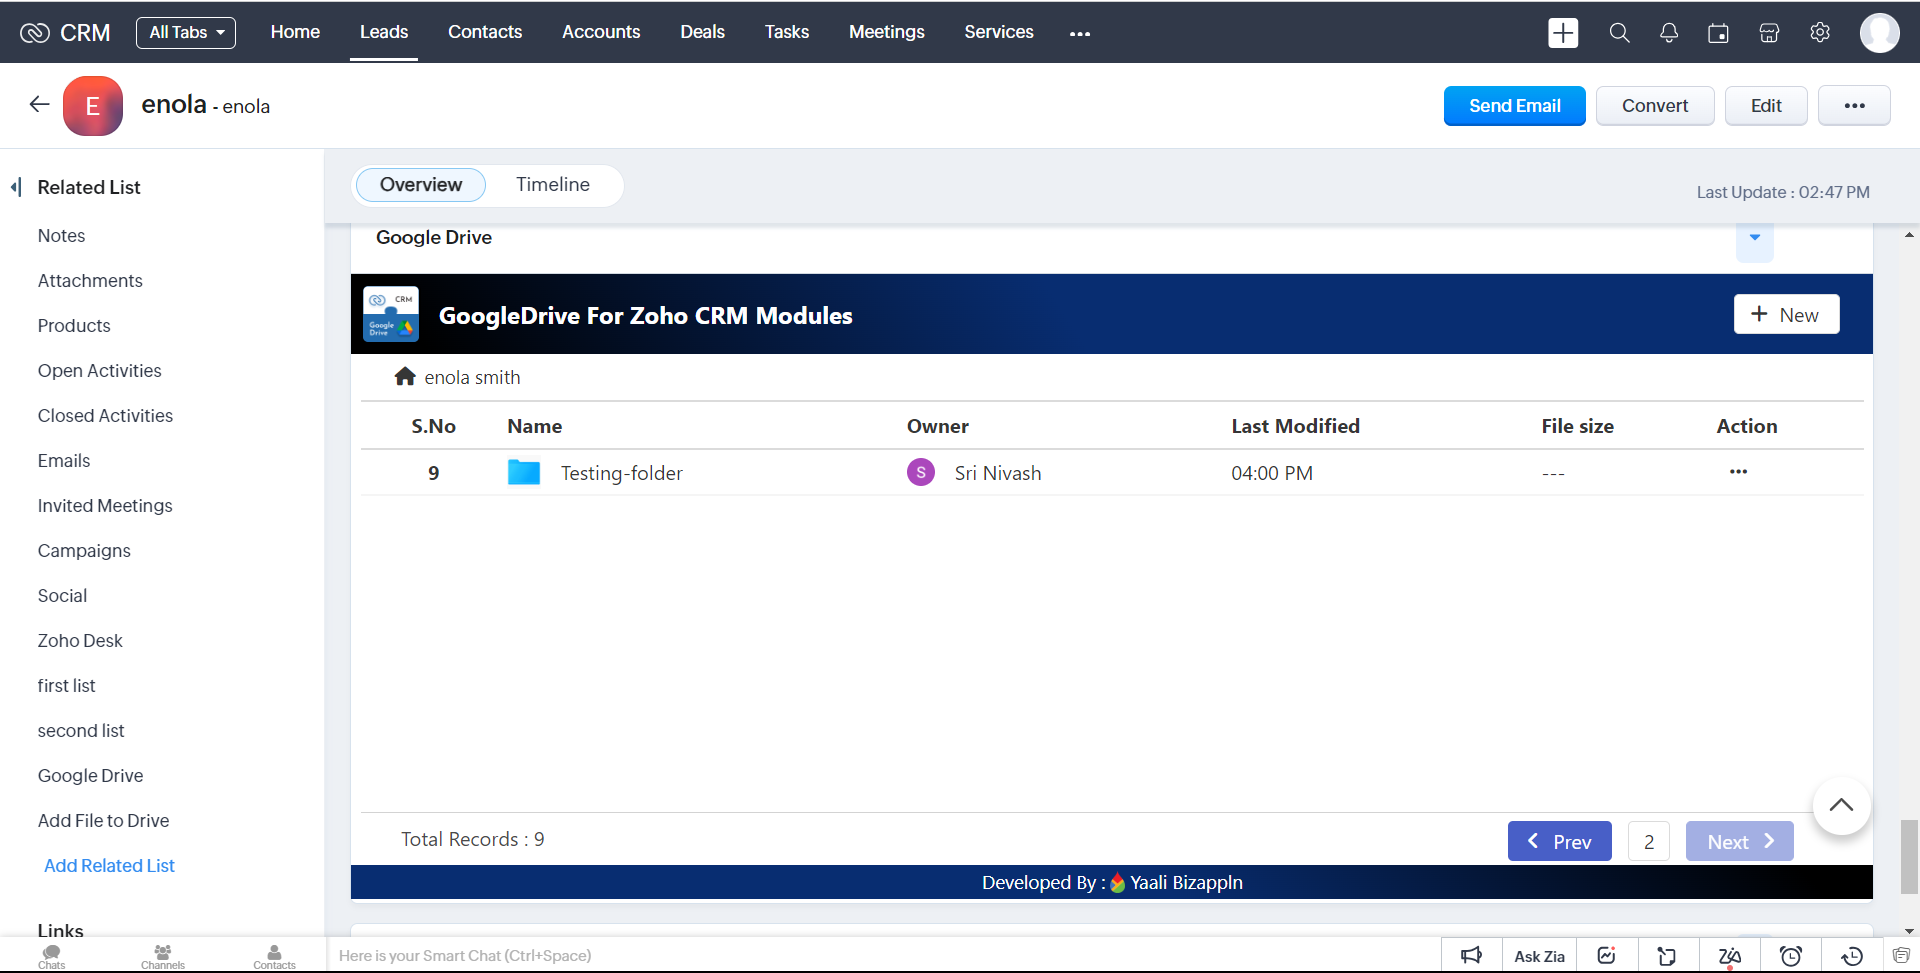
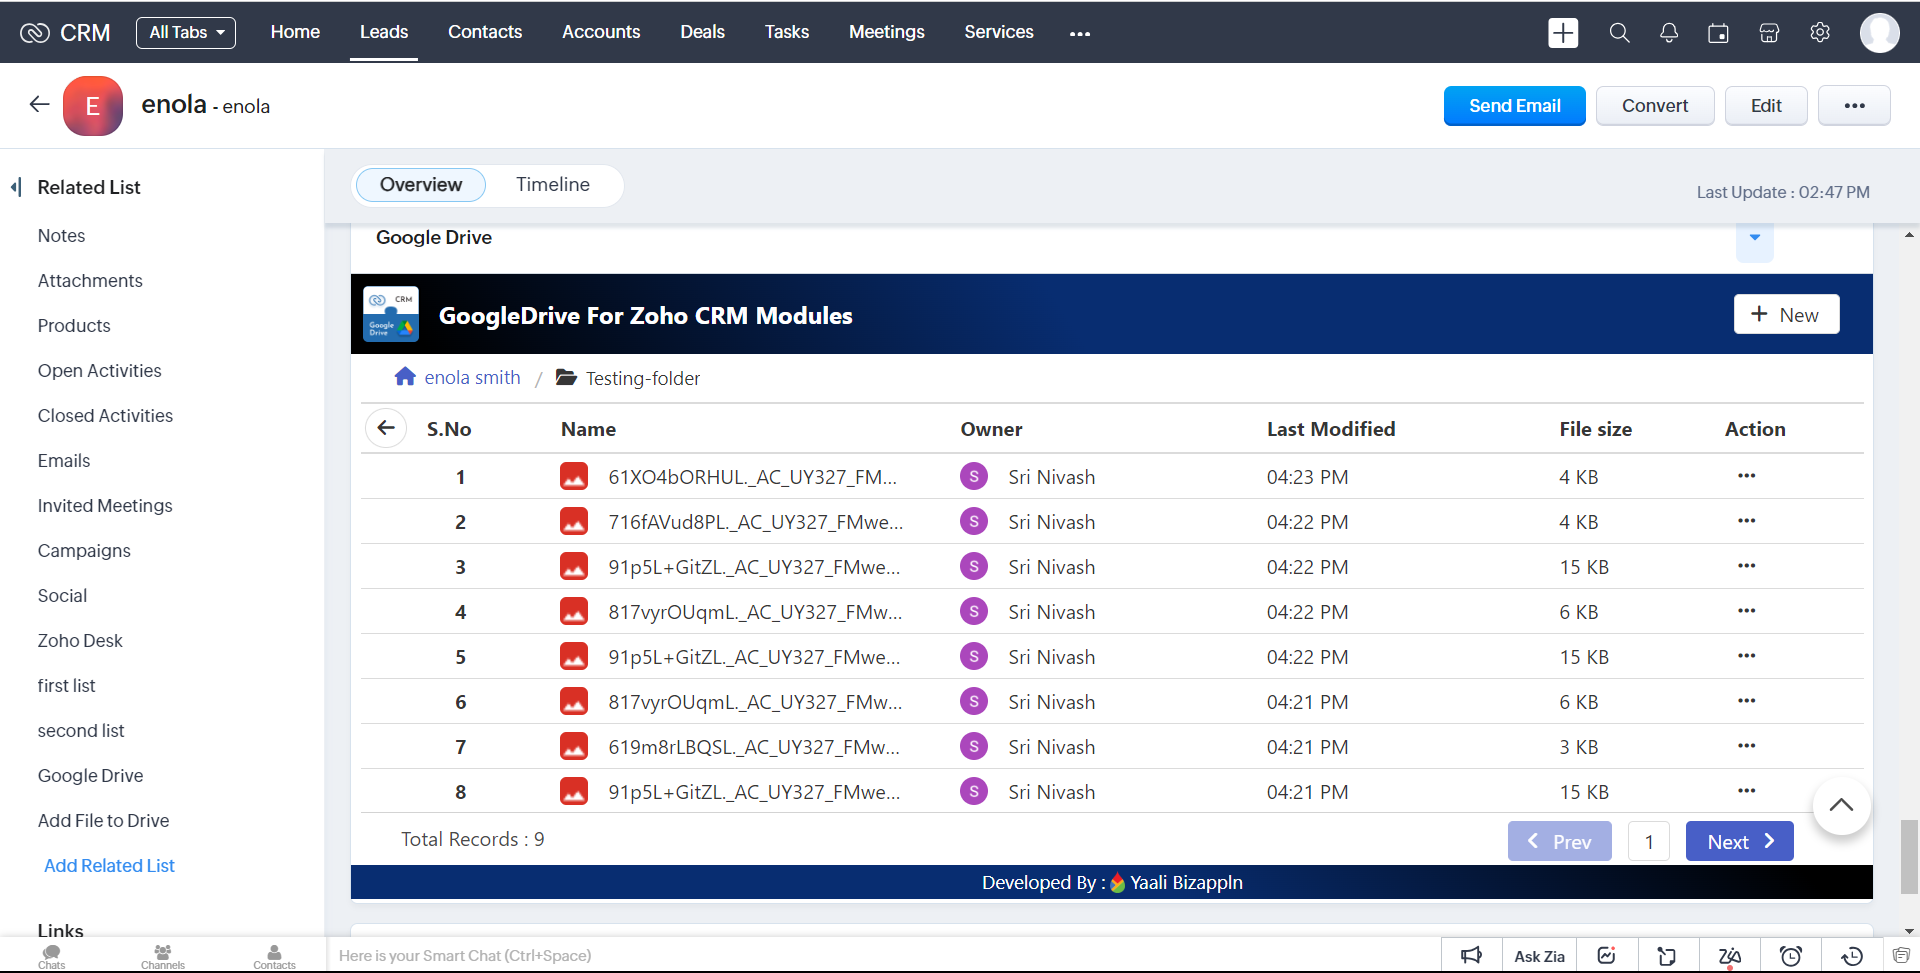
1.As of now, our extension displays 8 records per page, but if more than 8 records are displayed, pagination will be automatically enabled.

2.To go to the next or previous page, click next or prev.

3.Pagination is also supported inside the nested folder
Share Files from Zoho CRM Standard Module to Google Drive
You can view, share and upload files directly within your Zoho CRM account using our Google Drive extension. For example, whenever you upload a files in lead, deals, contacts and accounts module, a folder will be automatically created inside your Google Drive account and the files you have been uploaded in Zoho CRM standard modules will be automatically uploaded to the respective folders in your integrated Google Drive account.
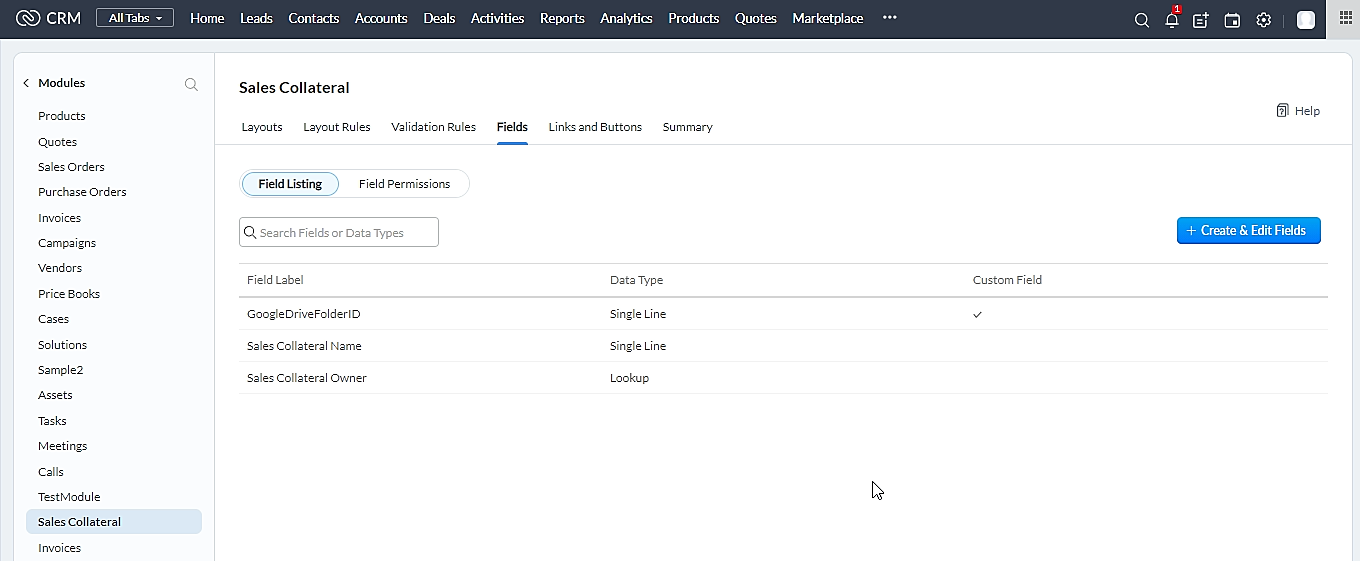
Note: For Standard module, you don't need to create a custom field in Zoho CRM Modules-GoogleDriveFolderID
To share files from Zoho CRM to My Drive
1.Click Leads, Accounts, Contacts, or Deals modules.
2.Click on a record to which you want to add or share the files.
3.Now select the widget in which you have added the Base Url.
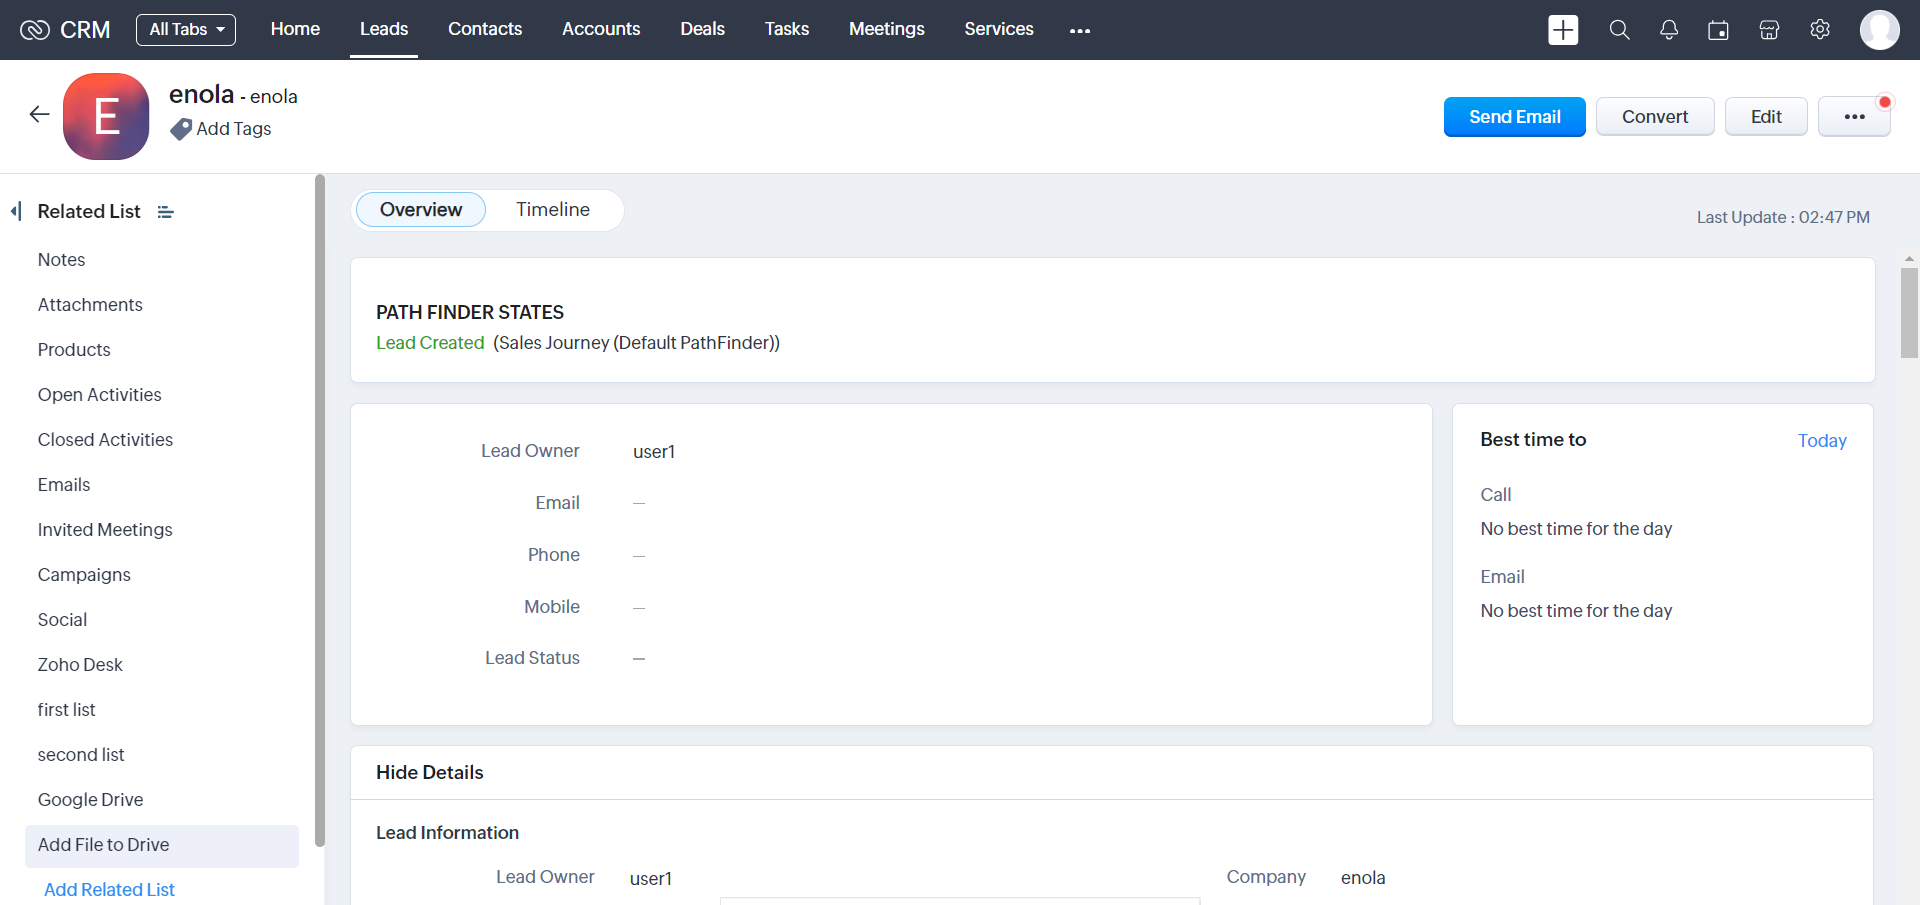
4.after click the widget it will open our widget.
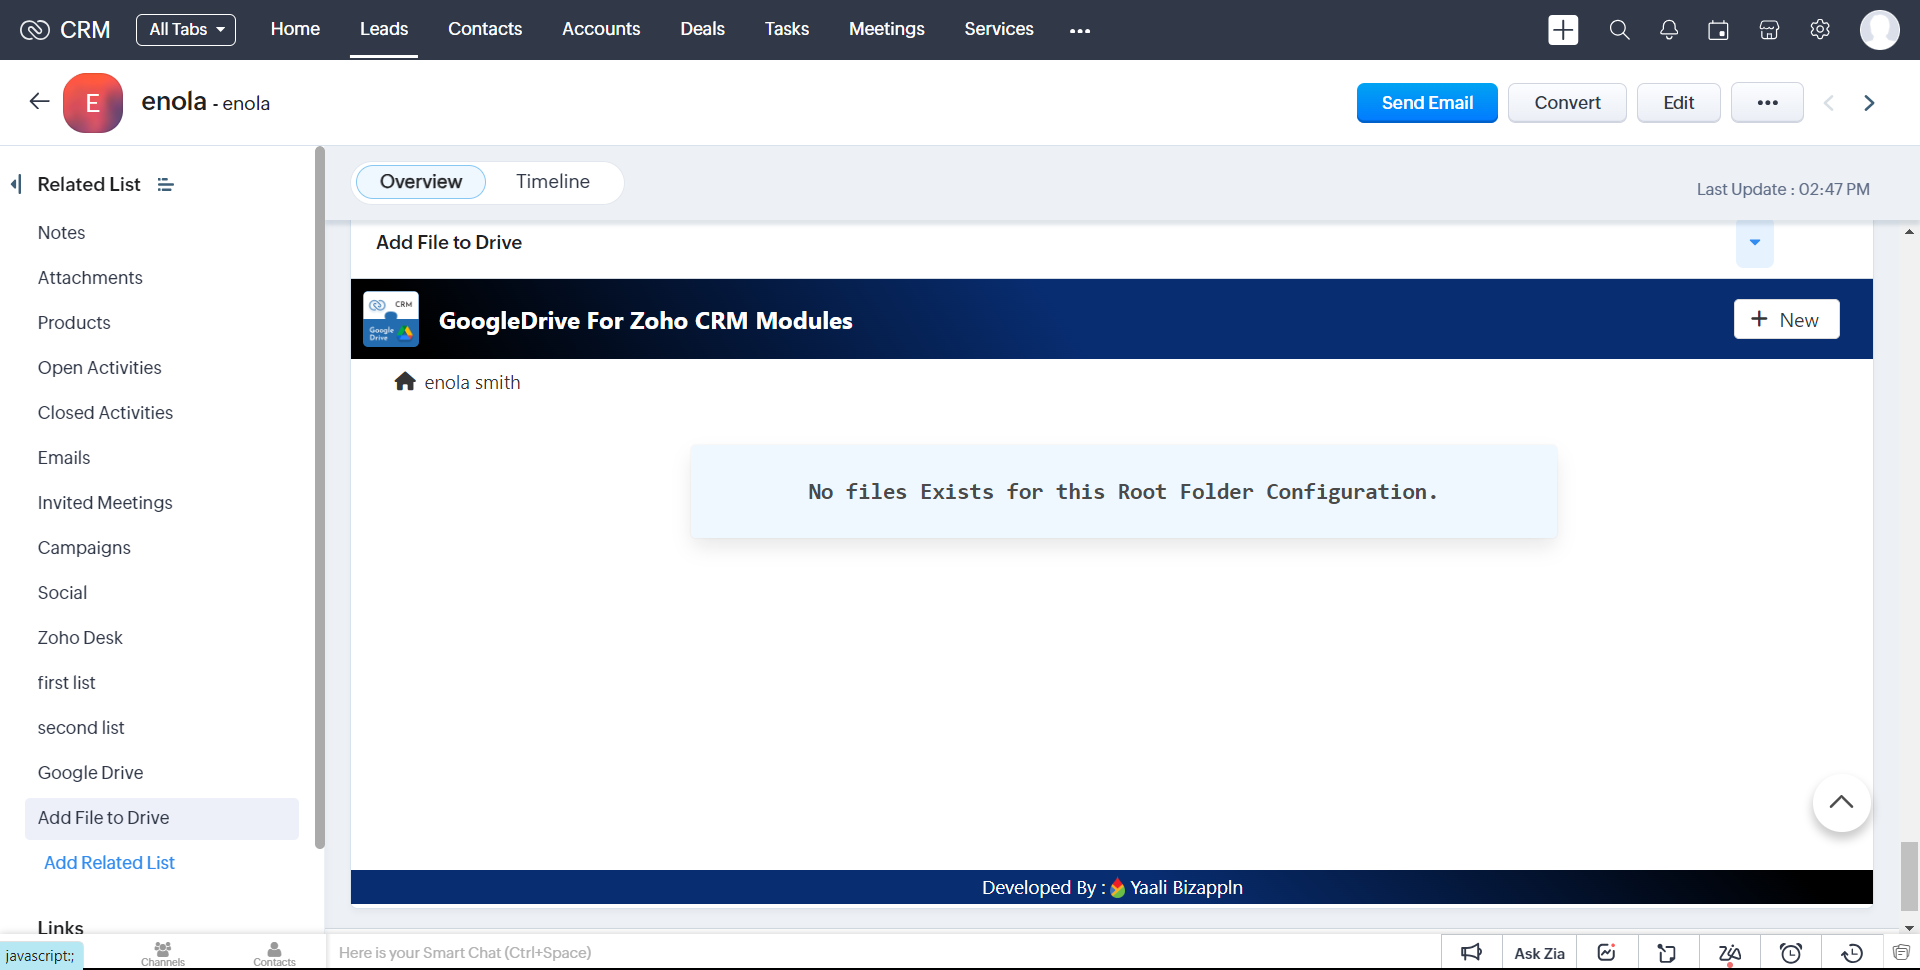
5.After configuring the Field Name-based folder creation in your Google Drive, all the files and folders you upload will be placed inside these created folder.
6.Now you can start uploading the file/folder by clicking + New Button it will shows the nav bar in our Extension.
Add File
1.Click Add File button to Upload a file
2.It shows the Popup then select the file ---> A popup window appears where you can upload the files to the respective Google Drive folder
3.Click the "Add File" button in Zoho CRM after uploading the files you need, and the files will be automatically uploaded to the Integrated Google Drive folder.
4.Created File will be Uploaded in your associated Google Drive Folder.
4.The uploaded file can also be viewed on the Widget page
Add Folder
1.Click Add Folder button to Create a folder
2.It will show popup and Enter the Folder name and Then Click Add Button
3.It will successfully created that folder
4.Created Folder will be Uploaded in your associated Google Drive Folder.
5.You can view the uploaded Folders in our Widget page.
Redirect ---> View the uploaded file
1.Select the desired file to open. You will be taken to the default view mode of Google Drive after clicking the file name.
2.when you click a folder name in the table.
3.it will Navigate to inside the folder ,also You can view Folder based datas
Actions
1.When You Click "..." It shows the list of actions.
Download
1.In the action list,You have to click the 'Download' Option,It will initiate the download of the corresponding file.
Note: we can Only Download Files Not Folders.
Move
1.In the action list,When you click the 'Move' action, a popup will open displaying a list of folders to move the selected file.
2.choose a Folder to move that file.
3.click Move button to Successfully Move that file on that selected Folder.
4.you can view the file inside the Moved Folder.
5.It is also Successfully Move that file on that selected Folder on Google Drive.
Rename
1.In the action list,we have the option to select 'Rename' Choosing this option will Rename the corresponding file
2.It will Open the popup and enter the name
2.click Rename button to successfully 'Rename' the corresponding file
3.It will successfully 'Rename' the corresponding file on google Drive.
Browse
1.In the action list,we have the option to select 'Browse' Choosing this option,it Redirect to Google Drive in Overview of choosed file.
Delete
1.In the action list,we have the option to select 'Delete' Choosing this option will Delete the file/folder
2.It will open the popup and Click Delete Button to Delete the file/folder
3.after Deleted file/folder you can view in widget page
4.It will also Delete that file/folder on google Drive
Pagination
1.As of now, our extension displays 8 records per page, but if more than 8 records are displayed, pagination will be enabled.

2.To go to the next or previous page, click next or prev.
3.Pagination is also supported inside the nested folder.
Reset Configuretion
1.when you click the reset confguration button
2.it will shows the popup with the warning message
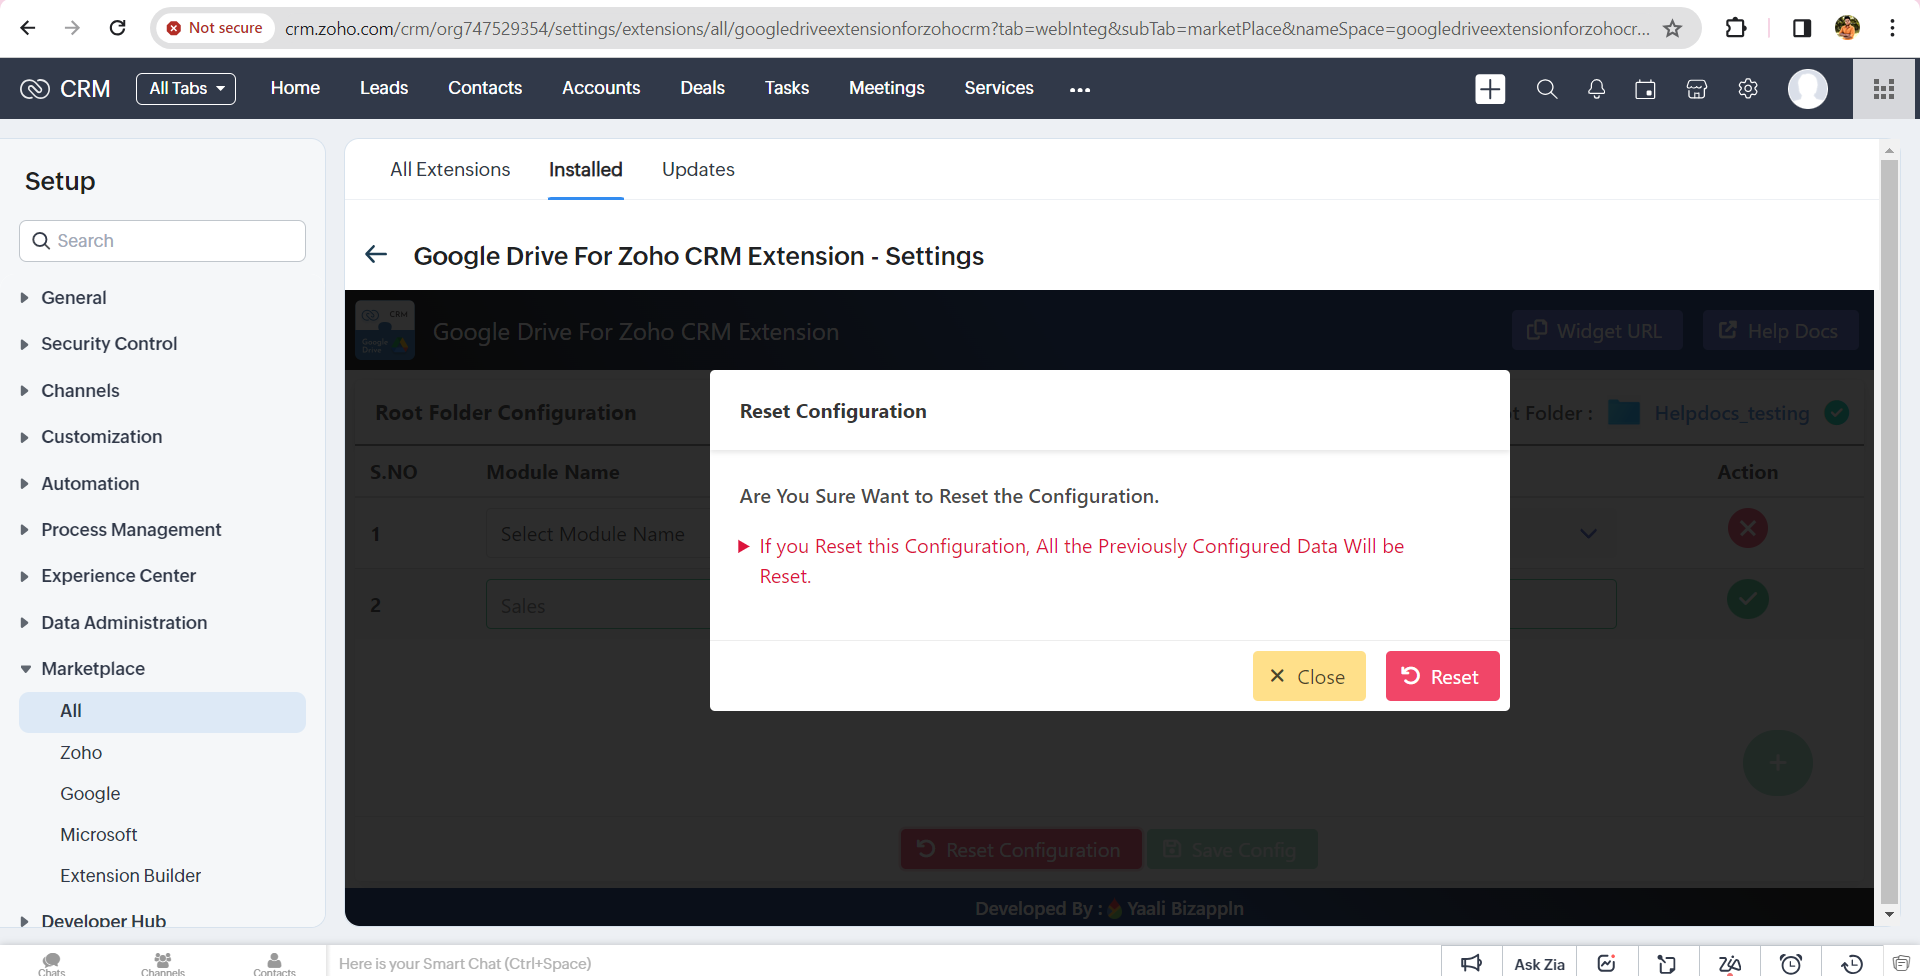
3.if you click reset button ,it will reset the all your previously configured modules ,then you can choose a another root module or existing module from stracth
4.now you can choose a module from stratch.
Uninstall Google Drive Extension
When you wish to uninstall the Google Drive extension, please note that all the data will be deleted on uninstalling and cannot be recovered.
To uninstall Google Drive extension:
1.Go to Setup > Marketplace > All.
All the installed extensions are listed. Under All Extensions you can view all the extensions supported in CRM.
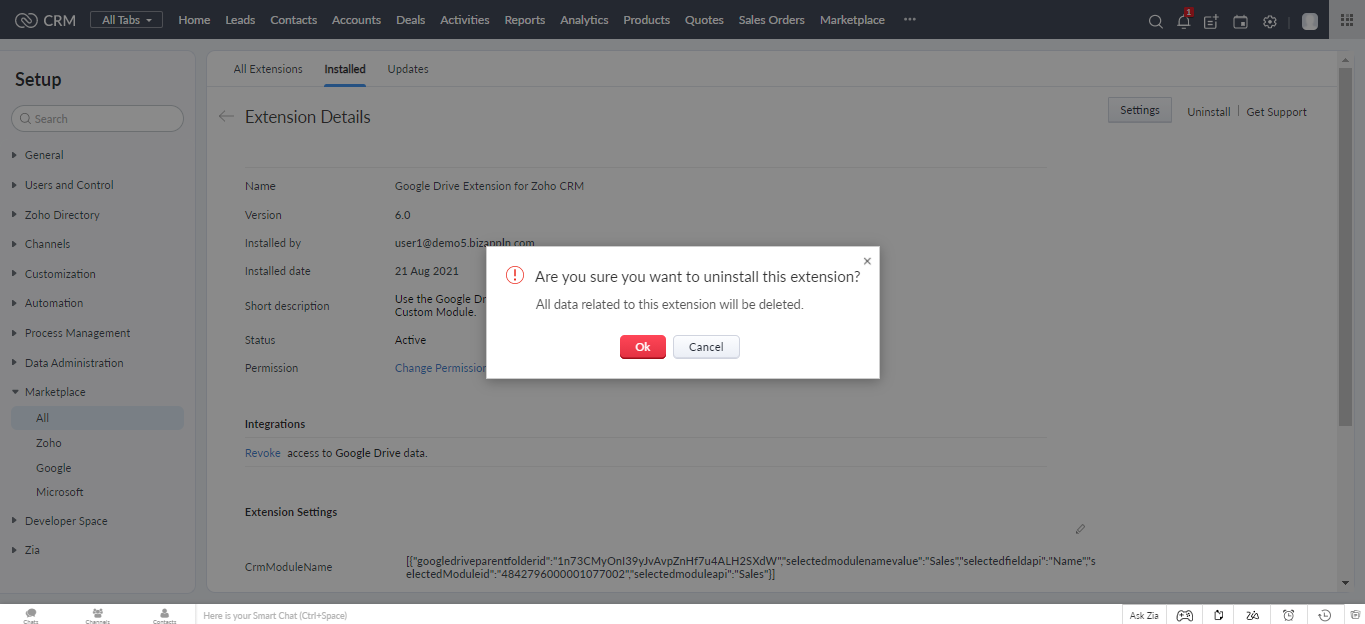
2.Browse for Google Drive for Zoho CRM Custom Module and click the corresponding Uninstall link.
3.Click Ok to confirm. All the files related to Google Drive will be deleted.