Setting up the Zoho Desk & Typeform Integration
Authentication
1.Select departments and profile whose agents can access the extension.
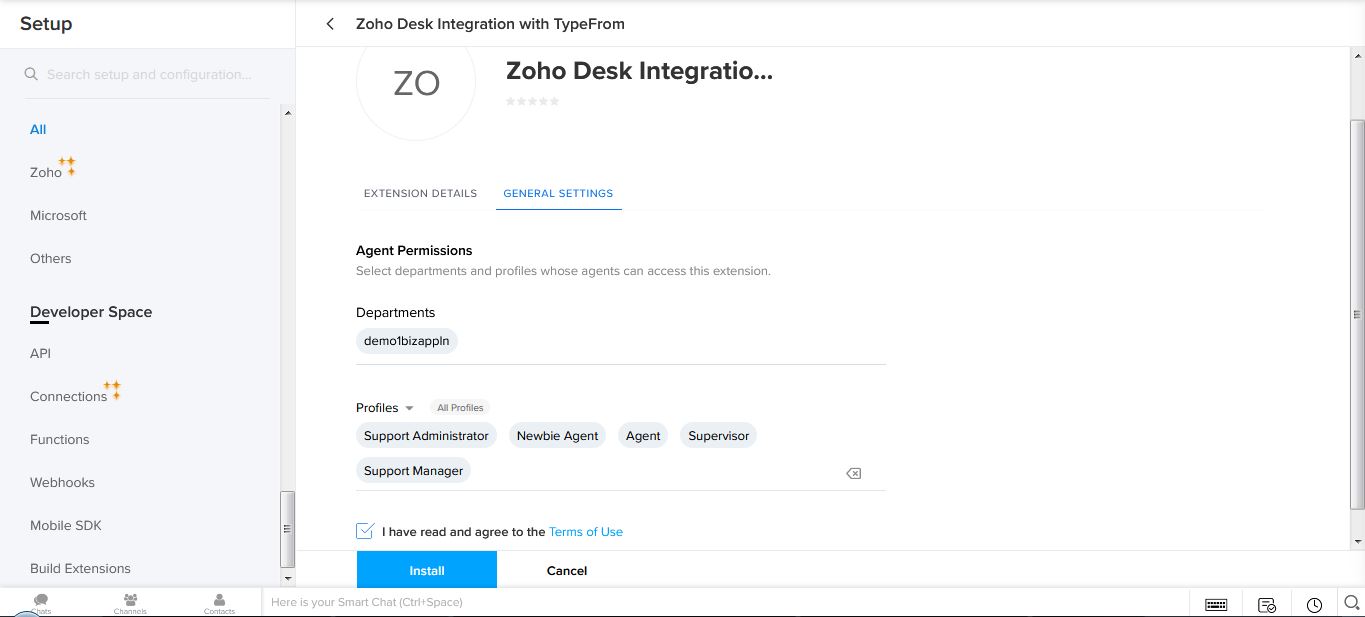
2.Click Install button to start the authentication process.

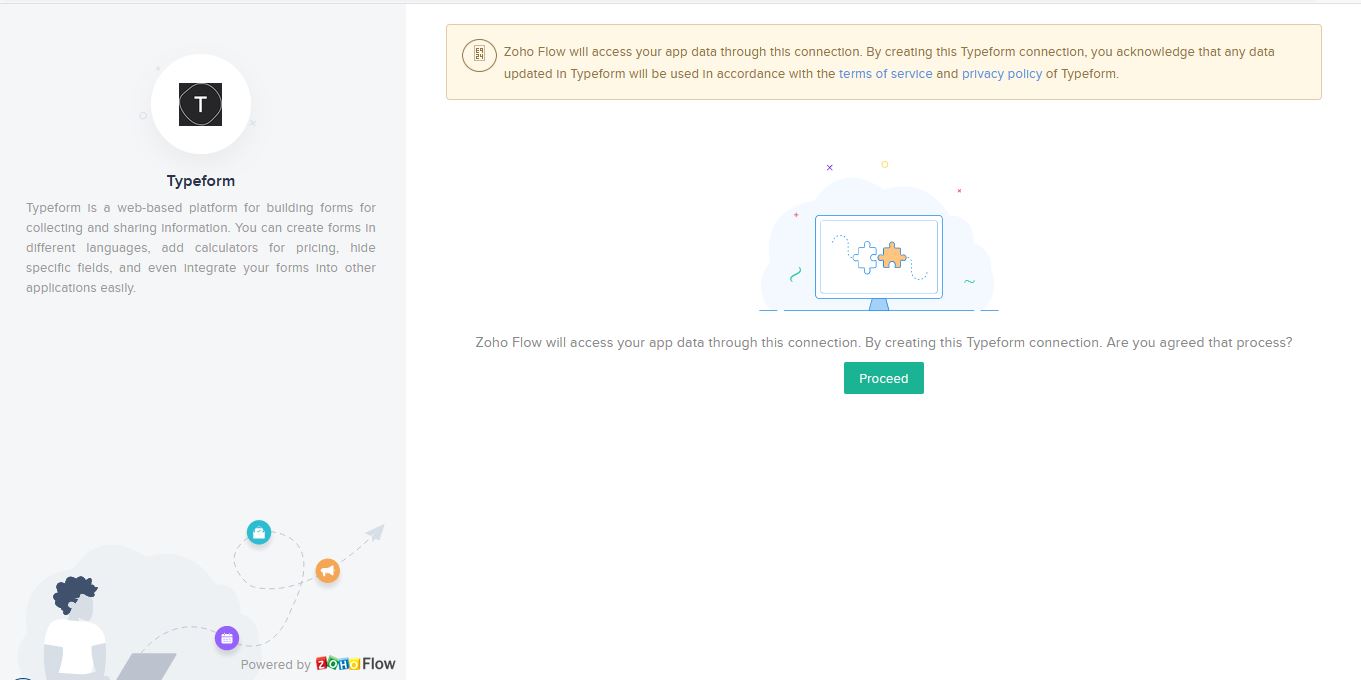
3.Click the Accept button to initiate a Zoho Desk connection for authorization.

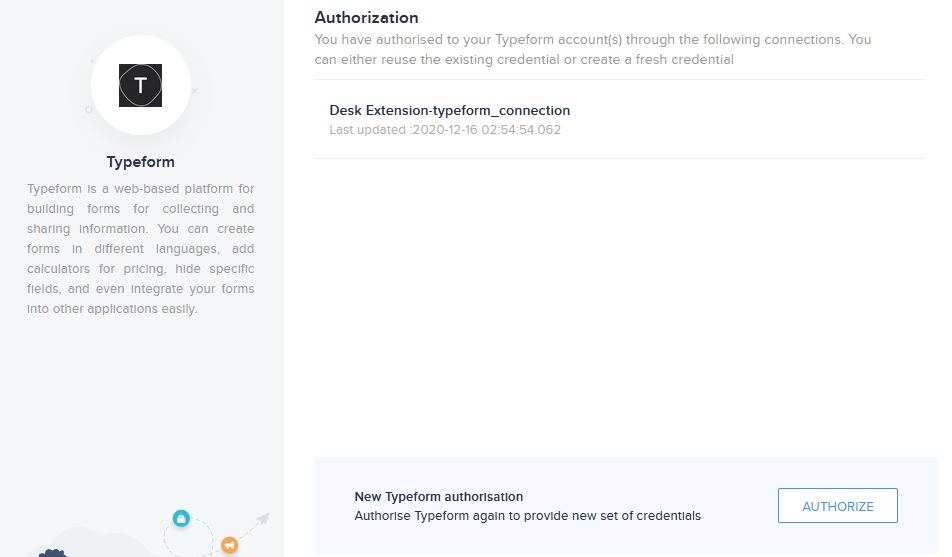
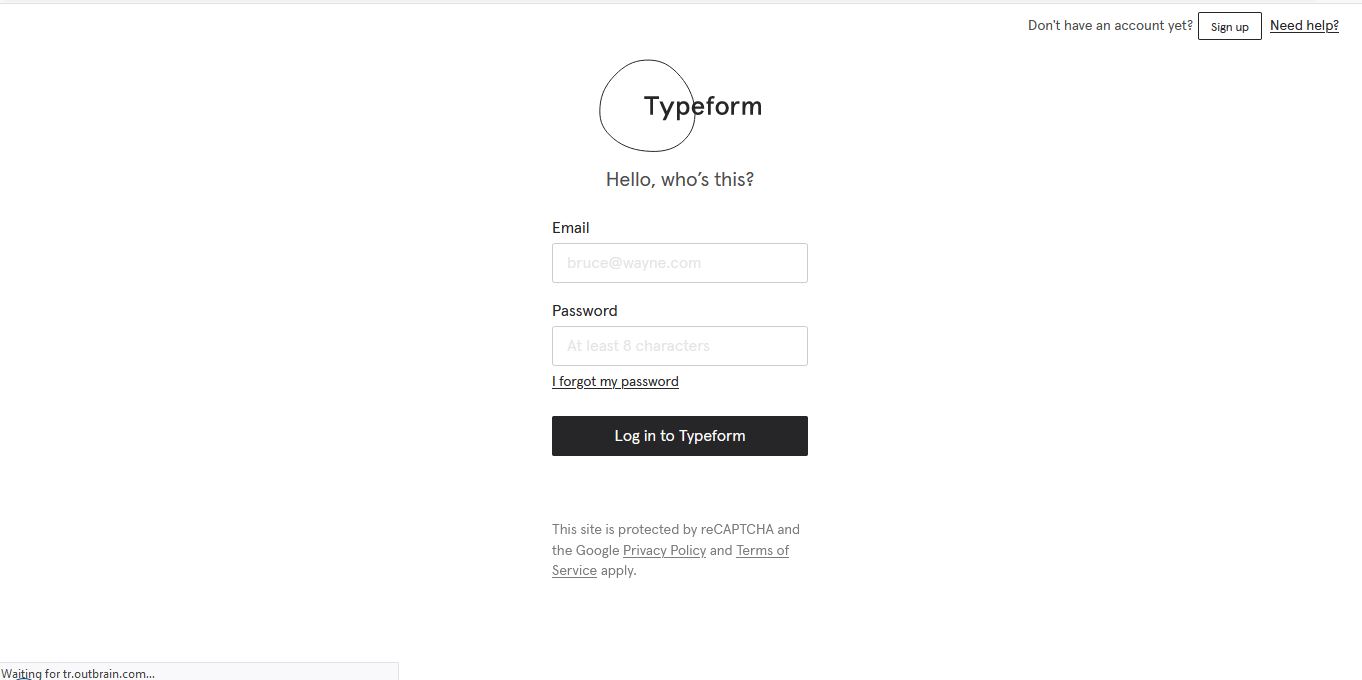
4.To authenticate Typeform connection, enter the credentials.If you have not created a
account in Typeform,you can create at that time.
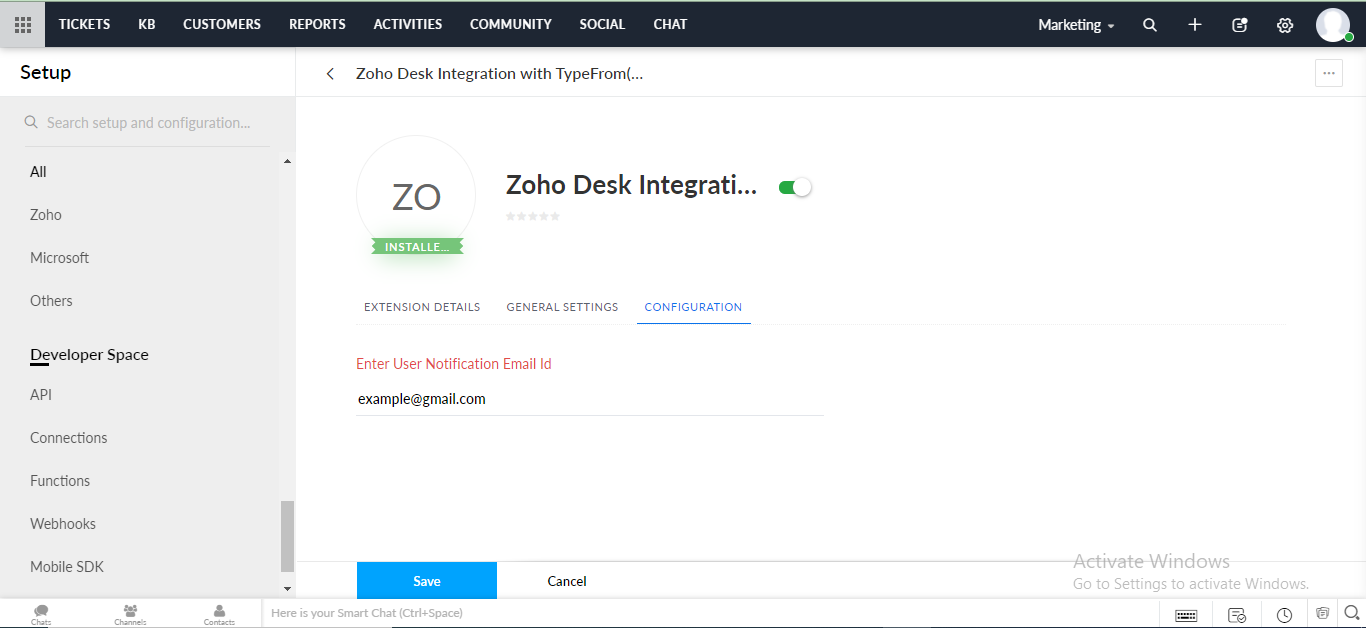
5.Enter the email address in the User Notification Email id field to receive mail if the ticket is not created in Zoho Desk.
Enable Typeform Integration via eWidget
- 1.Log into your Zoho Desk account. If you do not have a Zoho Desk account, create
your account first.
- Open a ticket and click the Marketplace icon. The extension widget loads on the right
side of the ticket details page.
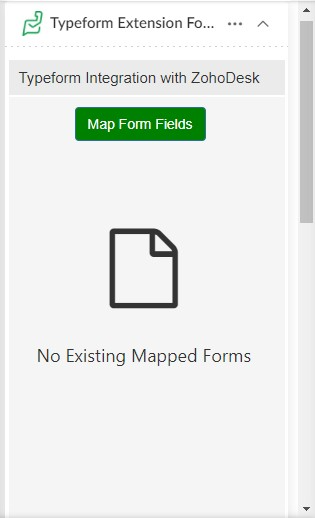
- You can view the Typeform Integration page .If you have already created a form in
Typeform,then choose the "Map Form Fields" button to set up the mapping with Zoho Desk
fields.
- Once you finish the mapping,the mapped forms will appear in the page.
- After that,you can edit or delete the mapping from the Zoho Desk itself.
Map The Form Fields
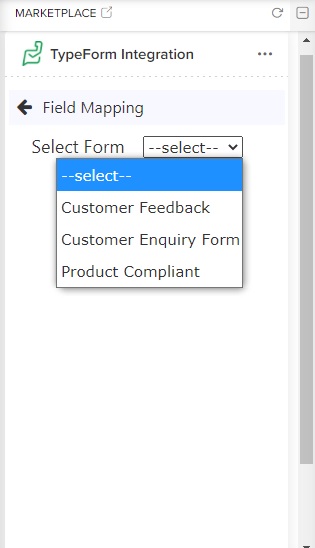
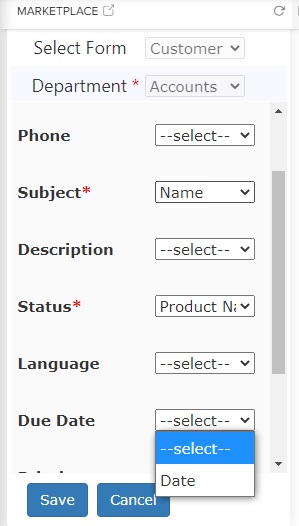
1.In Typeform Integration page Click Map Form fields button.
2. You can view the unmapped Typeform form names in ZohoDesk eWidget itself. Select the
Typeform Form from the available list to be mapped.
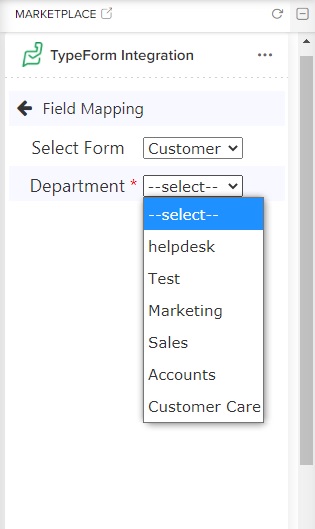
3.You can view the ZohoDesk Departments. Choose the department which fields to be
mapped.The page immediately loads and the ticket fields appear after the department
selected.
4.There are different fields for each departments.Based on the selected Department the
ticket fields and their Typeform field options will appear, according to the field type.
5.Start mapping the Ticket Fields with suitable Typeform fields.
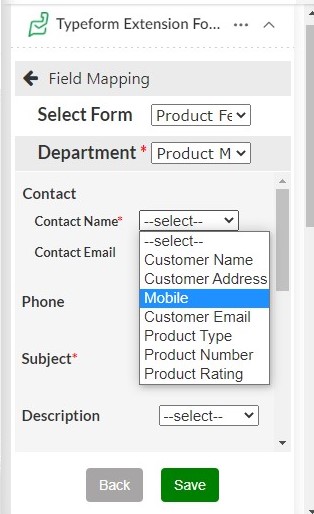
6. Save the mapped fields.
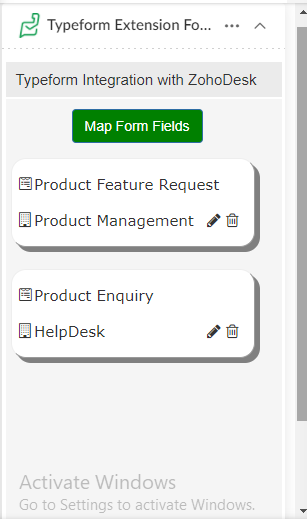
7. The mapped fields will be saved successfully and the mapped form name appears with the
department name in the home page with edit and delete option.
Once the mapping is completed, the ticket will be created with the mapped particular
contact,department,subject,status, etc while submitting the Mapped Typeform.
Add Form Fields in Typeform
1.Login to Typeform.
2.Click on New Typeform.
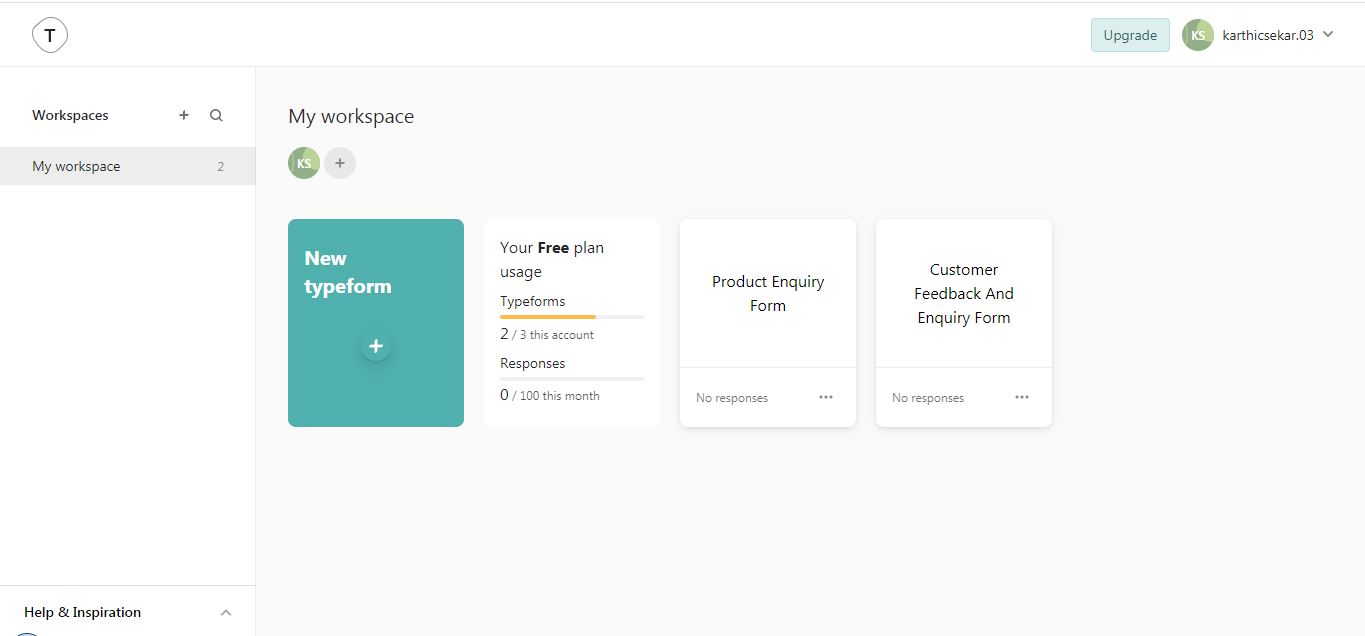
3.Enter Form Name and then click on create.
4.Create Form Fields & set up the conditions according to your requirement.
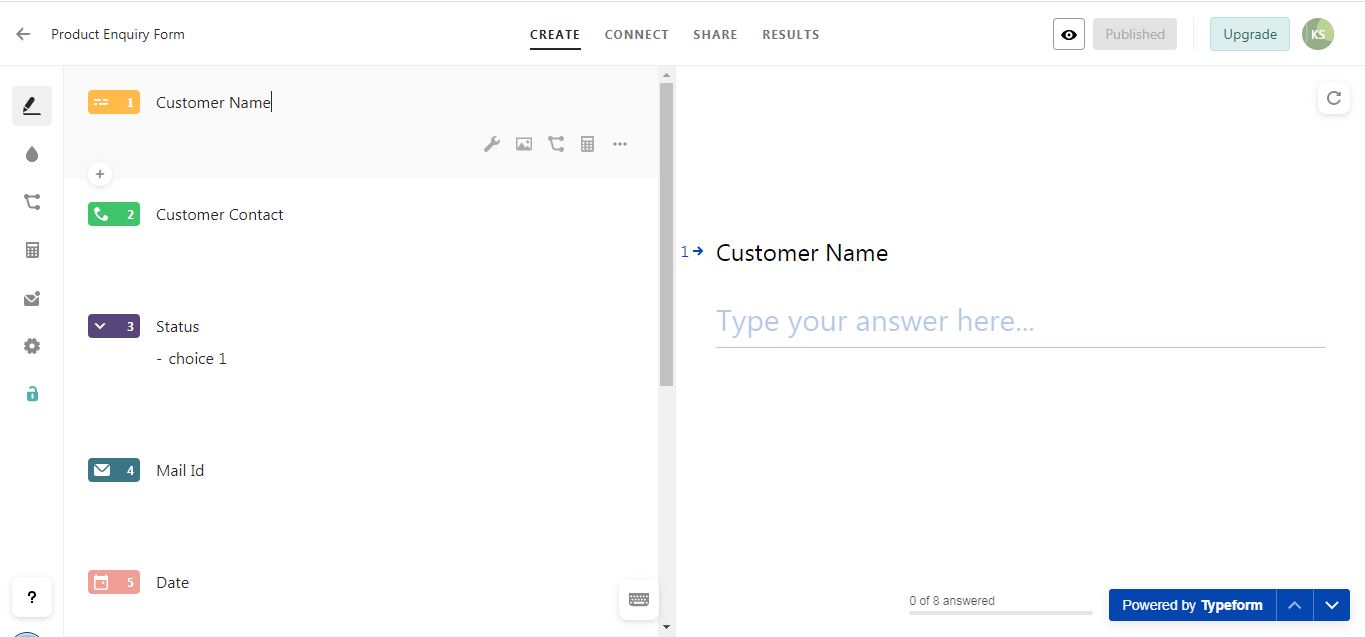
5.After creating the form, click on publish button..
Note: You can able to map the Typeform fields with the default fields in Zoho Desk.In the next update,we will provide the options for mapping custom fields.
Add Fields in Zoho Desk
1.Go to Settings -->Customization -->Layouts & Fields.
2.Then click on field list from the left pane.
3.Click on create or edit fields and then choose the department.
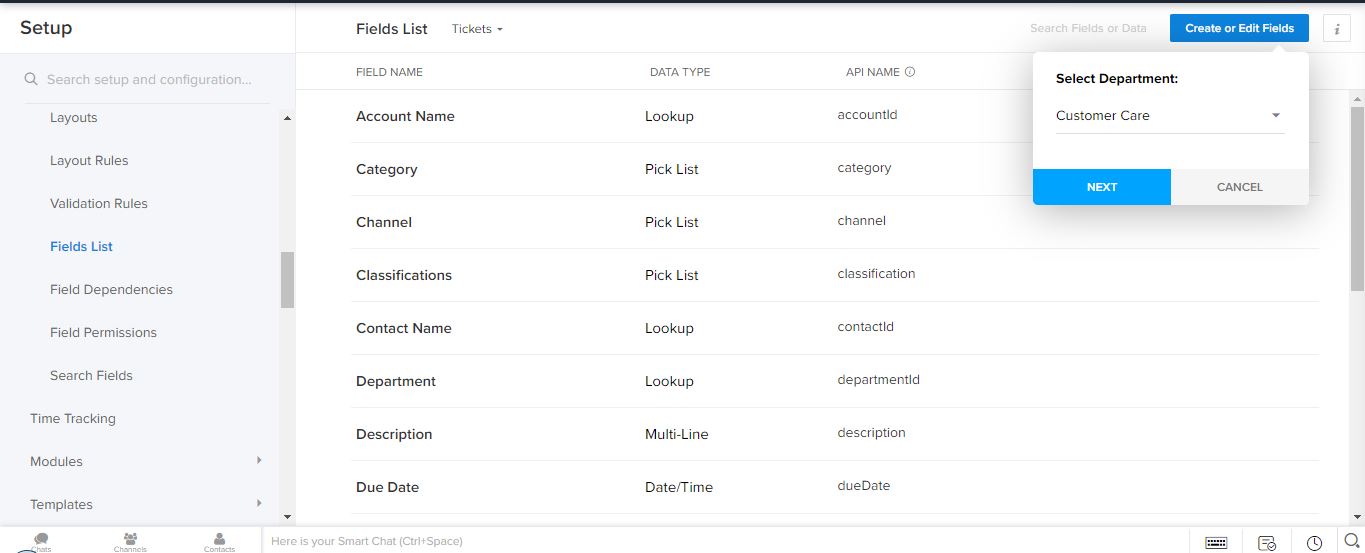
4.Click on next button to proceed further.
5.Add the fields in the layout according to your needs.
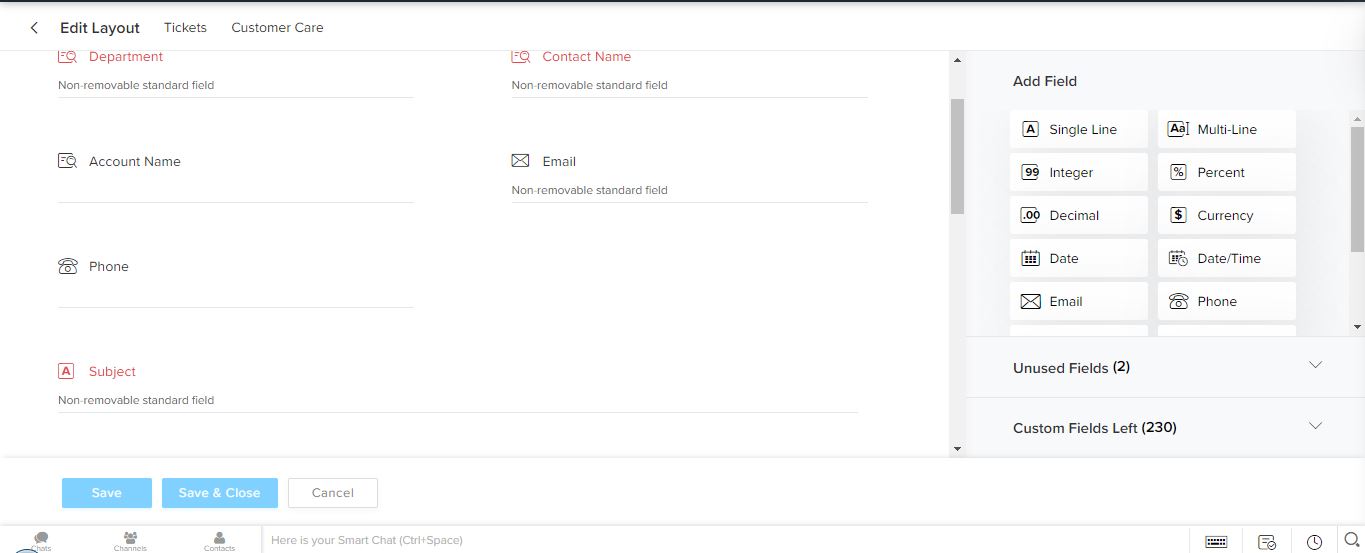
6.After adding, click on "save and close" button.
Edit The Mapping
You can edit the mapping fields of Zoho Desk department fields and Typeform fields.
- Click the edit icon to edit the particular form to be edited.
- Open a ticket and click the Marketplace icon. The extension widget loads on the right side.
Select the form name and department, the already mapped fields will appear
automatically.
- Add/Change the fields with the mapped Typeform.
- Finally,click the Save button to apply the changes.
Delete the mapping
If you don't want to create a ticket for a particular mapped Typeform, you can remove the
mapping from eWidget itself.
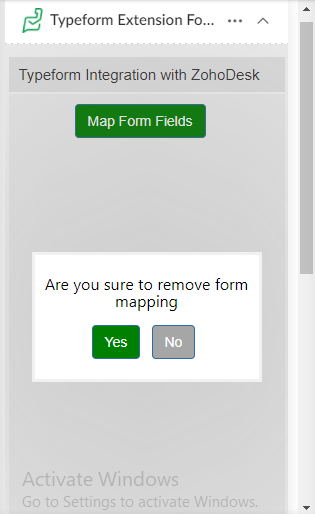
- Click on the delete icon from the mapped form.
- Click the button Yes to delete the mapping.
- The mapped fields will be deleted successfully.
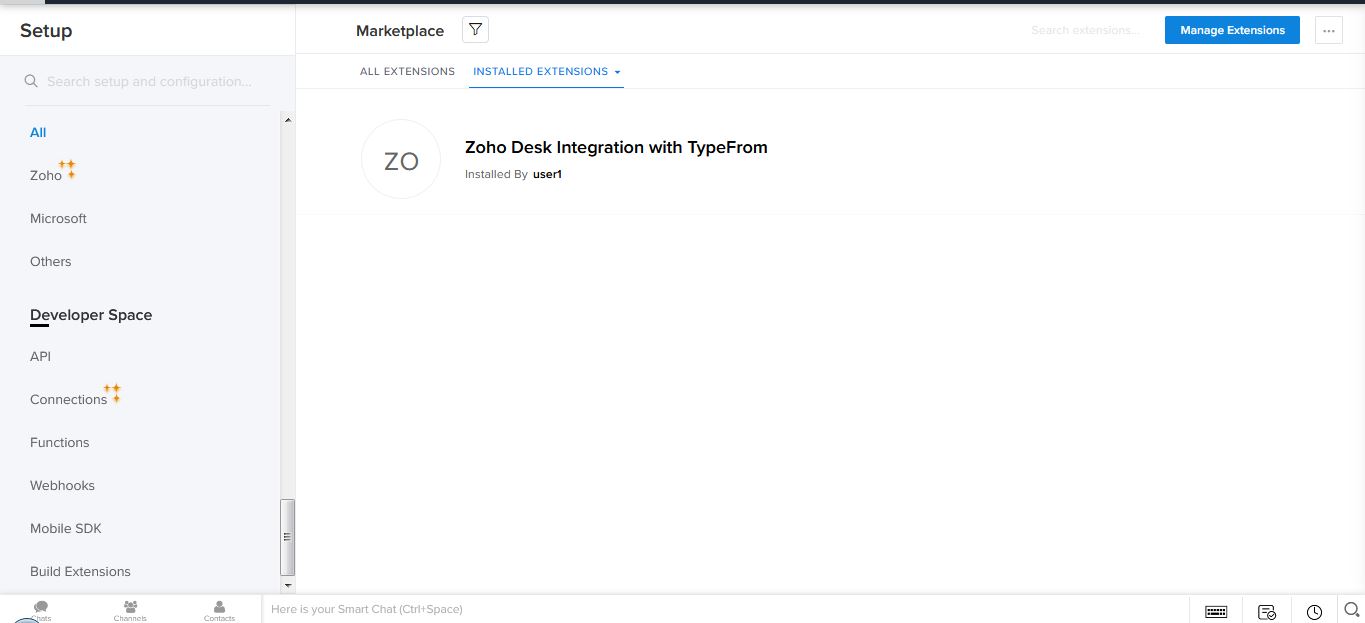
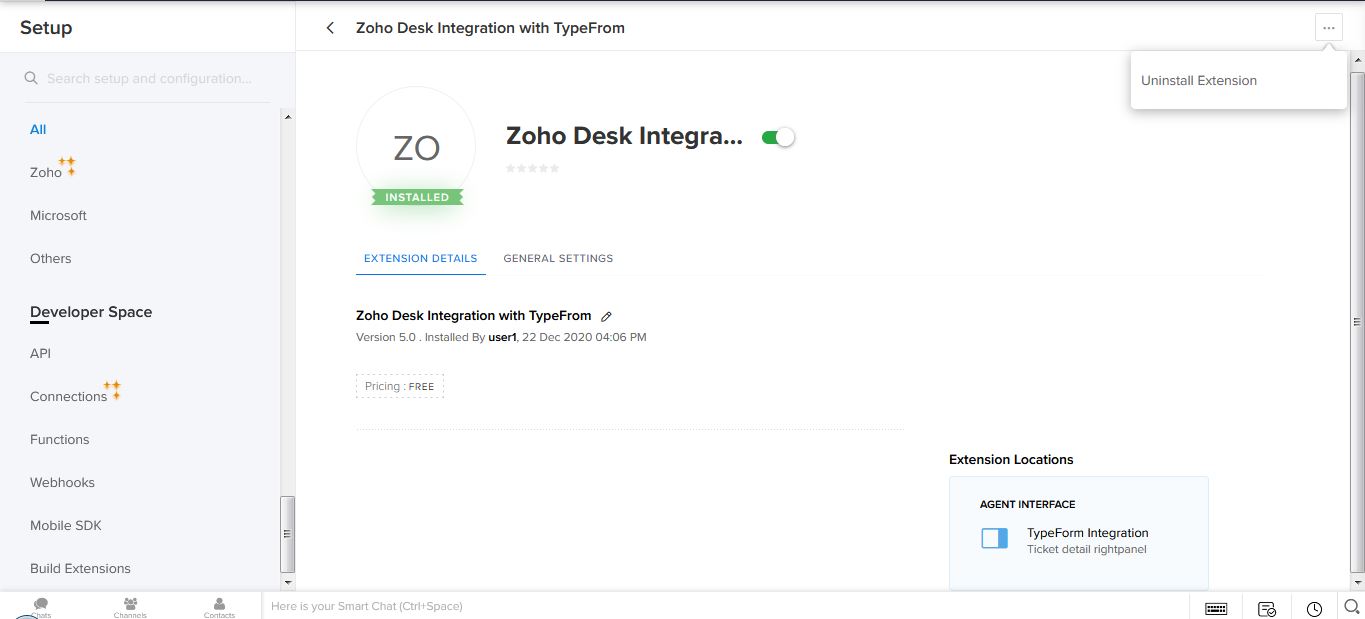
UnInstalling the Extension
1.Go to settings -->Marketplace -->All.
2.Click on Installed Extension
3.Then click on Zoho Desk Integration extension.
4.Click Uninstall button to remove the extension from your account.
5. The Webhook in Typeform will be automatically deleted once the extension uninstalled.